
Time-Based Automations allow you to run Automations on any open Issue. This enables your team to effectively maintain SLAs, escalate priority Issues, and follow up with end users automatically. With Time-Based Automations, your Agents can focus their time on solving issues instead of prioritizing and routing Issues.
Time-Based Automations are part of Workflow Management, a set of Helpshift features which you can use to automatically manage large volumes of Issues quickly and effectively. To learn more about this set of features, please see our Workflow Management guide.
You can set Time-Based Automations to run on an updated Issue in a matter of days, hours, minutes, or seconds. To use minutes, you must already be using Queues. If you’re not using Queues, please review What are Queues, and how do I use them? and reach out to success@helpshift.com to learn how it can benefit your workflow.
Seconds can be unlocked with an account upgrade. Please reach out to success@helpshift.com.
To create a Time-Based Automation, proceed as follows:
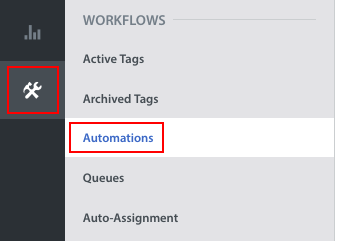
- Navigate to Settings > Workflows > Automations.
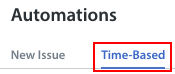
- Select ‘Time-Based’ at the top of the page.
- Click the ‘+ New Automation’ button.

- In the ‘Create Automations’ pop-up, enter a title for your Automation, then select a time condition, filter(s) (the trigger for the Automation to run) and action(s) (what the Automation should do with open Issues that meet the criteria of the condition).
Time-Based Automations come with three time condition options, which are as follows:- Agent’s first response was not sent in: when there has been no Agent response on the conversation yet.
- Agent’s next response was not sent in: In an ongoing conversation, when the Agent hasn’t responded in x time.
- User has not replied in: In an ongoing conversation, when the end user hasn’t responded in x time.
- Next, you’ll define the amount of time since that event has occurred which should trigger the Time-Based Automation. For example, if you’d like the Automation to run when it has been one hour since the Agent has replied to the Issue, you would define the time condition as follows:

Once the time condition has been selected, you can add additional filters.
The filters available in Time-Based Automations are:- App
- Platform
- Language
- Assignee
- Tags
- Queue
- Custom Issue Fields
- User Fields (Standard and Custom)
- User Tags
To revisit our example above, if we want to automatically respond to all issues that have not received an Agent response after 1 hour and that are associated with payments, we may wish to filter based on the ‘payments’ tag.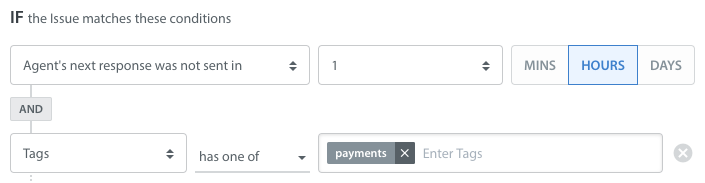
Once you’ve defined all of your conditions, you’ll set the actions, which are the events that take place when the Time-Based Automation runs. You can select one of the following action types: - Add Private Note
- Reply to Customer
- Resolve or Reject Issue
- Add or remove Tags
- Add or remove Custom Issue Fields
- Add or remove User Fields (Standard and Custom)
- Add or remove User Tags
For the example above, we select ‘Reply to Customer’ and add a note we’d like sent as an Autoresponse. Also, you can use a Text Template to send a response in the Issue language.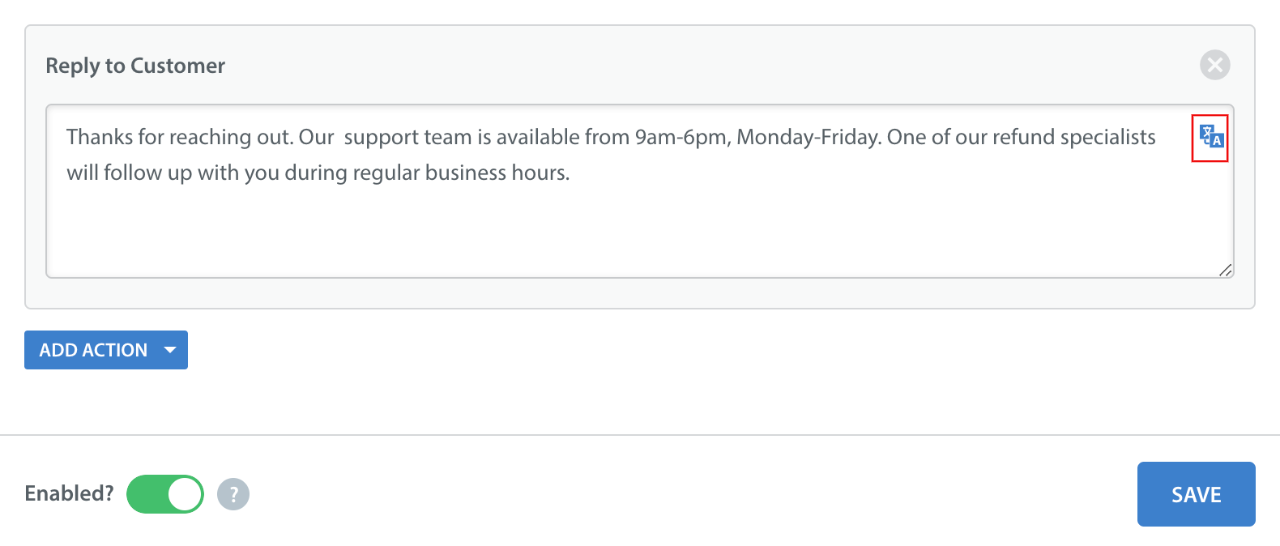
You may also wish to assign it to a certain Queue or Agent to ensure it is addressed within the appropriate SLA. You can add additional actions by simply clicking ‘Add Action’ and defining the action to be added.
Please note the following when creating Time-Based Automations: - Time-Based Automations will not retroactively run on Issues that have aged past the specified criteria that you defined in the Automation. This means if you create an Automation to tag Issues that are 4 hours old, it will not run on Issues that came in over 4 hours prior.
- Our recommended naming convention is to include the condition and action in the title. For example, if this Automation is intended to add a private note to all open Issues that have received a new response from an Agent and which have the ‘payment’ tag, you may wish to title it something like Payments > No response by Agent after 1 hour > Follow-up re: delay in response. As you add more Automations, this naming convention is helpful for keeping track of them.
- It’s important that you consider the timing and order of your Time-Based Automations. The Automations will run in order starting from top of the list to bottom, so if you have conflicting Time-Based Automations then you will run into trouble. Focus on adding the right Issue filters to make your Time-Based Automations as specific as possible- this way you will reduce the chance of having them conflict or run on the wrong Issue.
- Once you’ve created several Time-Based Automations, you’ll be able to reorder them via the ‘Change Order’ button provided on the Automations page.

- When you click this button, the list of Automations will update with drag-and-drop functionality and the ability to number each Automation to assign the correct order.

You can still use Autoreply and Autoresolve on Time-Based Automations. You can decide whether a Time-Based Automation only replies to an Issue or whether it replies to and resolves the Issue. If you’d like to first sent an auto-reply, wait a couple of hours, and then send an auto-reply and close Automation, you can do that as well. Just remember to order them properly with the auto-reply one higher in the Time-Based Automation list.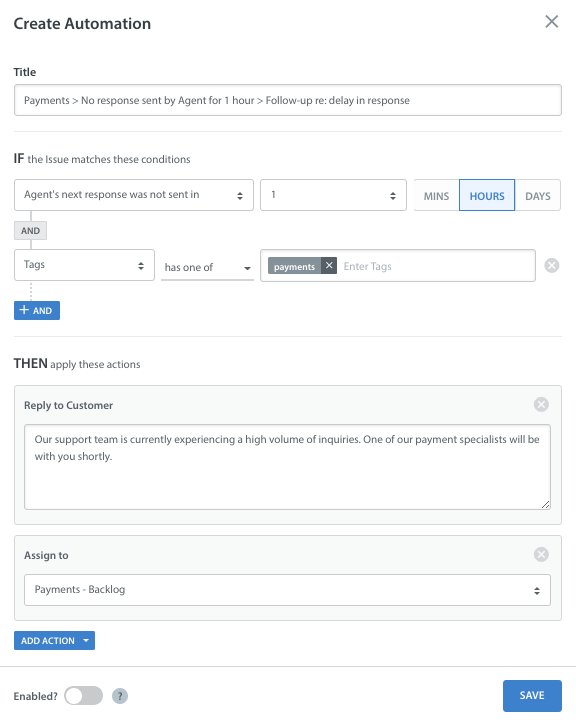
- Once you’ve set up your Automation, click the ‘Save’ button in the bottom right. Saving the Automation only saves your selections and does not start the Automation – you’ll need to enable the Automation to get it up and running.

Saving without enabling allows you to review the Automation with your team first to prepare them for the impact the new Automation will have on their workflow.
You will now see it listed on the list of Automations, which also lists whether it is enabled or not.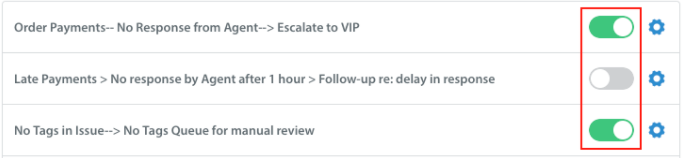
- When you’re ready to launch the Automation, switch the ‘Enabled?’ toggle to ON from the list of Automations (as seen above) or from within the ‘Edit Automation’ pop-up.

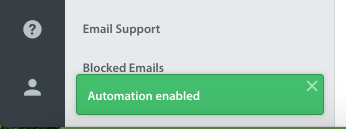
- A toast will appear in the bottom left of your screen confirming the launch of the Automation.
- You can also search ‘Automations’ by adding the title in the ‘Search Automations’ bar.
