Autoresponses can be used to reassure your users that you’ve received their Issue, or provide relevant information based on Issue criteria.
For example, if you have guaranteed SLAs for certain Issue types (such as inquiries from VIPs, or refund requests) you can send an Autoresponse to those users letting them know that they will receive a response in x amount of time. You can automatically tag and assign this Issue to the appropriate team member, Agent Group, Queue or Bot to ensure it is addressed in the expected time frame.
You’ll use a New Issue Automation to create the Autoresponse, so it’s helpful to be familiar with these prior to completing the steps below. For a refresher, please review How do I set up a New Issue Automation?
You can set up Autoresponses to reply with specific responses depending on the type of Issue. You can have those specific responses triggered by specific tags or keywords.
To set up an Autoresponse:
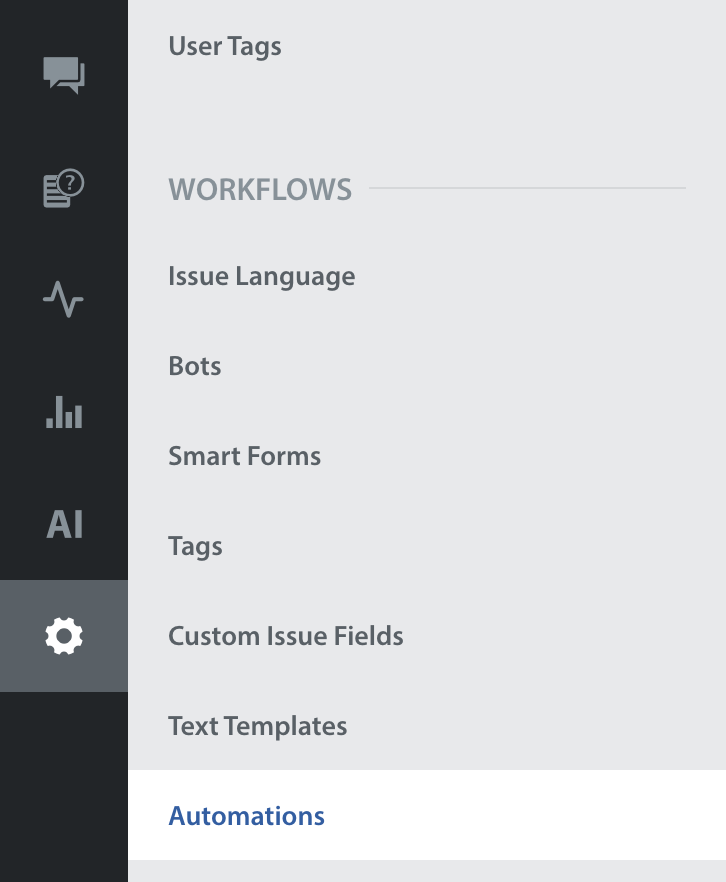
- Navigate to Settings > Workflows > Automations.
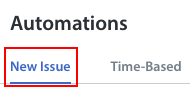
- Select ‘New Issue’ at the top of the page.
- Click the ‘+New Automation’ button.

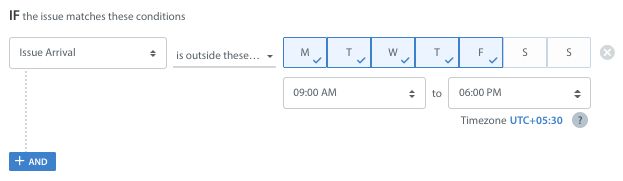
- In the ‘Create Automation’ pop-up, enter a title for your Automation, then select a time condition, filter(s) (the trigger for the Automation to run) and action(s) (what the Automation should do with open Issues that meet the criteria of the condition).
As an example, let’s say we want to set an Autoresponse that will let VIP users know that they will receive a response within one hour after your business hours begin. We define the Automation to detect the VIP tag.To detect if the VIP has written in during off hours, we use the Issue Arrival condition.
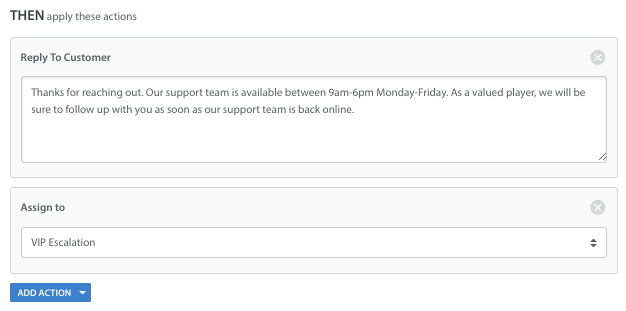
Next, define the reply to your user by adding the action ‘Reply To Customer’ and providing the reply that should be sent. You may also wish to assign the Issue to the right Queue or Agent to ensure it gets addressed appropriately.
Please note the following when creating Autoresponses:
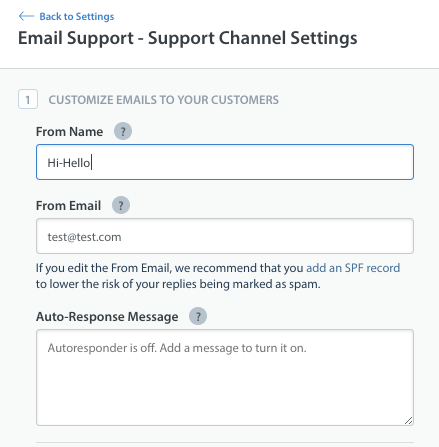
Within your email support settings, you have the option to customize your email support to set up a custom response message based on the email address the user is writing into.
This is not the same as using a New Issue Automation to set up an Autoresponse – the email channel response cannot be customized based on Issue criteria, and will be sent to every user who writes to that email address upon Issue receipt.
If you are using a custom email response in addition to Autoresponse Automations, please review the settings applied to your Automation to ensure that they do not clash with one another. If you currently have your Autoresponse set to respond to Issues from all platforms, you may wish to filter by platform and select all of your platforms except email to ensure that email Issues do not receive two responses. - Once you’ve set up your Automation, click the ‘Save’ button in the bottom right. Saving the Automation only saves your selections and does not start the Automation – you’ll need to enable the Automation to get it up and running.
Saving without enabling allows you to review the Automation with your team first to prepare them for the impact the new Automation will have on their workflow.
When you’re ready to launch the Automation, switch the ‘Enabled?’ toggle to ON from the list of Automations or from within the ‘Edit Automation’ pop-up.