
Auto Resolve Automations allow you to automatically resolve Issues when you have not heard back from the user after a certain number of days. These are helpful for closing out Issues where the end user has lost interest in order to declutter your Helpshift Dashboard.
To set up an Auto Resolve Automation, proceed as follows:
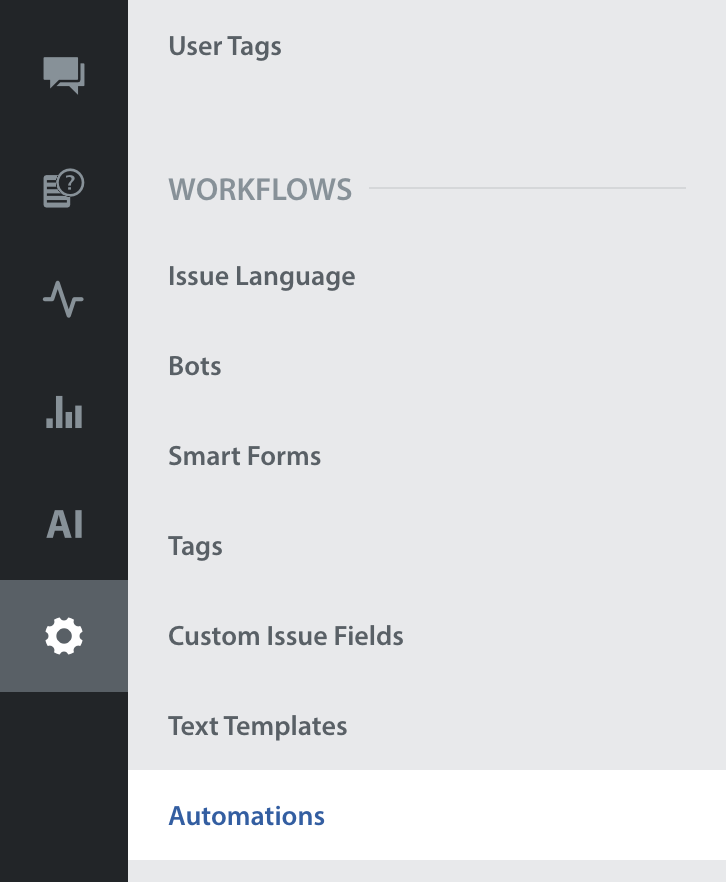
- Navigate to Settings > Workflows > Automations.
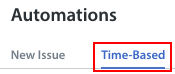
- Select ‘Time-Based’ at the top of the page.
- Click the ‘New Automation’ button.

- In the ‘Create Automation’ pop-up,enter a title for your Automation, then select a time condition, filter(s) (the trigger for the Automation to run) and action(s) (what the Automation should do with open Issues that meet the criteria of the condition).
As an example, if we want an Automation that resolves Issues that have not been replied to in 15 secs, we would select the time condition ‘User has not replied to agent or Bot's message in’ and set the time frame to 15 secs. However, we may not want this to apply to VIP Issues, so we set the condition ‘Tags has none of’ to ensure those Issues are not included in this Automation.
For the actions, since our user did not respond, we’ll resolve the Issue and send a quick note to close out the conversation.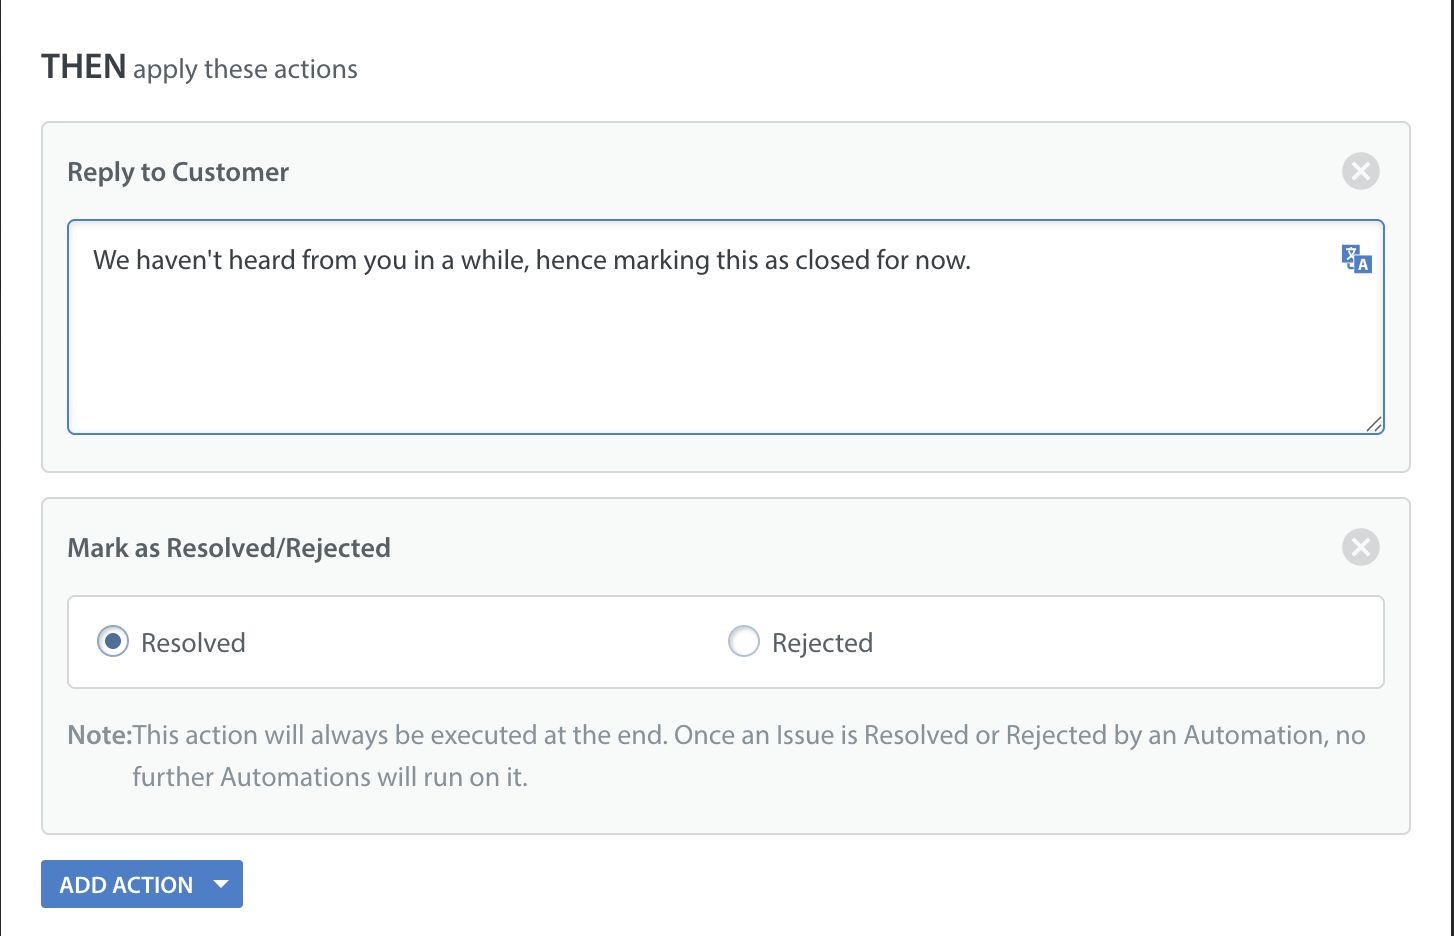
Please note the following when creating Auto Resolve Automations:
If you intend to keep some Issues open for follow-up, you can have your Auto Resolve Animation skip these Issues by adding a ‘follow-up’ tag of your choice and entering it in the ‘doesn’t have these tags’ field. To create these tags, see How do I create and use tags? - Once you’ve set up your Automation, click the ‘Save’ button in the bottom right. Saving the Automation only saves your selections and does not start the Automation – you’ll need to enable the Automation to get it up and running.

Saving without enabling allows you to review the Automation with your team first to prepare them for the impact the new Automation will have on their workflow. - When you’re ready to launch the Automation, switch the ‘Enabled?’ toggle to ON from the list of Automations or from within the ‘Edit Automation’ pop-up.
