
New Issue Automations allow you to complete a number of different actions immediately upon Issue creation based on set conditions for the Issue. Actions that can be taken via New Issue Automations are as follows:
- Assign Issues to specific Agents, Agent Groups, Queues, or Bots
- Filter Issues to be categorized into Smart Views
- Add Custom Issue Fields and/or tags
- Automatically resolve Issues
- Send custom Autoreplies
The conditions you can set for the Issue include device information and metadata your developer is tracking, such as app, language, or platform; which email address the issue was sent to; the presence of certain keywords/strings; the time of day during when the Issue was created; and more. To learn more about adding metadata to your app, please refer your developer to our developer documentation.
New Issue Automations also allow you to cater your Autoreplies based on the language of the user’s device, which platform and app they are contacting you on, as well as any customized tags which have already been assigned.
New Issue Automations are part of a package of features that can be used for workflow management. To learn more, see our Workflow Management guide.
To create a New Issue Automation, proceed as follows:
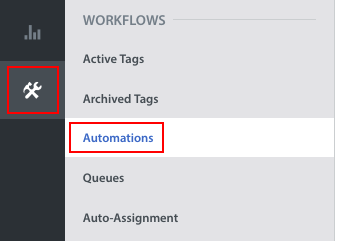
- Navigate to Settings > Workflows > Automations.
- At the top of the page, ensure that the tab ‘New Issue’ is selected.

- Click on the ‘+ New Automation’ Button.

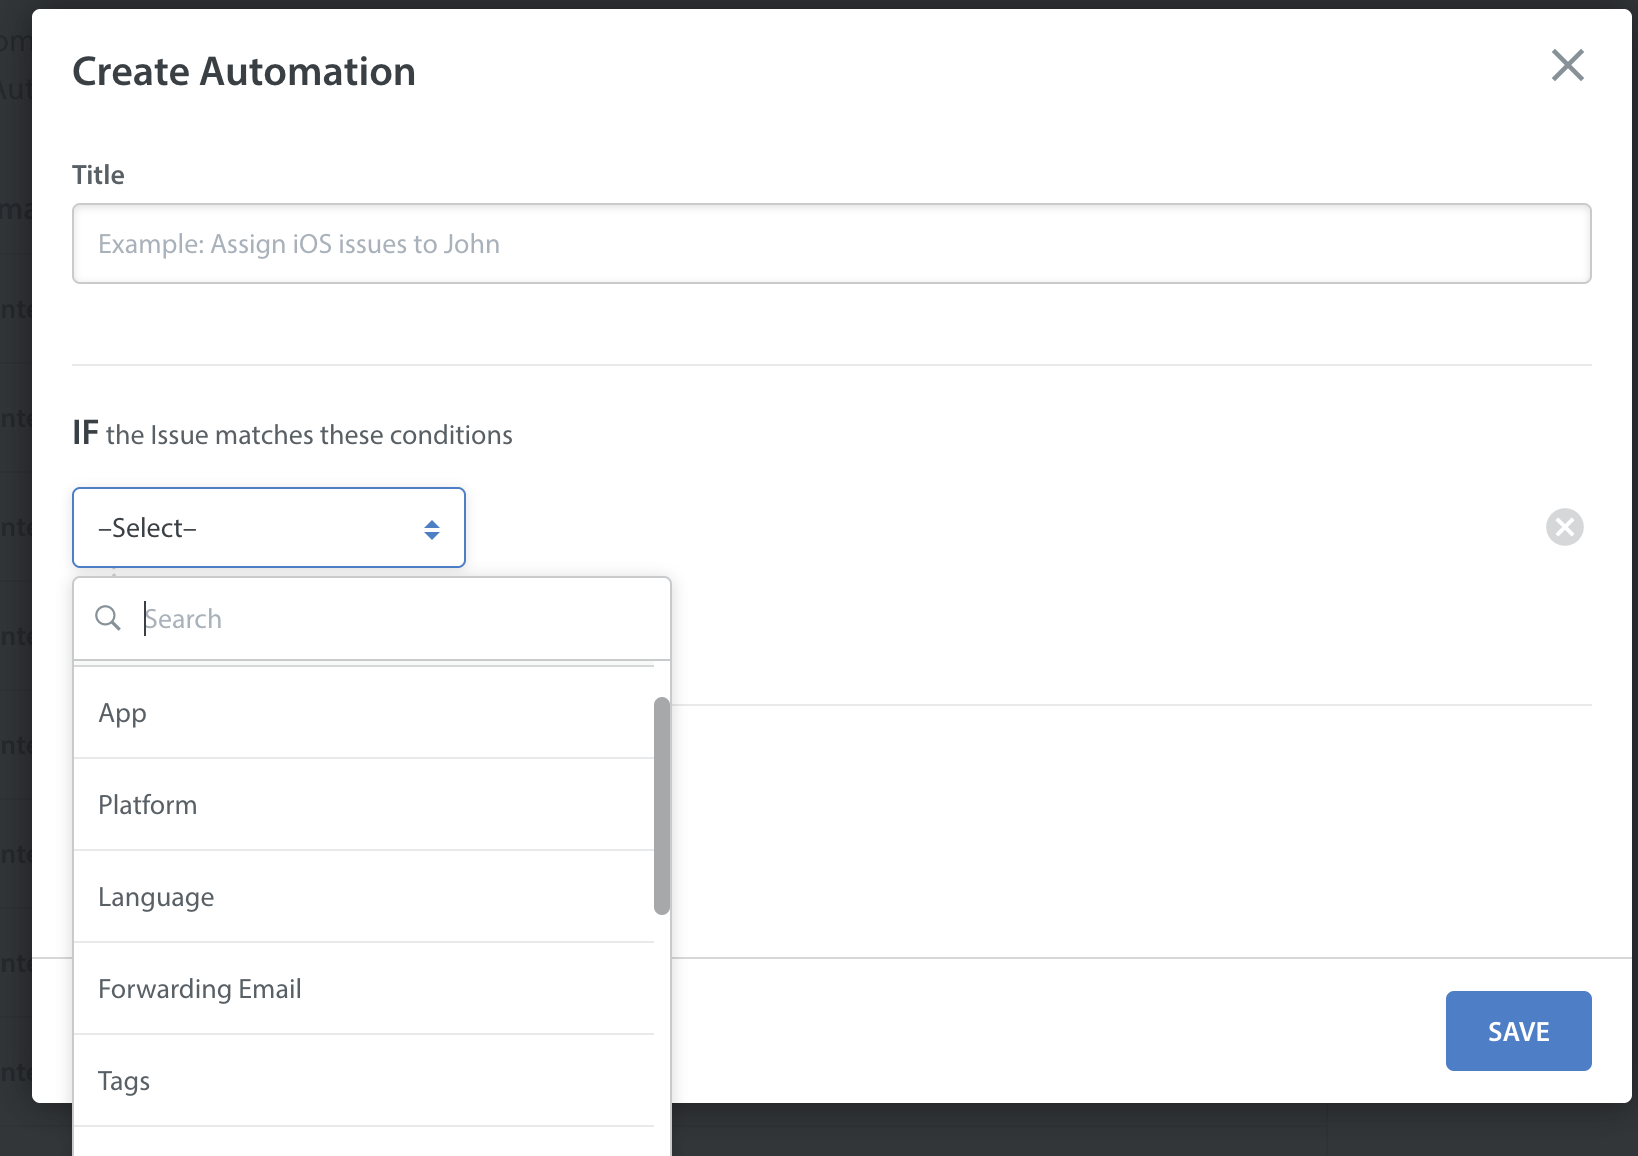
- In the ‘Create Automation’ pop-up, enter a title for the Automation, then select the conditions (the trigger for the Automation to run) and actions (what the Automation should do with new Issues that meet the criteria of the condition).
The conditions available in New Issue Automations are as follows:- App
- Platform
- Language
- Forwarding Email
- Tags
- Title or First Message
- Issue Arrival
- Custom Issue Fields
When adding conditions, please note the following: - The available condition options will differ based on which platform you select (SDK, Email or web).
- If you select an SDK platform (iOS or Android), you’ll be able to select a specific app in your Automation settings. However, if you want to include web Issues in your Automation, app selection will be disabled. This is because we want to be sure your Issues are categorized in the most accurate way possible, and we cannot guarantee users will always select the correct option in your Web Portal’s Contact Us Form.
- If you want to apply app-specific Automations to email or web Issues, you can add app-specific tags to the Dashboard and have them passed through the Web Portal’s Contact Us Form or even support emails to populate your Issues.
- To filter your web Issues by app, you can customize the contact form for each app to add an app-specific tag.
- To filter your email Issues by app, we recommend setting up separate email support channels for each app, and using Automations to apply a tag depending on which email users write into.
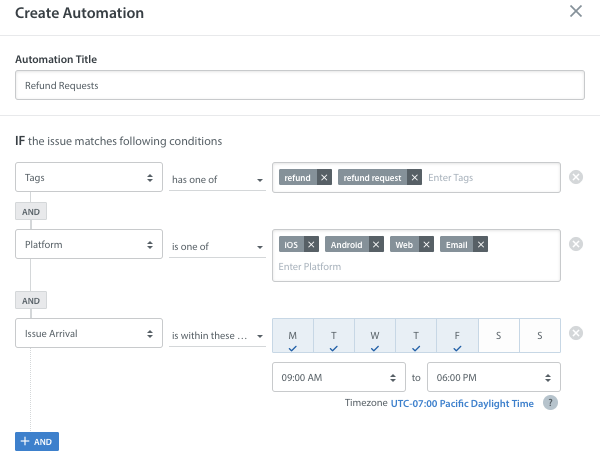
- As an example, if we wanted to set up a New Issue Automation to reply to refund requests that come in during off-hours, we would set it to identify Issues with the tags ‘refund’ or ‘refund request’ that come in outside of the windows of 9am-6pm Monday-Friday.
Next, you’ll define the actions that will occur when the New Issue Automation has identified a new Issue that meets your conditions as defined above.
Your options for actions are as follows:- Reply to Customer
- Assign to an individual team member, Agent Group, Queue, or Bot
- Add Private Note
- Mark as Resolved/Rejected
- Update Tags
- Update Custom Issue Fields
In our refund request example above, we would set the Automation to assign the Issue to the ‘Refunds’ Queue and reply to the customer letting them know that they’ve written in during off-hours. Also, you can use a Text Template to send a response in the Issue language.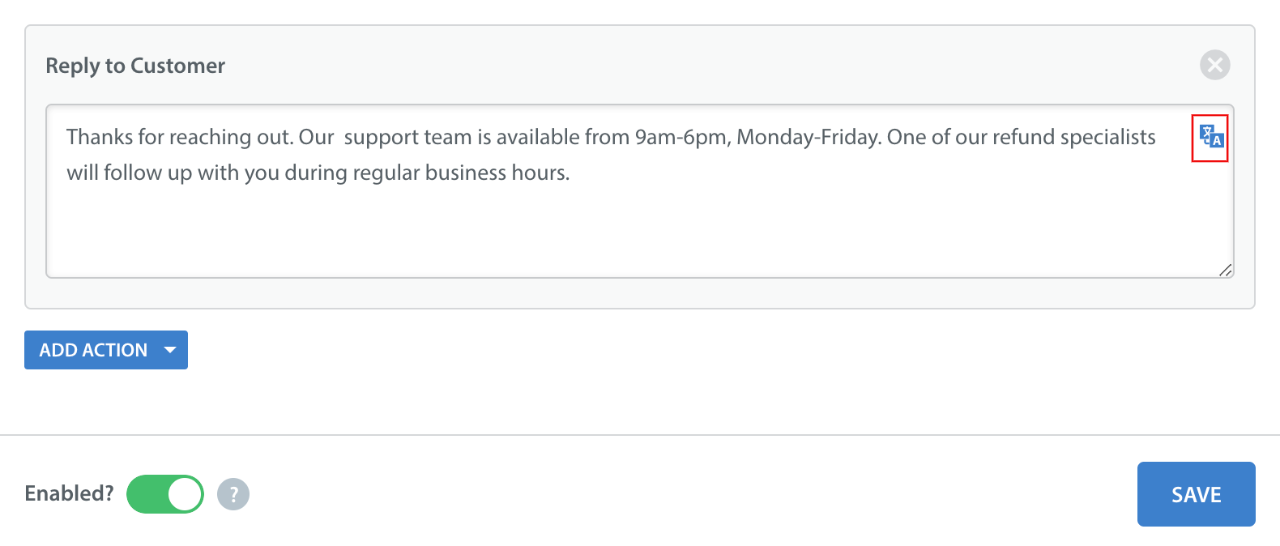
- Once you’ve set up your Automation, click the ‘Save’ button in the bottom right. Saving the Automation only saves your selections and does not start the Automation – you’ll need to enable the Automation to get it up and running.

Saving without enabling allows you to review the Automation with your team first to prepare them for the impact the new Automation will have on their workflow.
You will now see it listed on the list of Automations, which also lists whether it is enabled or not.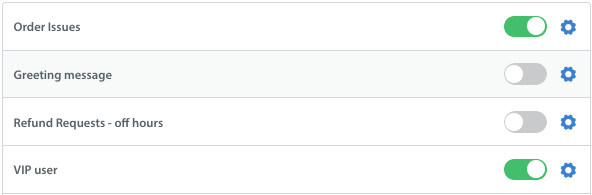
When you’re ready to launch the Automation, switch the ‘Enabled?’ toggle to ON from the list of Automations (as seen above) or from within the ‘Edit Automation’ pop-up.
A toast will appear in the bottom left of your screen confirming the launch of the Automation.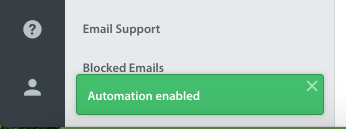
You can also search ‘Automations’ by adding the title in the ‘Search Automations’ bar.