
In addition to in-app support, offering web and email support channels allows you to provide a comprehensive customer support experience. A robust Web Support Portal filled with categories and FAQs empowers users to seek answers to basic support inquiries, troubleshoot common errors, and learn best practices when using your app. Email support (via an address like support@yourdomain.com) allows you to establish a direct line of contact with users and gives them an option for reaching out outside of the in-app and Web Chat platforms.
This guide will walk you though the initial steps to quickly set up your Web Support Portal and start offering email support. For full steps to get started with Helpshift, see our Getting Started page.
1. Email Support
2. Setting Up Multiple Support Channels
3. Creating Engaging Branding
4. Web Support Portal
5. Customizing Your Web Support Portal
6. Segmenting Content by App or Language
To learn about additional features, please see our Getting Started page.
1. Email Support
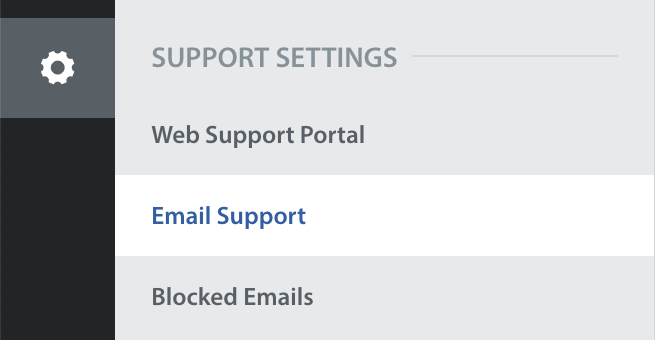
You can find your email support settings by navigating to Settings > Support Settings > Email Support.

On the Email Support Channels page, you’ll see your full email address listed like this: support@yourdomainname.mail.helpshift.com
You can also forward emails from your company’s previous email address/alias into Helpshift by setting up a forwarding rule within your email provider (Gmail, Yahoo, etc). This will cause emails sent to the old address to automatically populate your Helpshift Dashboard as Issues.
2. Setting Up Multiple Support Channels
If you have multiple products, you’ll want to set up different support channels for each one.
For example, if you have two apps, DemoLand and DemoWorld, you can offer users the support email addresses support@demoland.com and support@demoworld.com based on which app they’re using.
This gives the user assurance that they are reaching out to the right organization, and is helpful for you in targeting automatic email responses and creating custom branding.
To set up separately branded email channels, navigate to Settings > Support Settings > Email Support.
Scroll down to the bottom of the page and click the ‘Add Channel’ button.

A pop-up will appear where you can configure the Name, Email, and Auto-Response Message for this channel. Also, you can use a Text Template in the respective fields to send a response in the Issue language.

You can also add a forwarding address and select which app you want this channel associated with. Once you click ‘Save’, the new channel will be created.
3. Creating Engaging Branding
After you’ve created a new Support Channel, you’ll see the option to enable custom email templates. When you enable a custom template for a given channel, emails sent in response to issues from that channel will use the template.
You can also apply custom templates to your company’s default Support Channel, so your Agents’ emails will have a customized look and feel even when Helpshift can’t determine which app they are writing in about.
Click Enable custom email templates to bring up an editor view with the default HTML and text email template, both of which are editable.

Edits to the HTML or plain text will be validated, so you don’t have to worry about breaking the template. Invalid edits will throw an error pointing out the line that needs to be fixed.
You can reset your custom template back to the Helpshift default at any time by selecting ‘Reset to Default Template’ from the Settings icon in the top right. Alternately, you can revert changes made in a given session by selecting ‘Reset to Last Saved Template’.
You can also generate a preview of your email by clicking the ‘Preview’ button in the top right corner of the editor, then providing an email address for this email preview to be sent to.
4. Web Support Portal
When you initially sign up for Helpshift, you’ll be provided with a Web Support URL that you can use on your website. The Web Support Portal consists of your FAQs and a contact form that feeds issues straight into your Helpshift dashboard. Your Web Support Portal URL is structured as http://accountname.helpshift.com.
To set up your FAQs, see our guide on Creating & Publishing FAQs. To update your Web Support URL, see How do I change my Helpshift domain / Web Support URL?
5. Customizing Your Web Support Portal
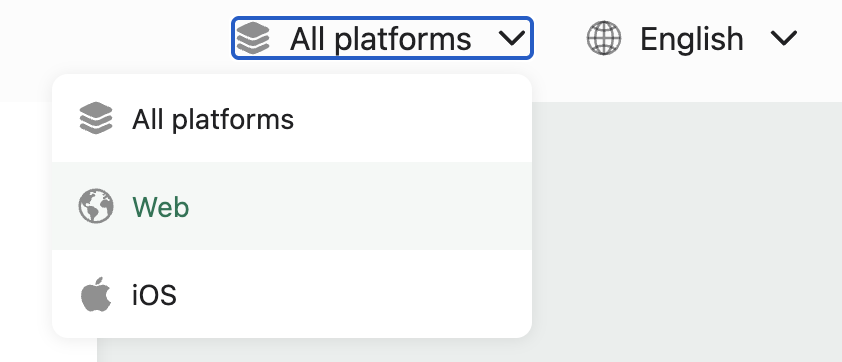
Customizing your web support portal is another great way of engaging users with your brand. To do so, navigate to Settings > Support Settings > Web Support Portal.

DEPRECATION NOTICEHelp Center 2.0 — which we released May 11, 2021 — does not support CSS customization. Instead, it features built-in customization tools. However, we continue to support your use of CSS-based customization until you upgrade from Help Center 1.0 to Help Center 2.0. |
From here, click the Customize button under the Web Support Portal Customization.
A pop-up will appear containing the default CSS for your Web Portal.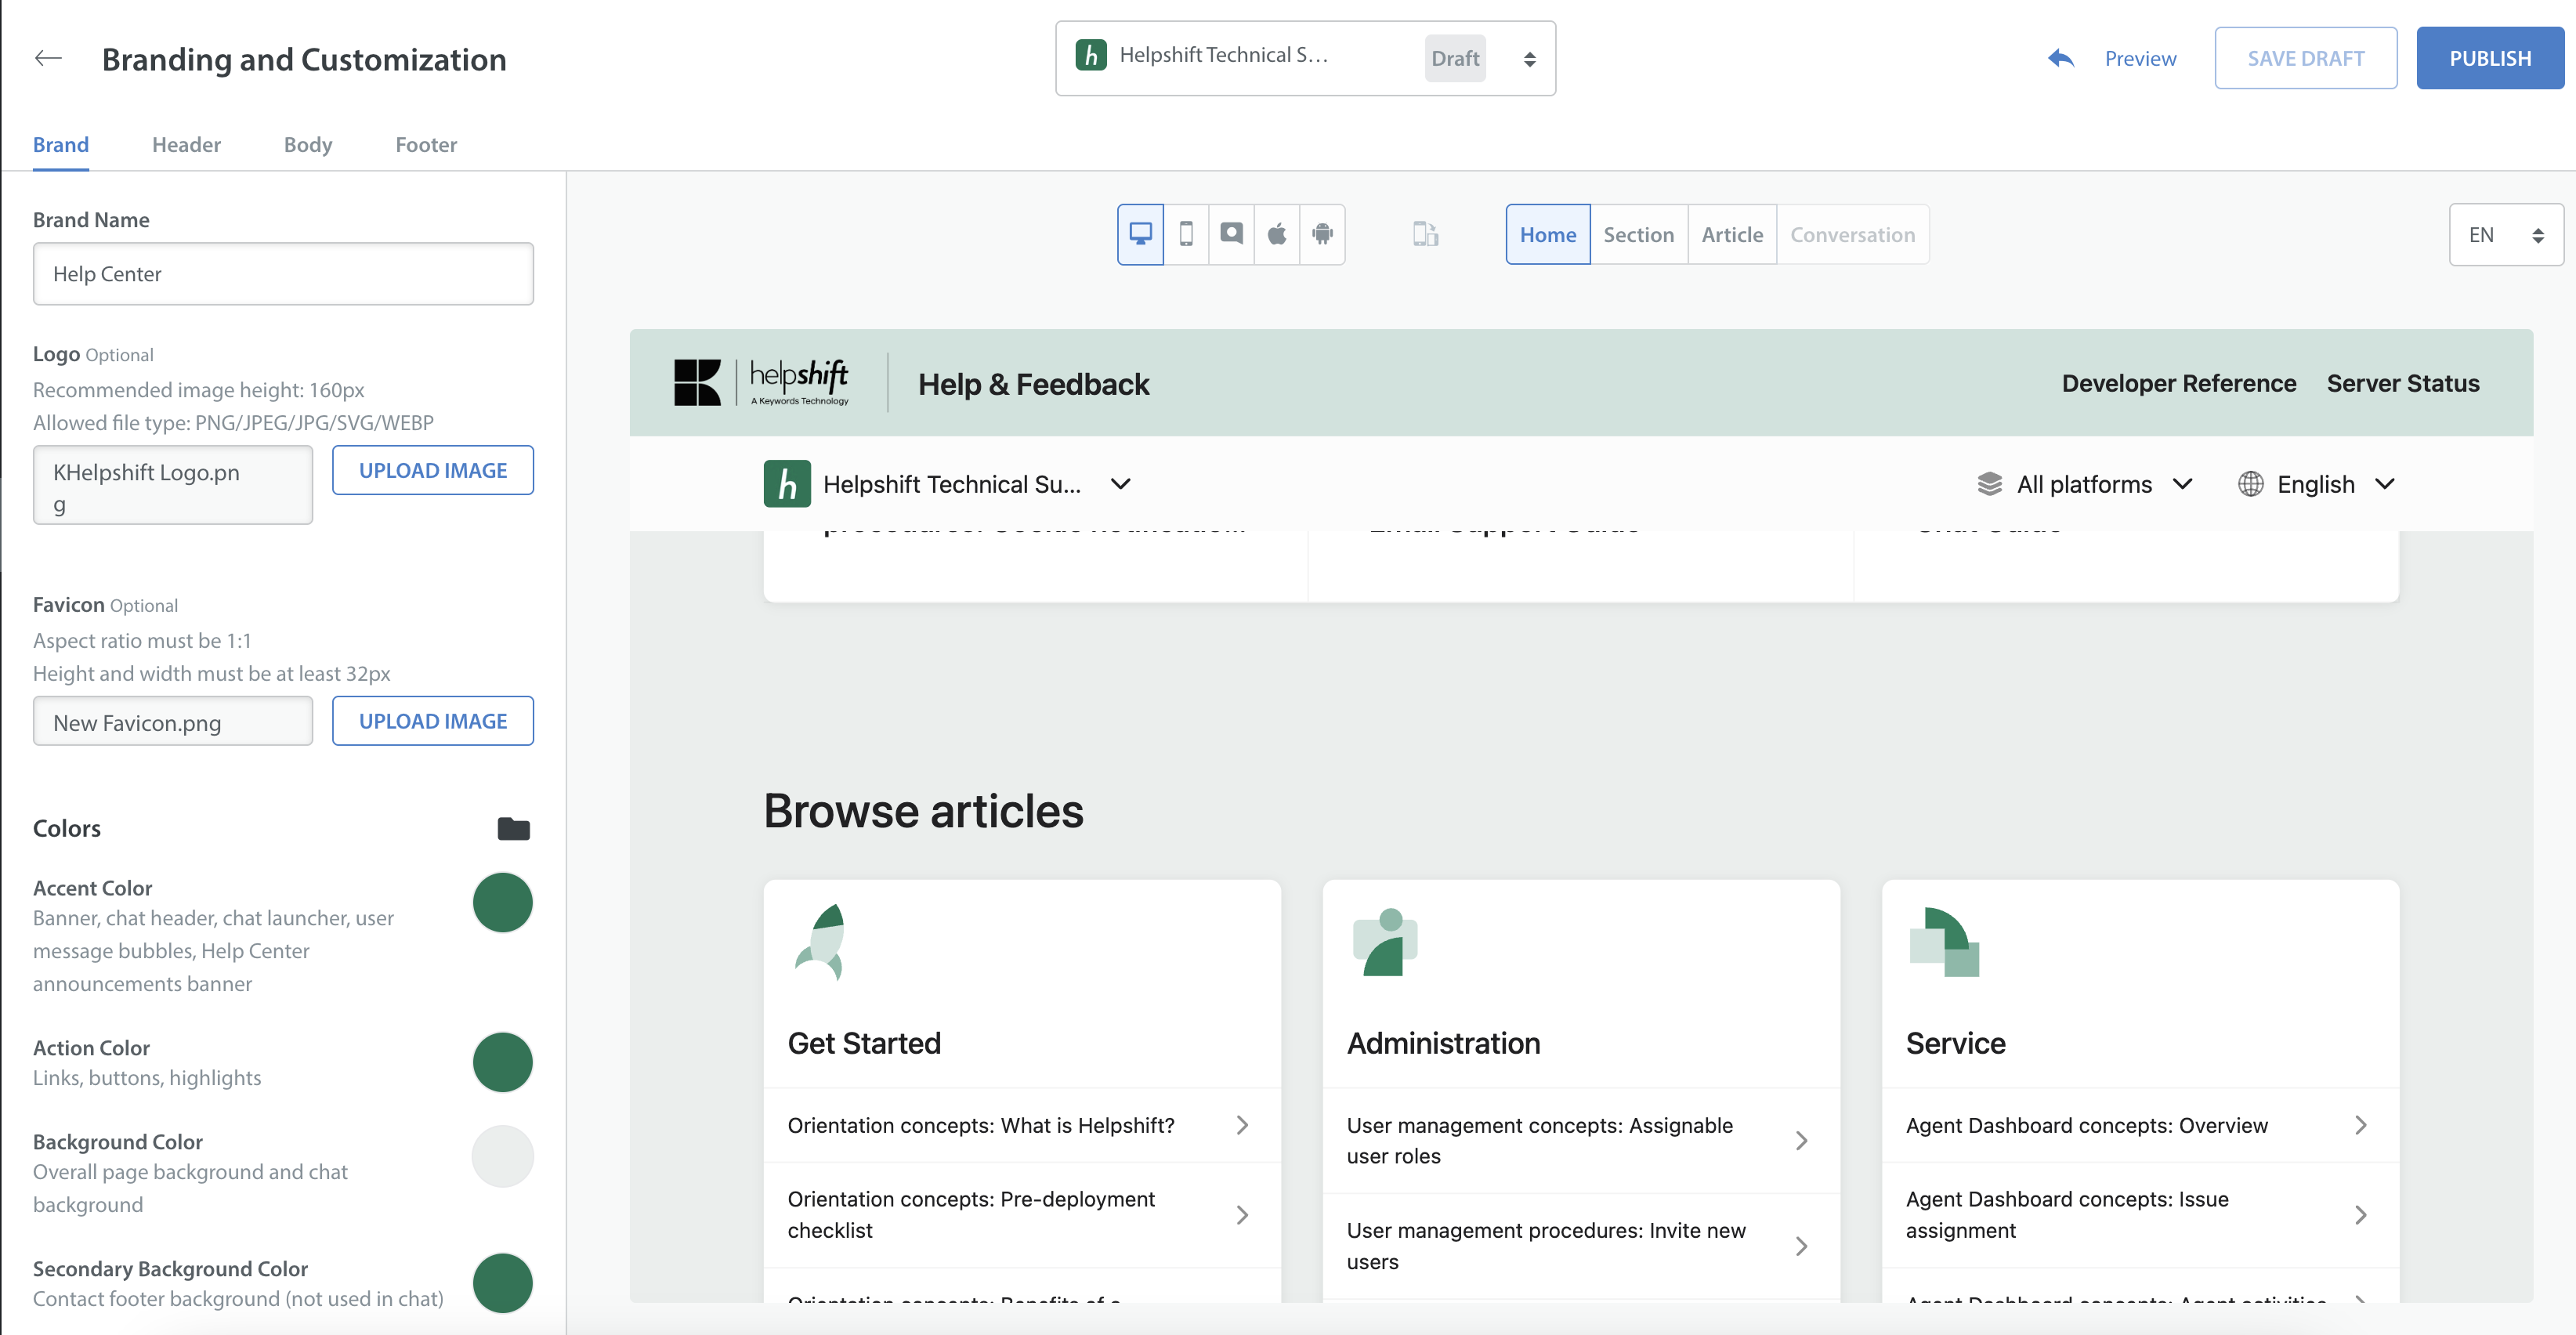
Work with your frontend developer to update this CSS to match your branding. For more information, please see our Developers Guide to Web Support Portal.
To learn how to customize your contact form to match your web portal, see How do I customize my Web Contact Us Form?
6. Segmenting Content by App or Language
To segment your content by app, navigate to Settings, click your app under App Settings, then click ‘Add Platform’. A pop-up will appear where you can provide the store URL.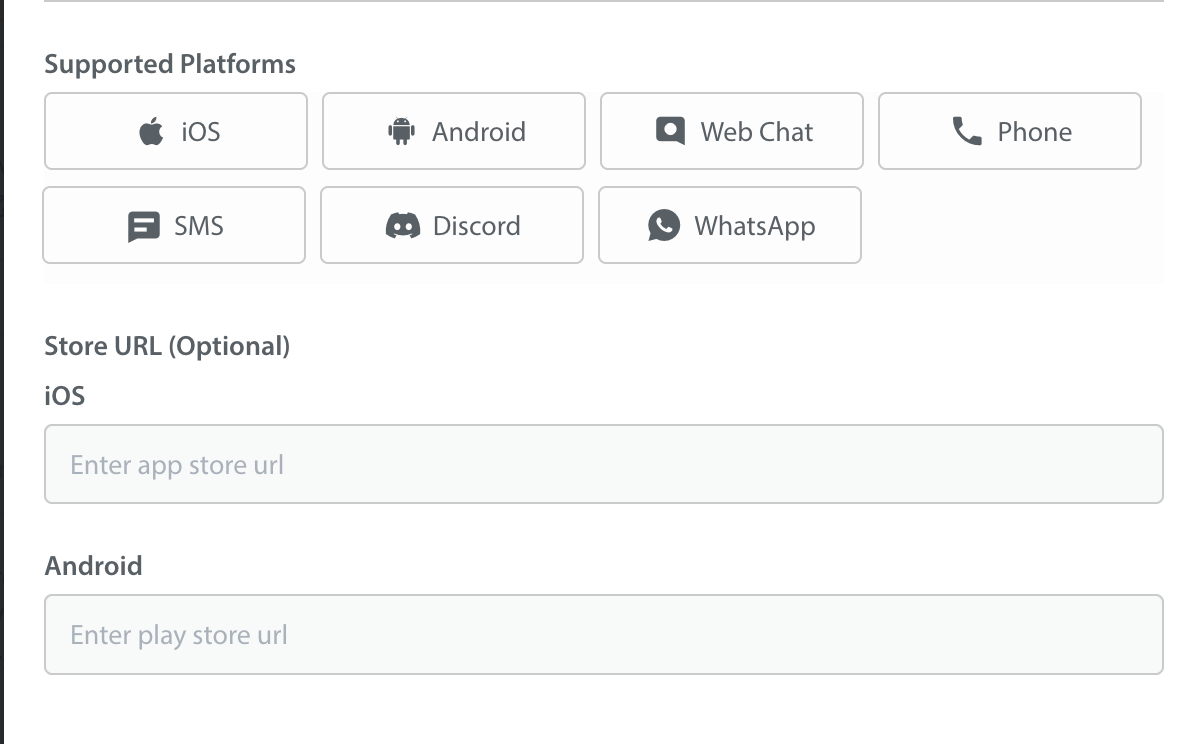
Once you’ve added your new platform, the Web Support Portal will display a drop-down menu where users can choose the platform they need help with.
To set up your Web Support Portal in different languages, first add languages to your app in your main App Settings page. You can do so by navigating to Settings, selecting your app, then scrolling down to the Languages Supported area.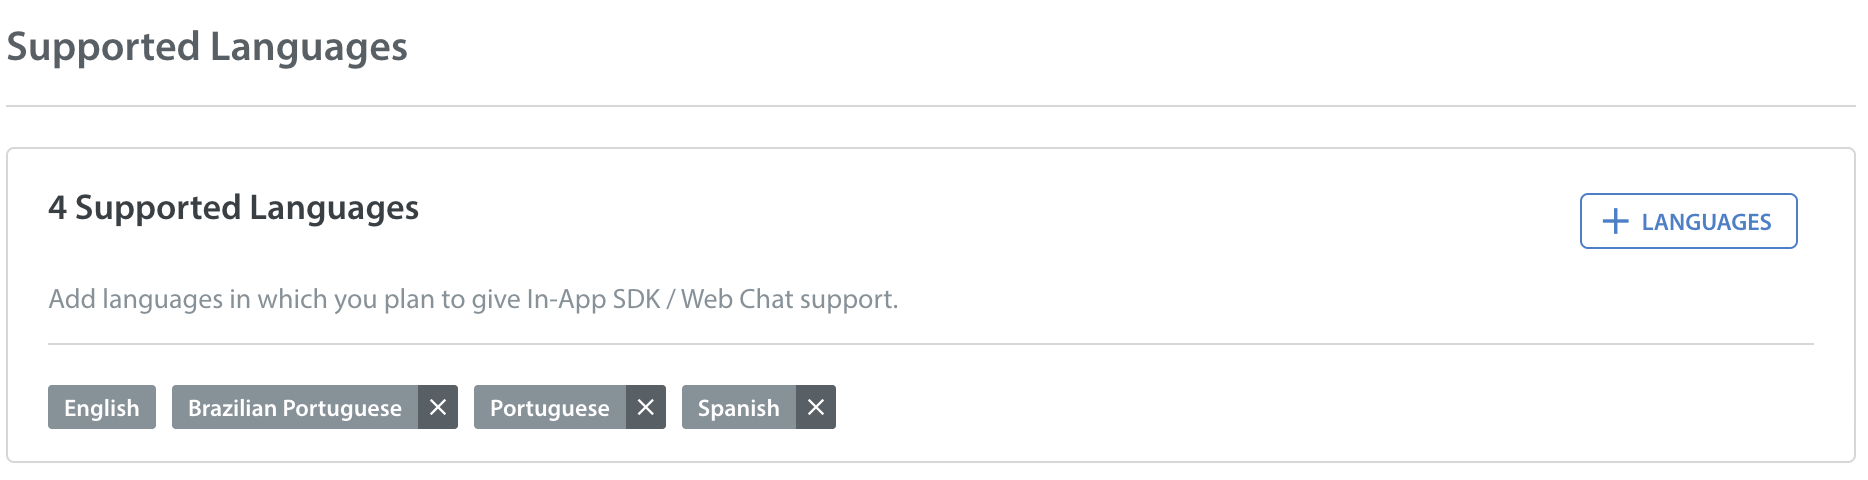
Once you’ve added the languages you’d like to support, navigate back to the FAQs area to add FAQs for each language. For help with this, see our guide on Creating & Publishing FAQs.
After you’ve added your languages and FAQs, users will see these languages as available via the ‘Languages’ drop-down on the bottom right side within the Web Support Portal.
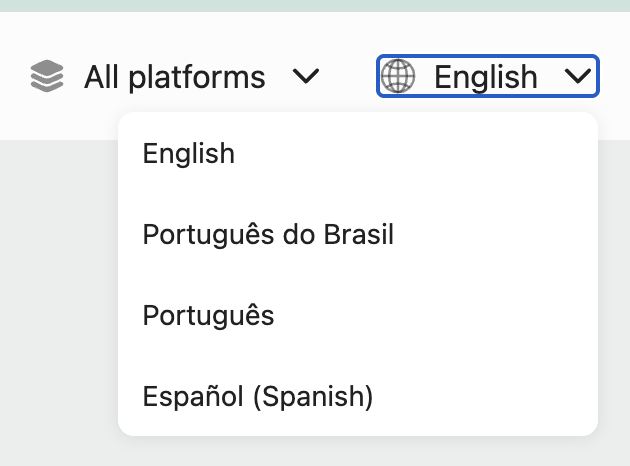
To see the various languages and their codes, see our developer documentation for our list of supported languages in iOS and Android.
To set up additional features and learn more about Helpshift best practices, please review our Knowledge Base.