Note: This feature is available for Enterprise and Growth plans.
Introduction
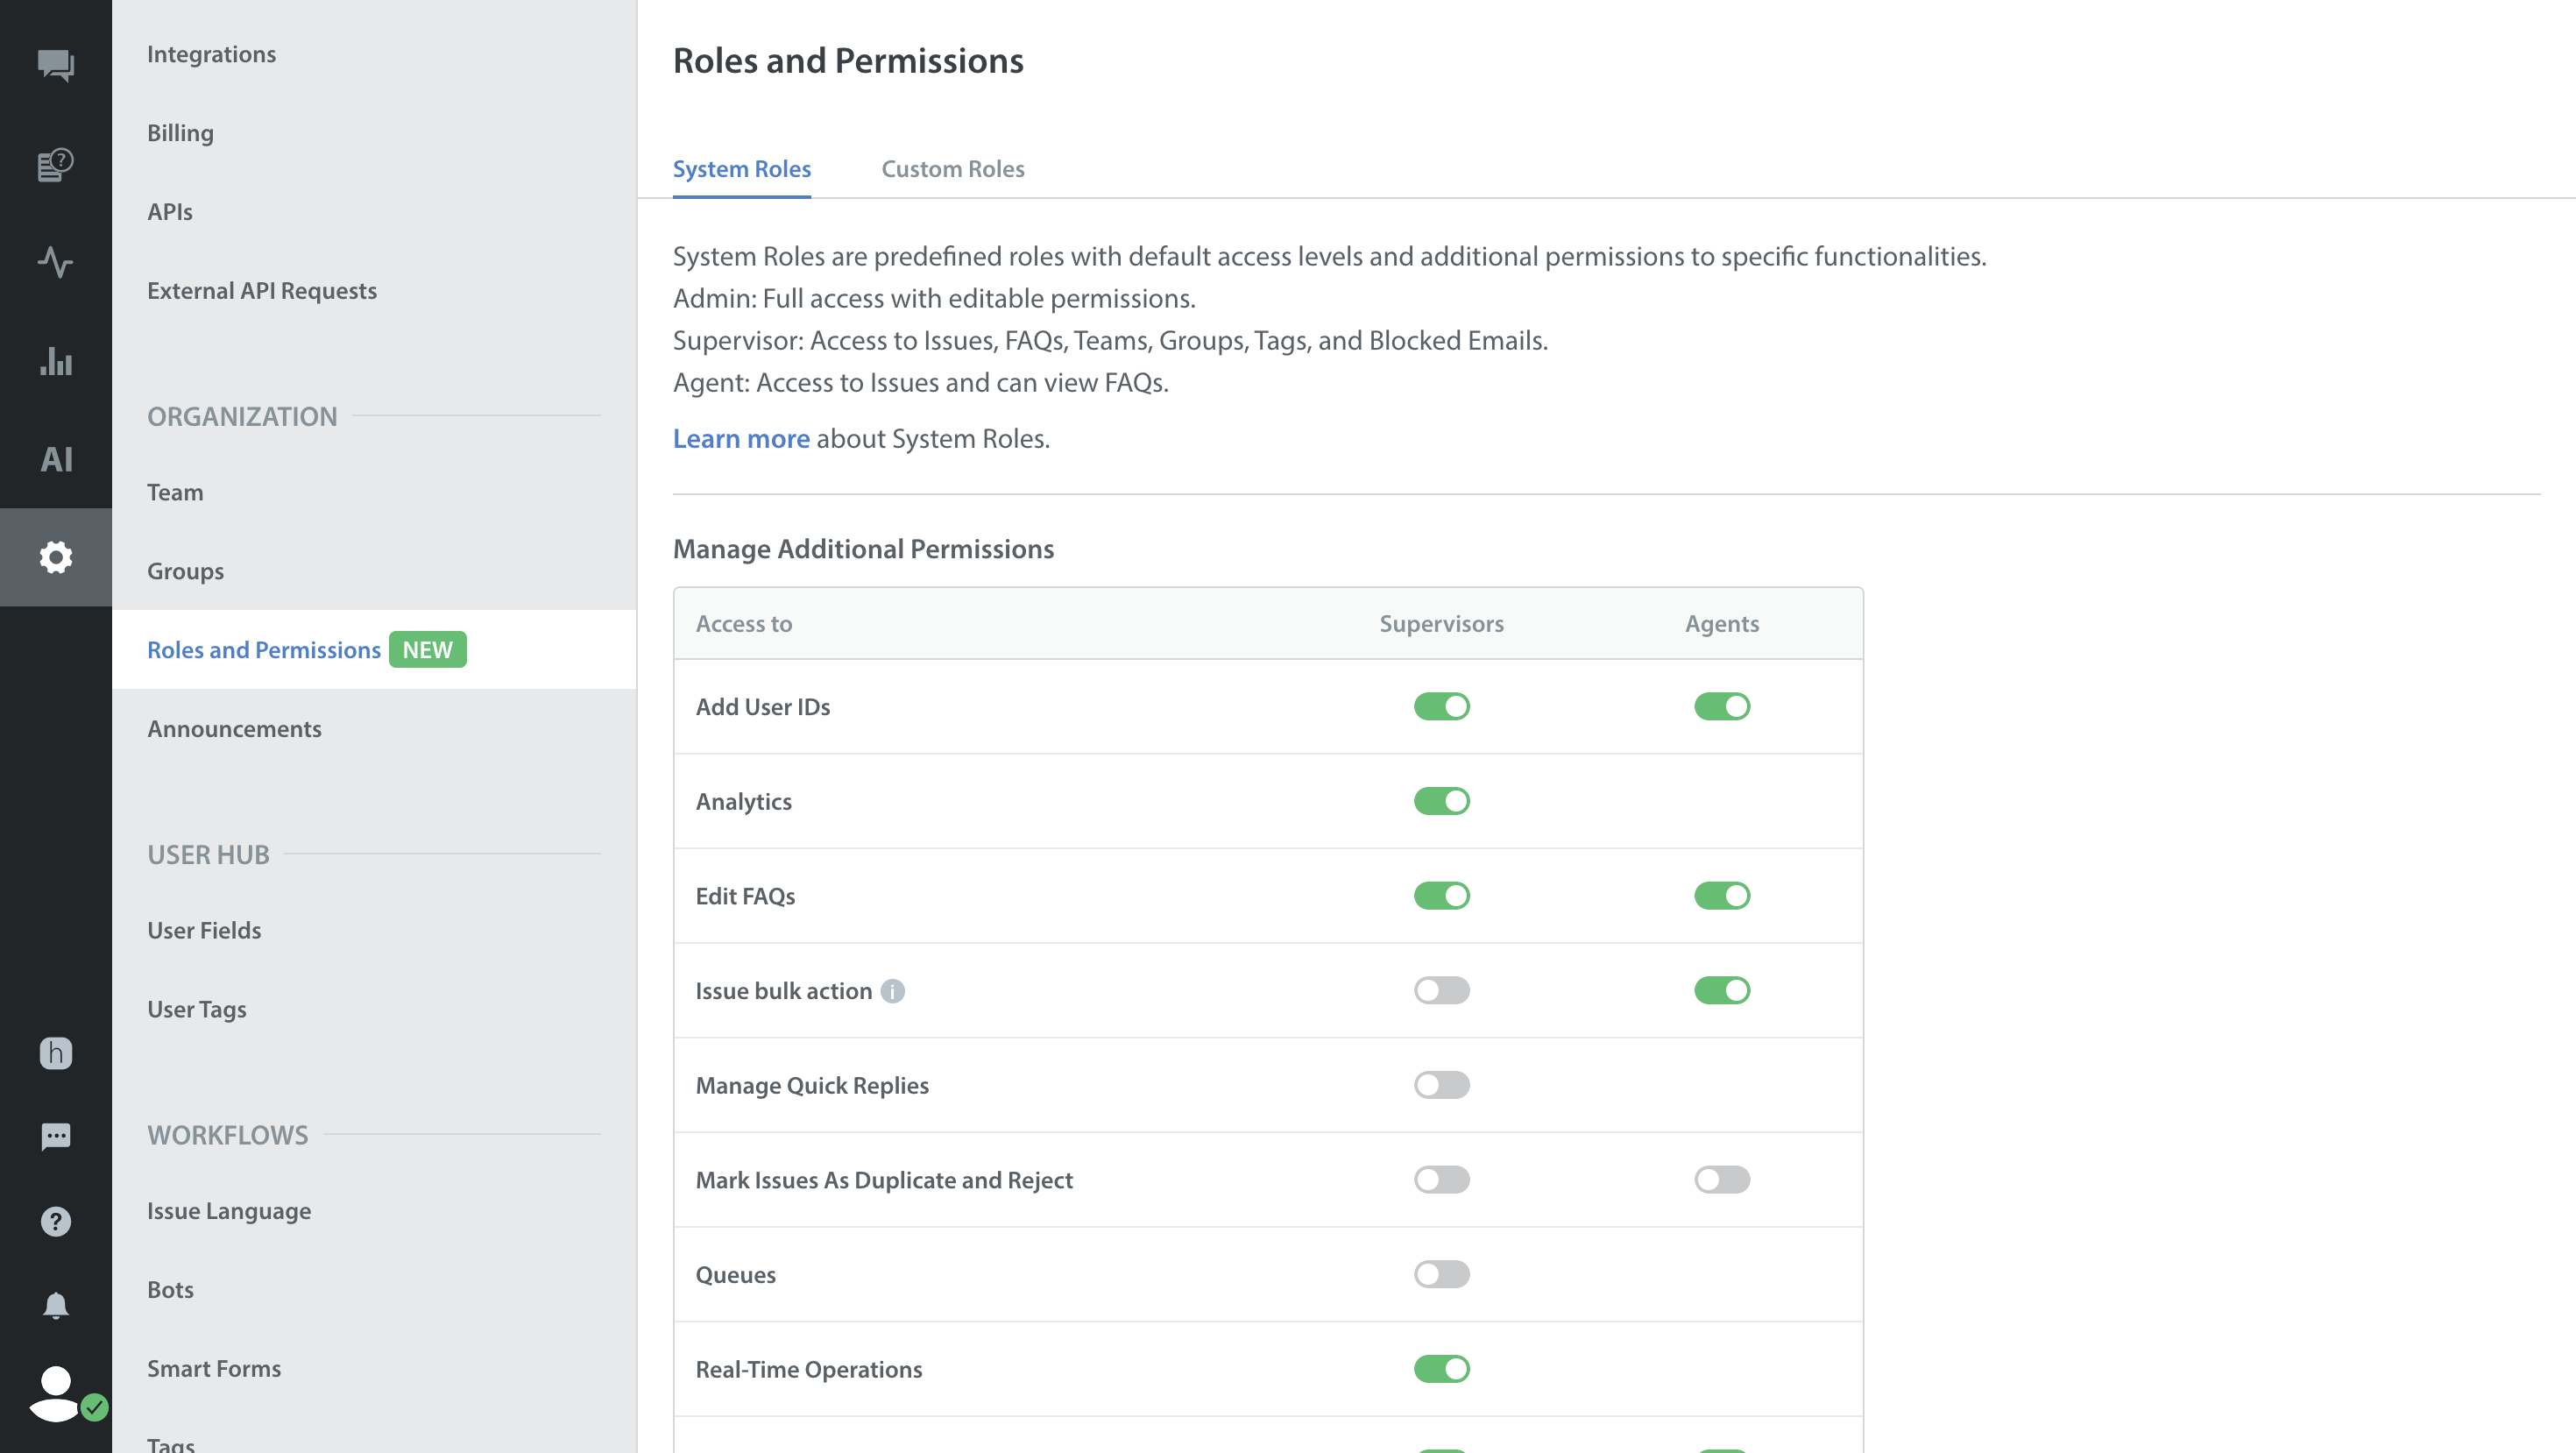
Custom Roles feature offers administrators a flexible and robust system for defining and managing specific permissions for team members. Custom Roles can be accessed from the Roles and Permissions page under the Organization section in Settings. The Roles and Permissions page consists of two tabs - System Roles and Custom Roles.
The System Roles tab provides details about the existing pre-defined roles (Admin, Supervisor, and Agent) and their additional permissions. Learn more
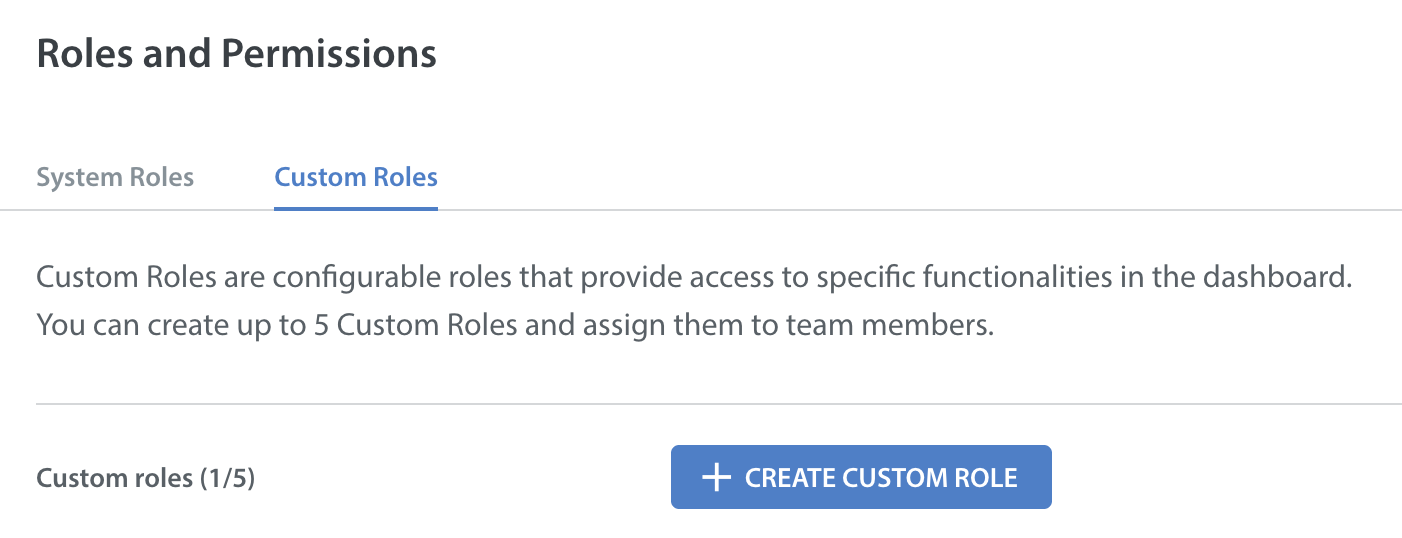
The Custom Roles tab allows administrators to create custom roles with role-based access to specific dashboard functionalities, offering tailored access for team members based on organizational needs. This enhances both security and operational efficiency.
Only Admins can create the Custom Roles.
Creating a Custom Role
Custom roles can be created to provide team members with access to specific functionalities. Follow the below steps to create a custom role:
- Log in to your Helpshift domain as an administrator.
- On the Helpshift toolbar, click Settings.
- Scroll to the ORGANIZATION area and click Roles and Permissions.
The roles and permissions page displays.
- Navigate to Custom Roles tab and click the CREATE CUSTOM ROLE button.

The create custom role pop-up opens.
- In the Custom Role Name field, enter the custom role name.
- In the Role Description field, enter the custom role description. (Optional)
- In the Base Role section, select the appropriate base role.
The access permissions of the selected base role will be applied to the Custom Role. - In the Manage Access section, select the checkbox for the required permissions of Custom Role.
Note: You may see some pre-selected permissions based on your base role selection.
- Click CREATE.
The custom role will be created successfully and displayed under the Custom Roles tab.
Assign a Custom Role to team member
After creating the custom role, you can assign it to team member. Follow the steps to assign a custom role to team member:
- Log in to your Helpshift domain as an administrator.
- On the Helpshift toolbar, click Settings.
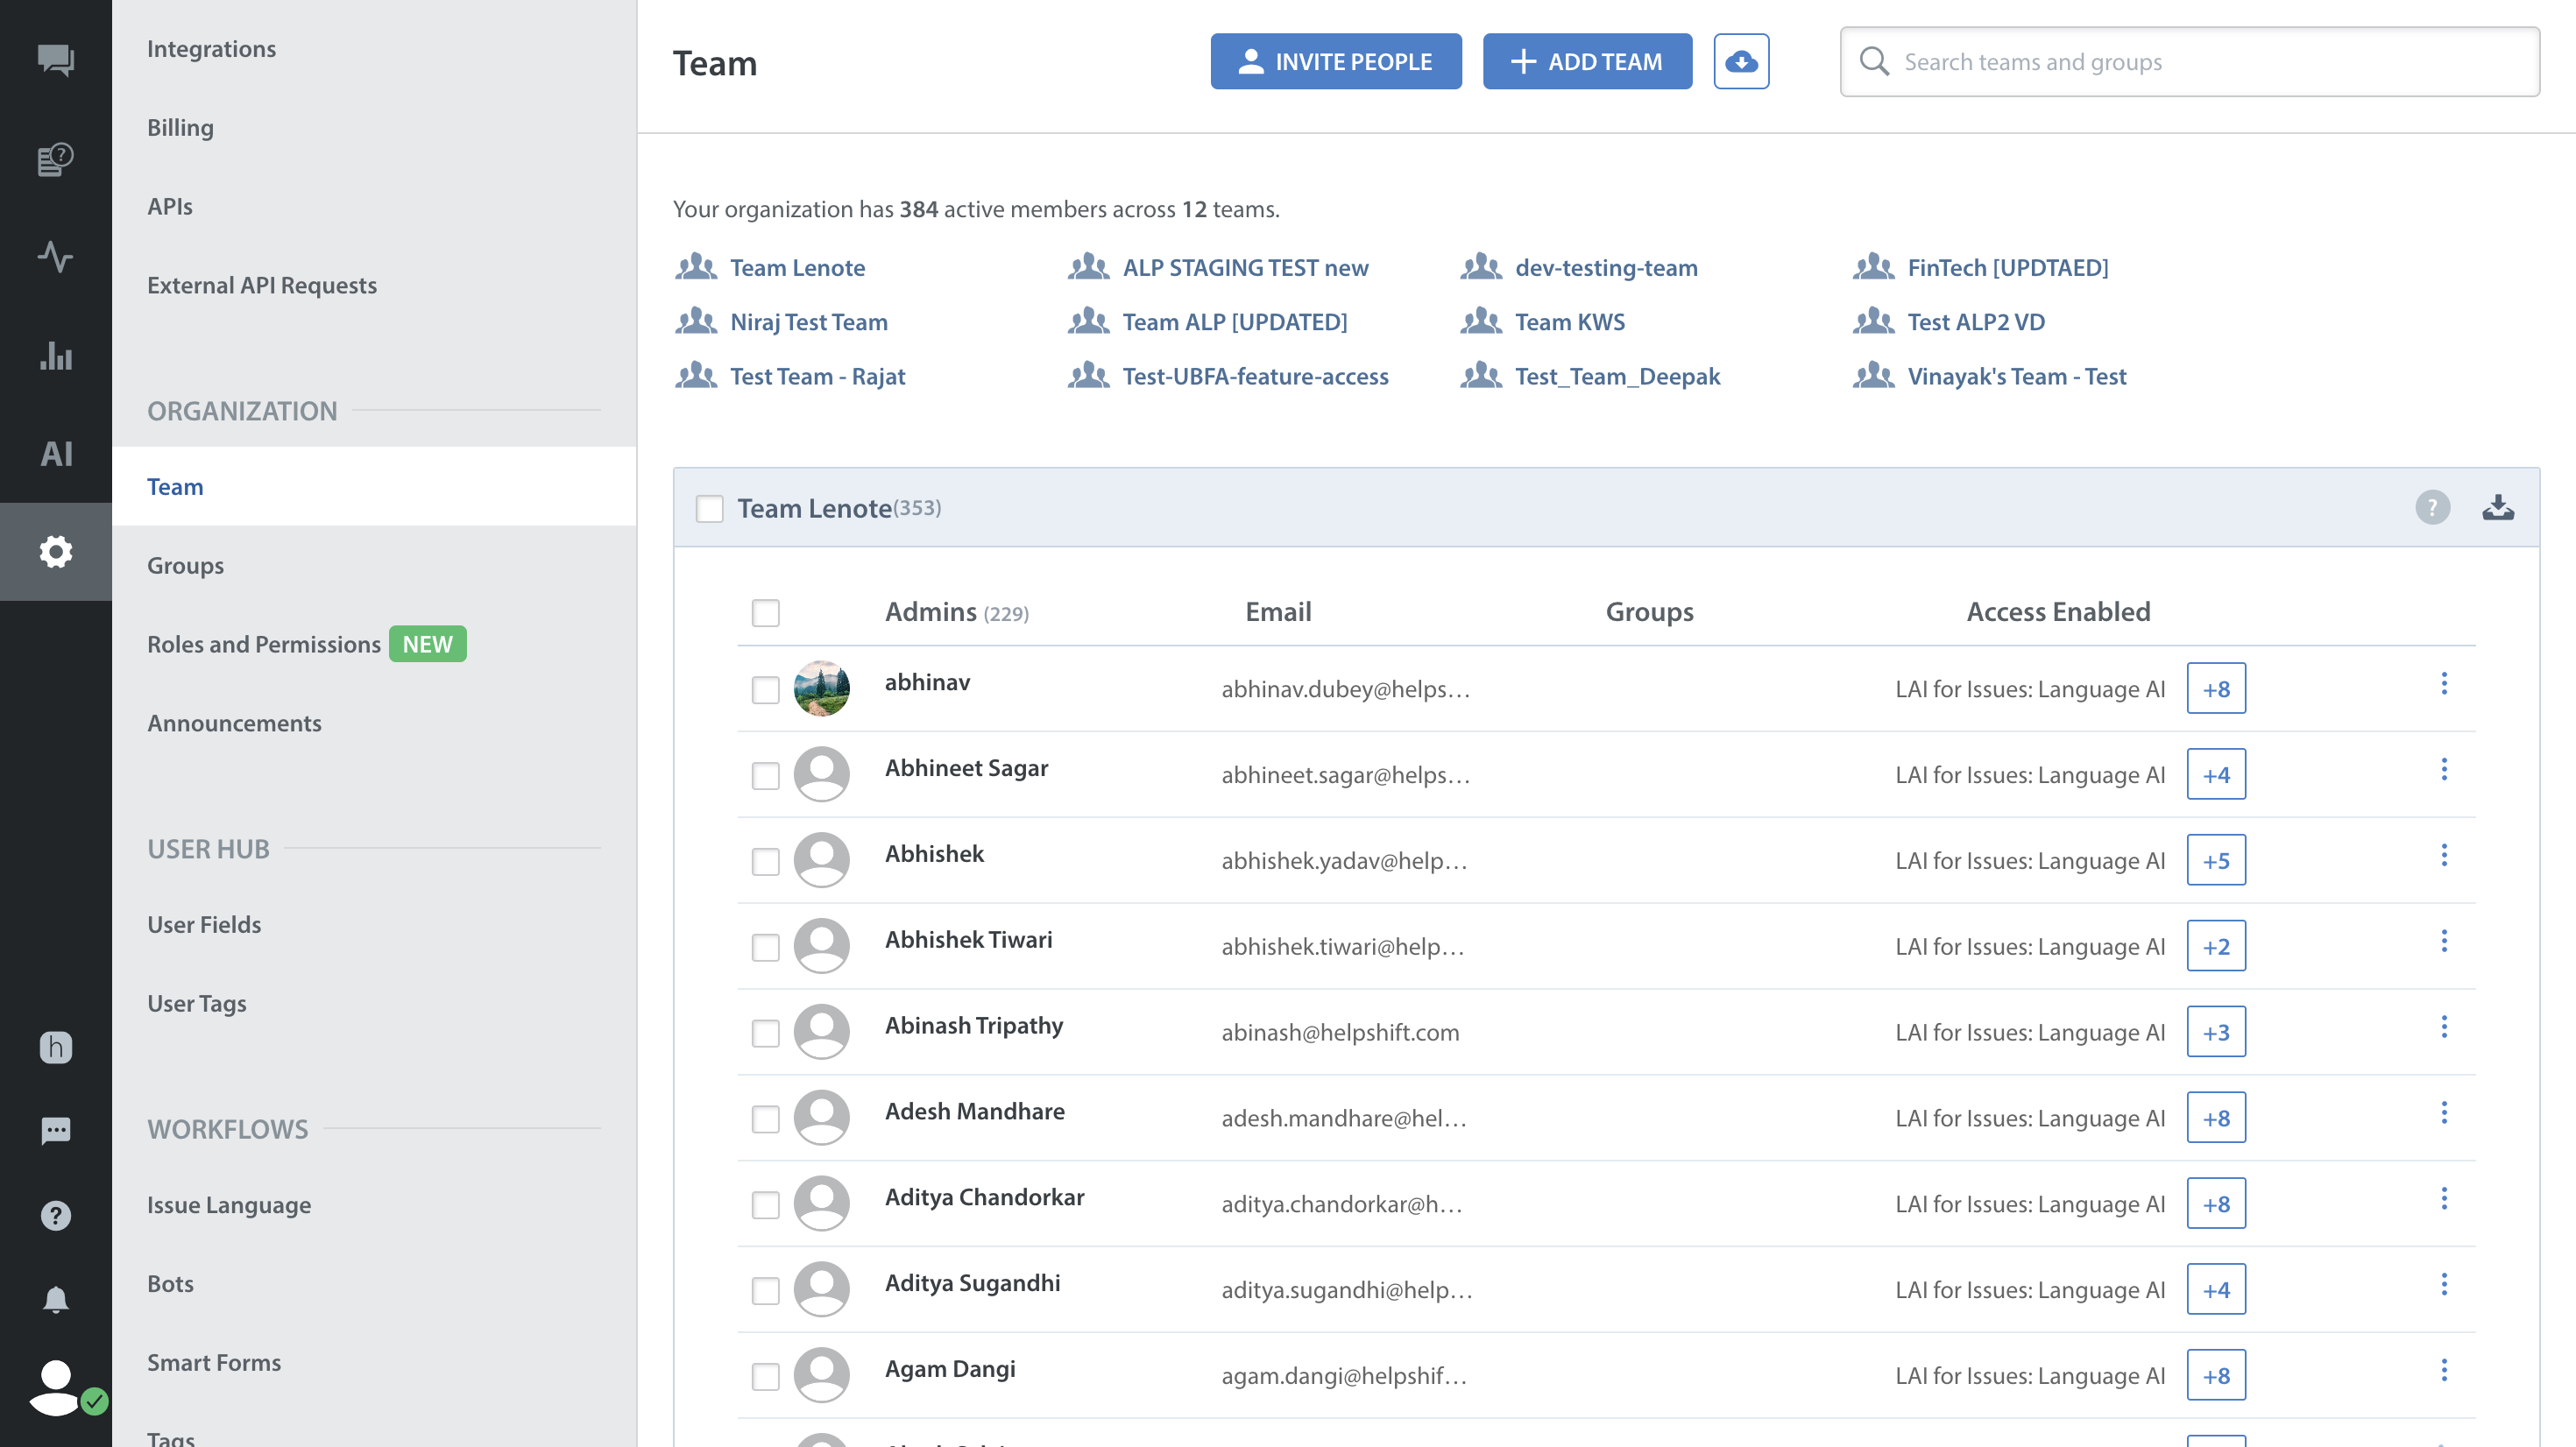
- Scroll to the ORGANIZATION area, and then click Team.
The team page displays the list of teams and team members in the organization.
- Select the team member for whom you want to change the role and click Settings icon next to the team member's name.
The user settings page displays.

- Under the Role field, click the drop-down and select the role from the Custom Roles tab.

- Click SAVE.
Now, the selected team member will have access as per the permissions in the custom role. - Now, this team member will be displayed under the assigned Custom Role section on the Teams page.
Note: You can create up to 5 Custom Roles.
