
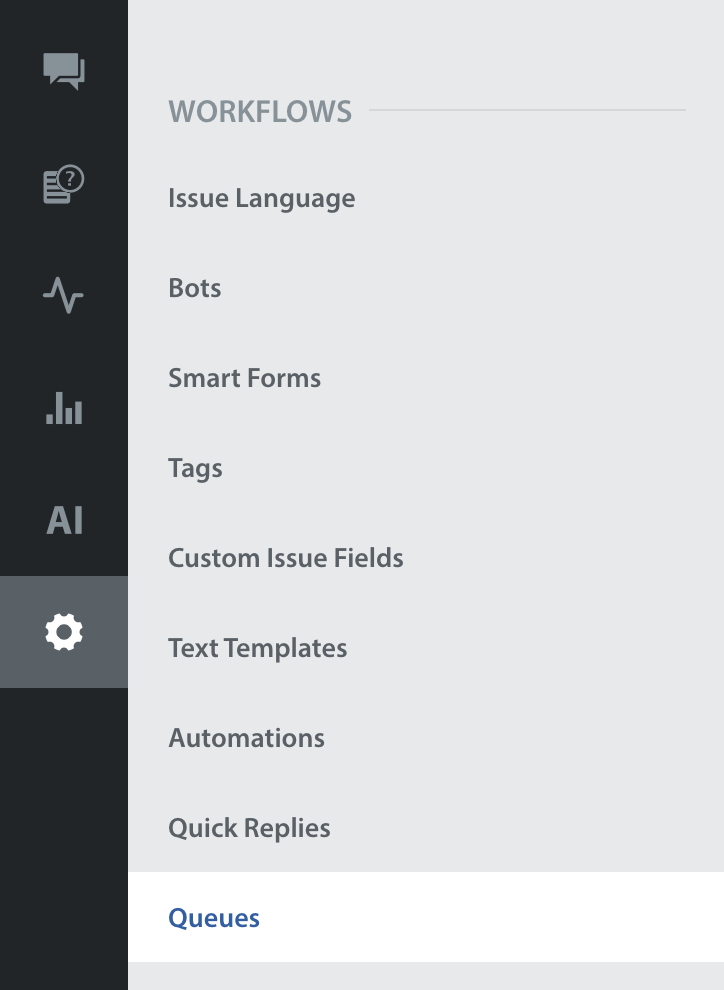
You can manage existing Queues and create new Queues by navigating to Settings, then selecting ‘Queues’ under the ‘Workflows’ category.
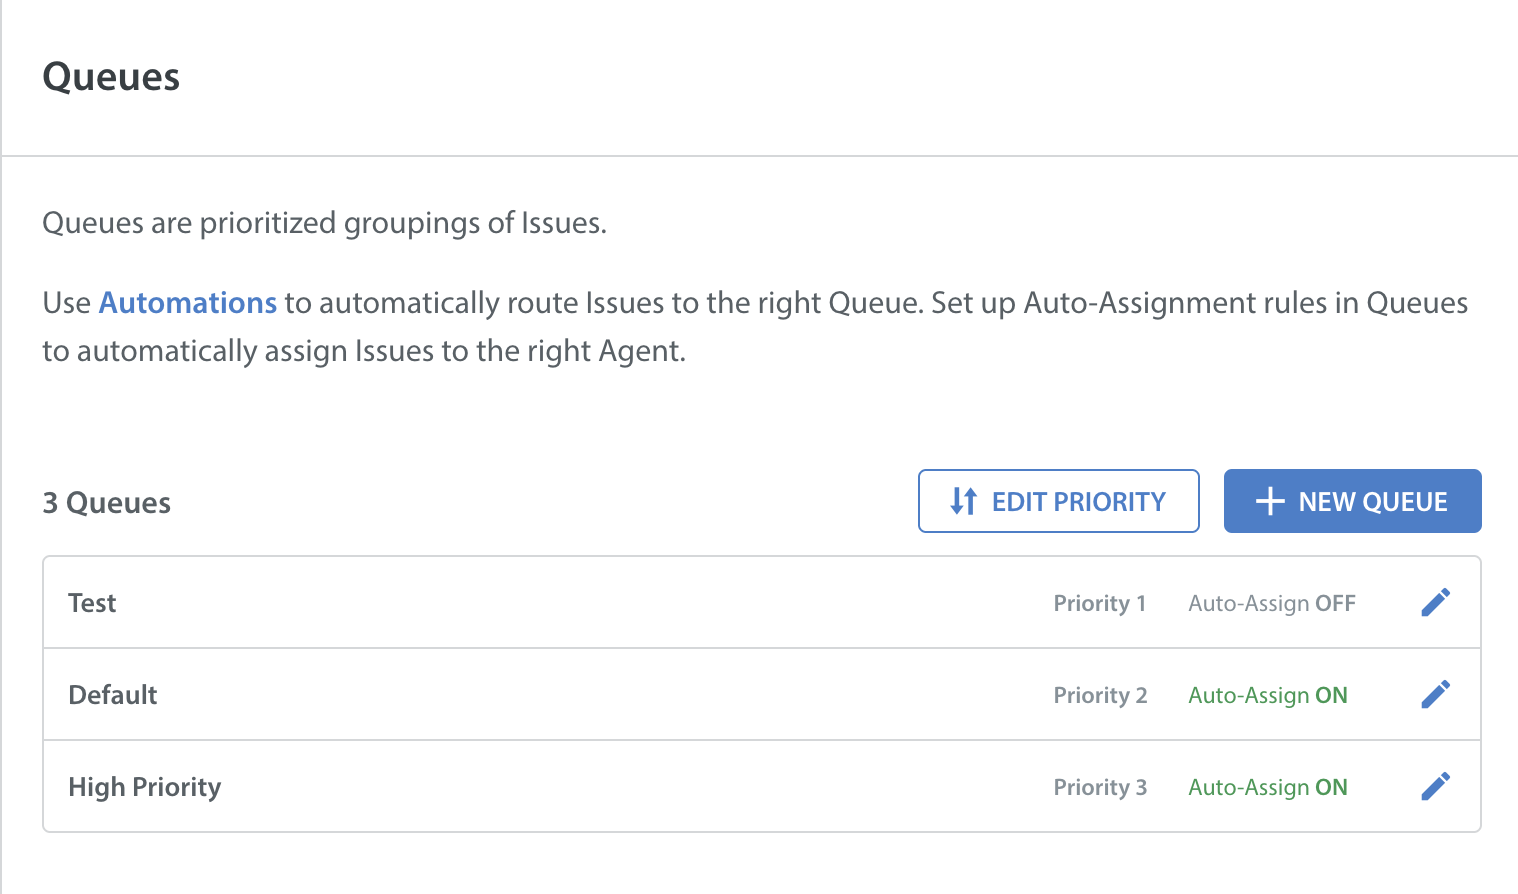
On this page you will see a list of any existing Queues you have previously created, including the default Queue. To learn how to create Queues, see How do I create a new Queue? If you need to delete Queues, see How do I delete a Queue?
To manage your existing Queues, select the pencil icon to the right of the Queue you’d like to update.
A pop-up will appear where you can edit all of the Queue settings, including the Queue name, Assignees, Team Configuration, and more. You can also add an optional Fallback Message to send to users when their Issue enters this Queue.

Click the ‘Save’ button in the bottom right to confirm your changes.
You can also edit the Queues priority from the Queues page. To do so, navigate back to the list of Queues and click the ‘Edit Priority’ button on the right.

The page will change to allow you to reorder the list of active Queues. Click on the drag-and-drop marks to the left of each Queue on the page to move those Queues up or down to rearrange their priority.
Once you click the ‘Save Changes’ button, the list of reordered Queues will appear on your Queues page.
Note: The default Queue cannot be renamed.