
To create a new Queue, proceed as follows:
- Navigate to the Settings.
- Under WORKFLOWS, select Queues.
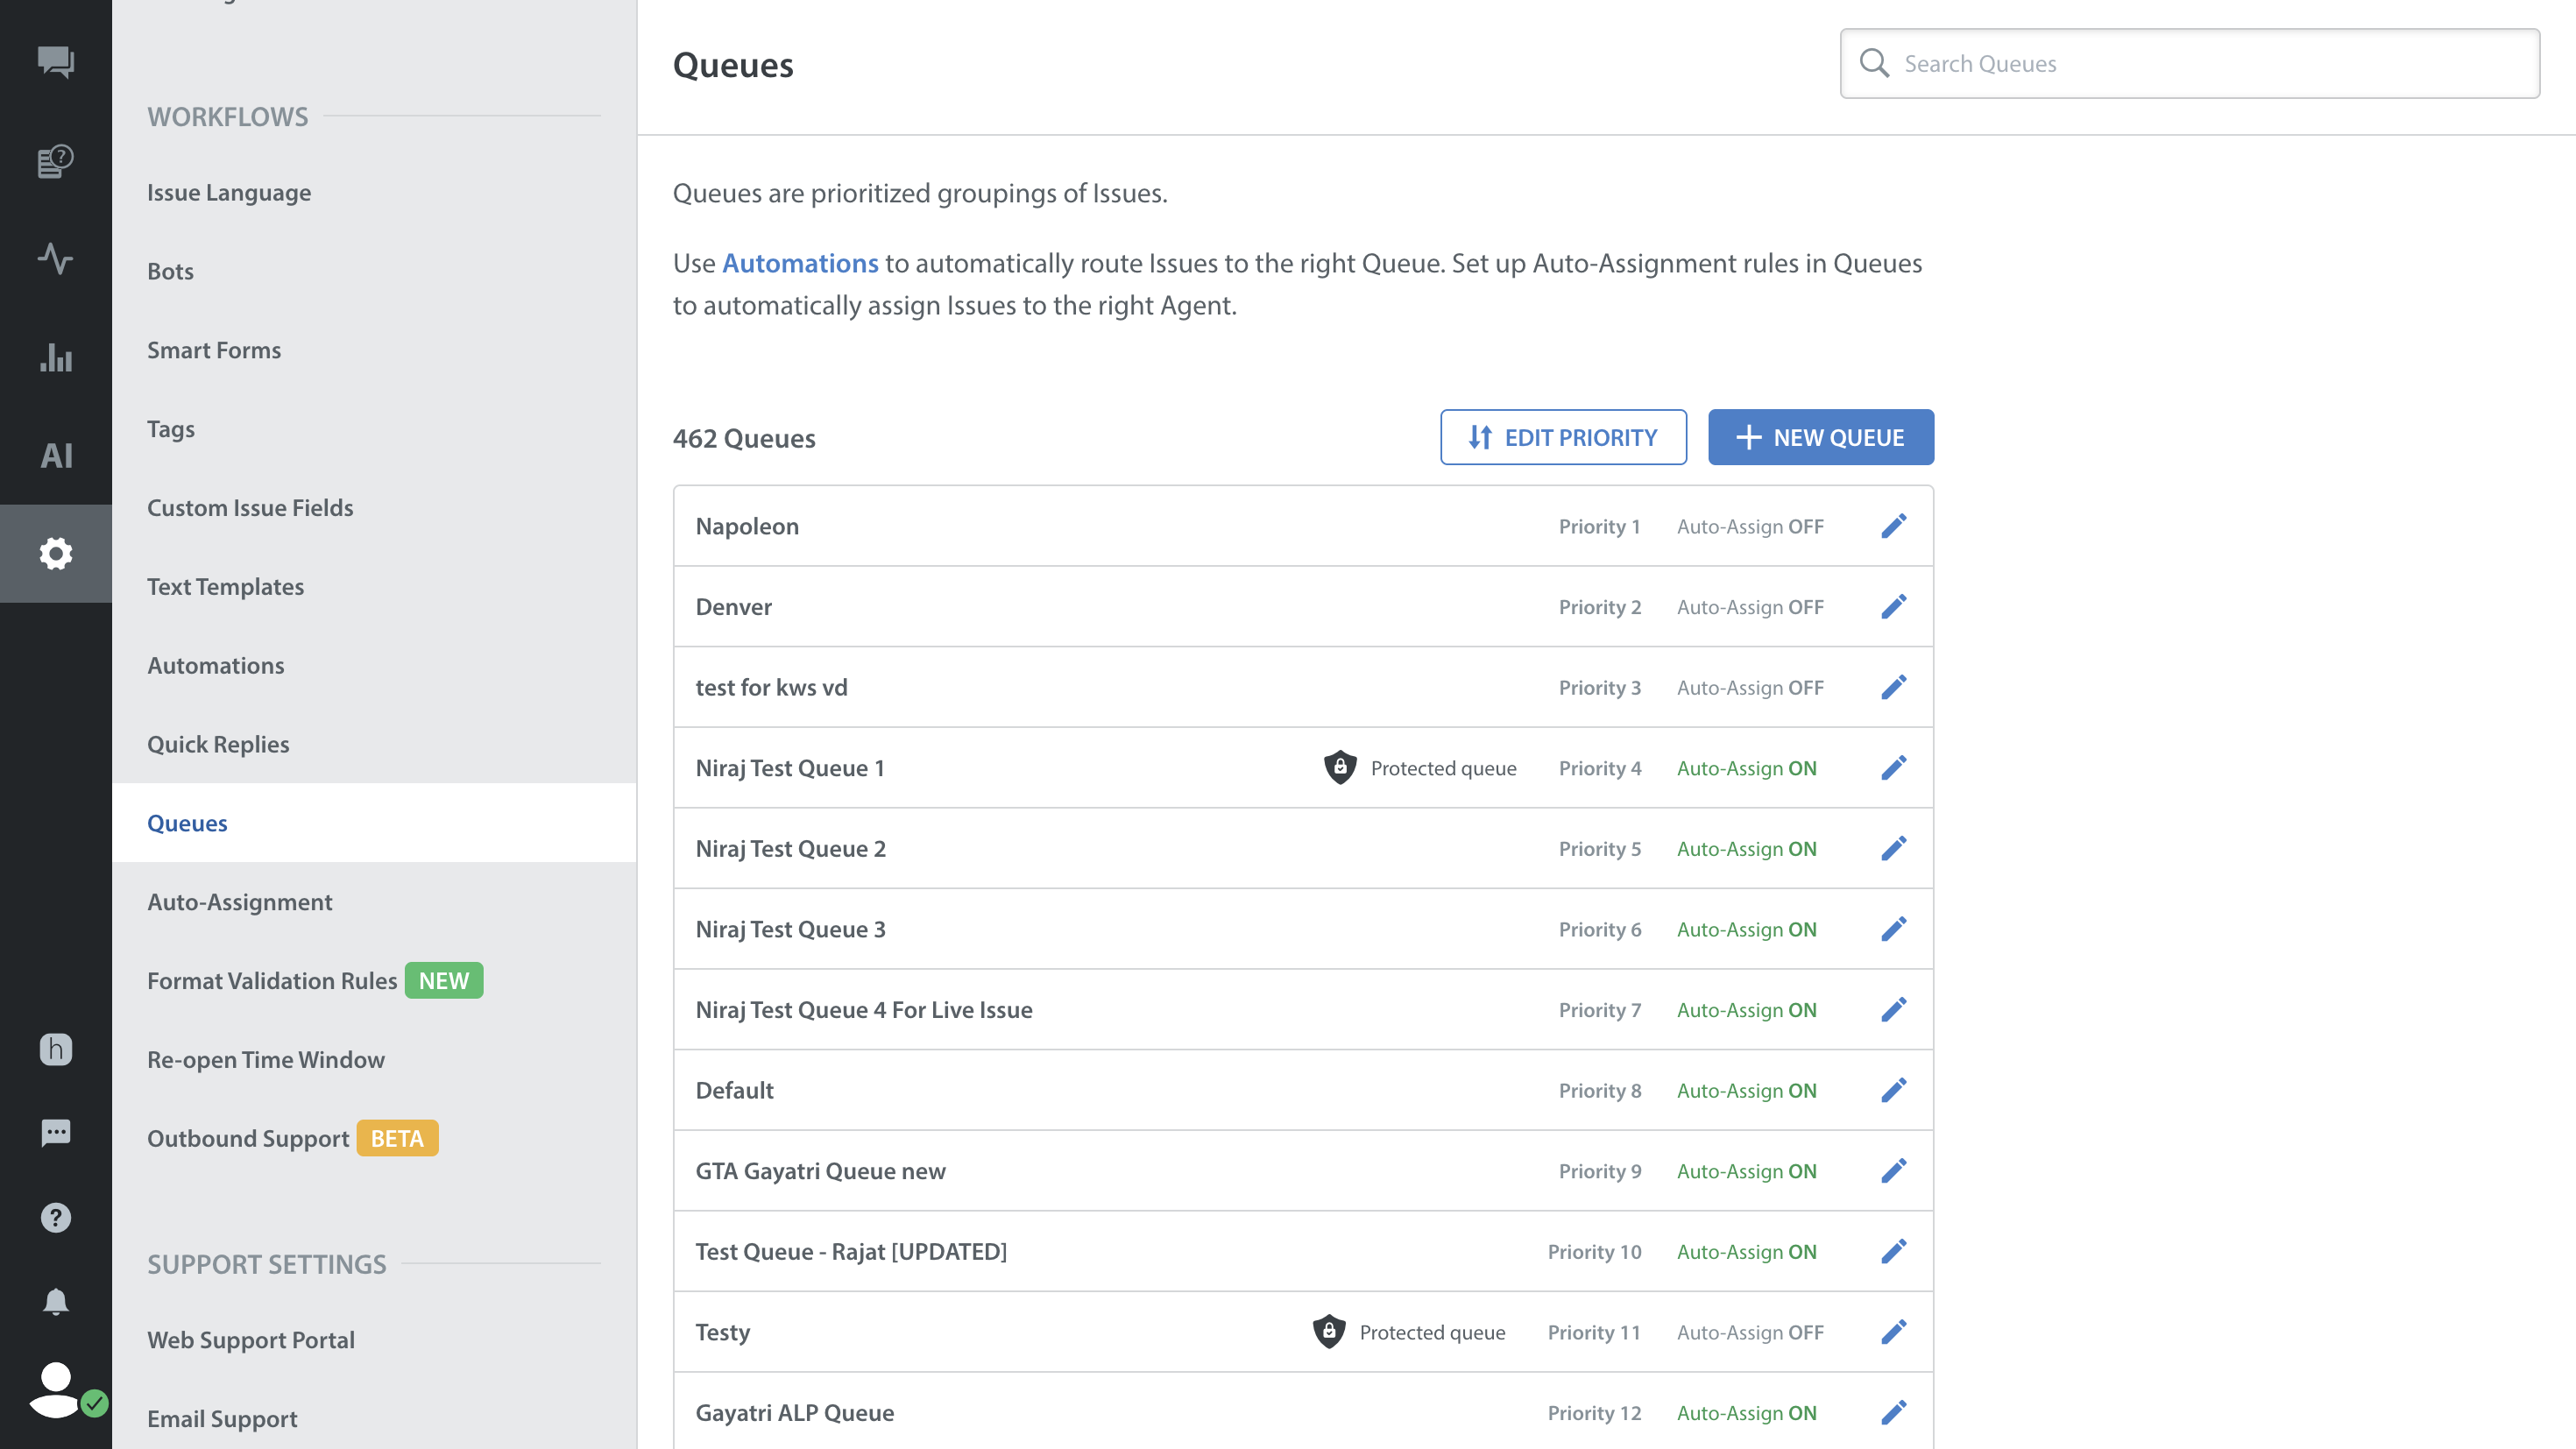
- On the page that appears, click the + NEW QUEUE button.

- The New Queue pop-up will appear where you can enter the name and priority for the new Queue, and also select the Issues should be Auto-Assigned to the Queue by setting the ‘Auto-Assign Issues in this Queue’ toggle to on or off.

If you select that toggle, you’ll see options for adding Groups and individual members to the Queue and a text field for a fallback message. This is a message that will be sent to an end user if their Issue is not assigned immediately after it enters the Queue.

- Click Edit Team Configuration to open up additional options for limiting Issues per team member and selecting whether to assign Issues to all team members, or just available ones. You may also select whether to exclude ‘Agent Replied’ Issues from the limit, and whether Issues can be assigned to Supervisors.

- Click SAVE to add the Queue.
It will now appear on your list of Queues on the Queues page.
- To manage existing Queues, see Where do I manage Queues?
- To delete a Queue, see How do I delete a Queue?