
A Custom Issue Field can be removed from your list of active fields in 2 ways: it can be archived, and then after it is archived, it can be deleted.
Archiving a Custom Issue Field will remove the field from older Issues, and make it unusable within Advanced Searches. It will still be available as a filter within any Smart Views (though they will turn up no results), Saved Searches, and Automations that it was previously added to; however, you will not be able to edit it in those places, and will only have the ability to remove it.
Deleting a Custom Issue Field effectively removes the field in every place it has appeared in your Dashboard. This action cannot be reversed.
To archive or delete a Custom Issue Field, first navigate to Settings > Workflows > Custom Issue Fields.
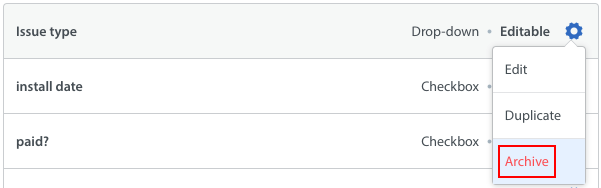
On this page, click the gear icon to the right of the Custom Issue Field you’d like to archive, then select ‘Archive’.
A pop-up will appear reviewing what will happen when this Custom Issue Field is archived.
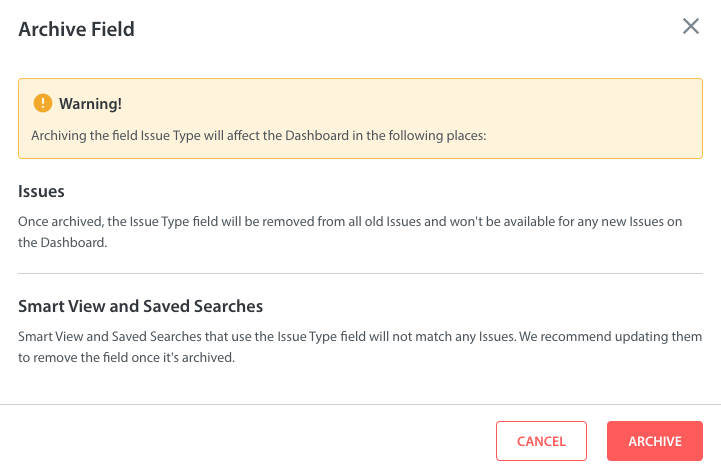
Click ‘Archive’ to complete this step. This field will now appear under the ‘Archived’ tab on the Custom Issue Fields page.
If you review any Smart Views or Automations associated with the Smart View, a pop-up will appear letting you know that the Custom Issue Field cannot be edited.

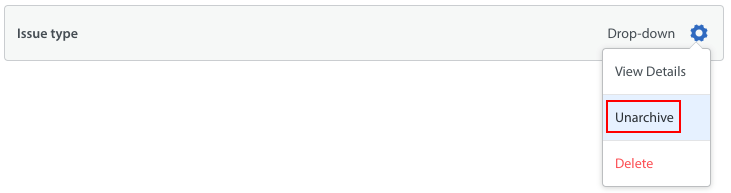
An archived field can be unarchived by selecting ‘unarchive’ in the drop-down next to the field on the Archived Custom Issue Fields page.
Please note: once a Custom Issue Field has been unarchived, it will automatically be placed at the bottom of the list of archived Custom Issue Fields.
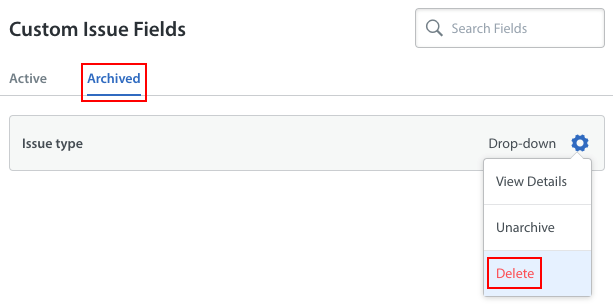
To delete a Custom Issue Field, navigate to that field on the ‘Archived’ tab, click the gear icon on the right side of that field, then select Delete.
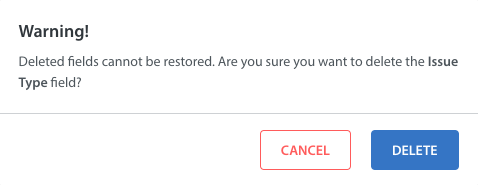
A pop-up will appear confirming that this field cannot be restored once deleted. Click ‘delete’ to confirm this action.
Once deleted, the Custom Issue Field will no longer appear anywhere in your Dashboard, including within Issues, Smart Views, Automations, Analytics, and Saved Searches.