
Please note: you must be an Admin to create and manage Custom Issue Fields.
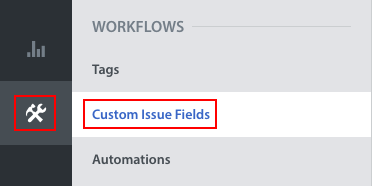
To create a new Custom Issue Field, navigate to Settings > Workflows > Custom Issue Fields.
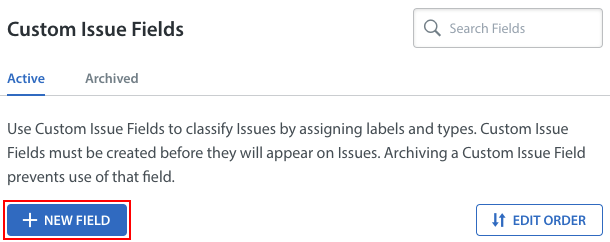
The Custom Issue Fields page lists all of the active and archived Custom Issue Fields associated with your Helpshift Dashboard. To add another, click the ‘New Custom Issue Field’ button.
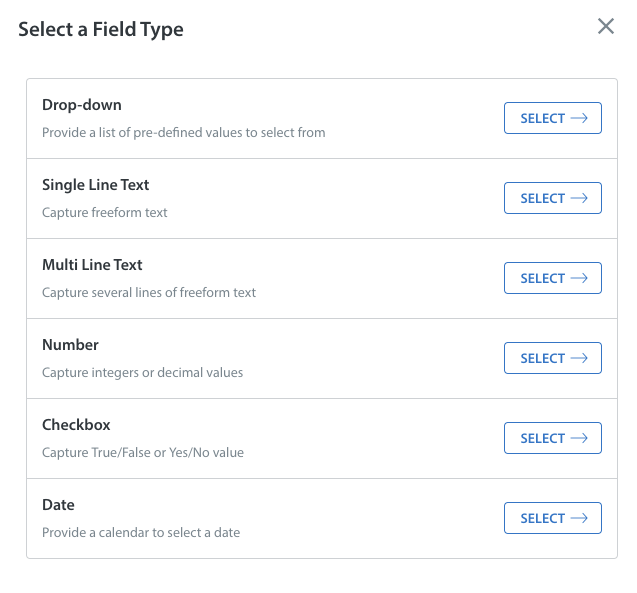
On the page that appears, you’ll be prompted to select the field type, which is the type of data you want to allow your Agents to be able to input into the field. Available field types are as follows:
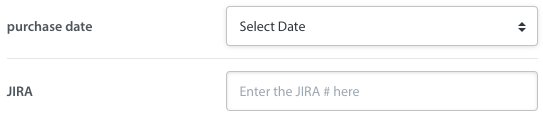
- Single line text – allows the Agent to enter a freeform text line (with a maximum 255 character length) within this field. This is good for data that will frequently be unique, such as a JIRA link.
- Multiline text – allows the Agent to enter several lines of freeform text within this field (with a maximum 100,000 character length). This is helpful for storing customer information, such as mailing addresses.
- Number – restricts the field to number values, such as the tier level or purchase amount.
- Date – this field type will provide a calendar where the Agent can select a date, such as the user’s signup or purchase date.
- Drop-down – drop-downs allow you to limit the values the Agent can select to a set list. You could define your Issue types as a drop-down. Drop-downs are helpful for creating useful analytics metrics, since Agent’s can’t mistype the selection.
- Checkbox – this is best for yes/no or true/false values, such as “VIP” or “paid”.
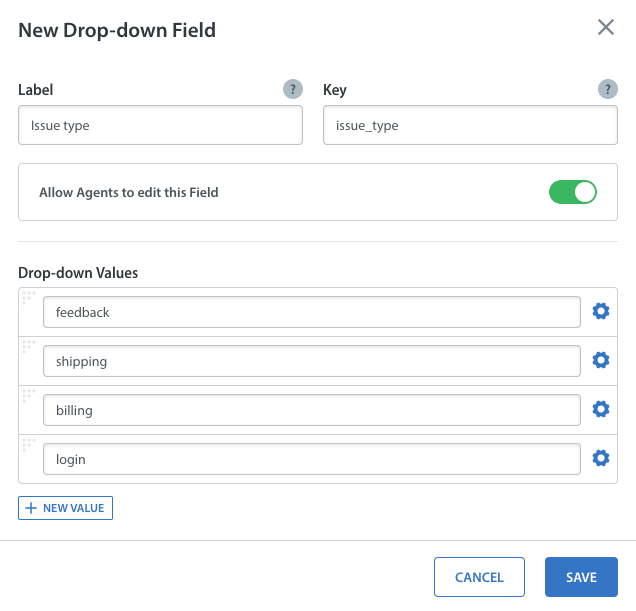
As an example, if you wanted to create a Custom Issue Field to track the Issue type, you would select the drop-down option.
Once you’ve selected a field, on the page that appears, you’ll be prompted to make the following selections:
- Enter the label, which is what will appear in the Custom Issue Fields tab on the Issue details page.
- Once the label is entered, a key will be automatically generated. The key is how you communicate Custom Issue Field values from your SDK. Please note that the key is not editable once the field has been created.
- Determine whether Agents will be allowed to edit the field by toggling ‘Allow Agents to edit this Field’ to OFF (grey) or ON (green).
- Enter the field placeholder(s) (not applicable for date, drop-down, or checkbox). This is the text that will appear in the field before an Agent has filled it in, and can be used to provide options.
For our Issue type example, you would enter the label as ‘Issue type’. Drop-downs come with drop-down values instead of a field placeholder, where you will enter the Issue types you want available for your Agents to select. You can reorder the values and set one as the default by clicking the gear icon to the right of each field.
Note: The dropdown value can be removed if it is not used in any of your workflows.
When creating a new single line or multi-line Custom Issue Field, you’ll notice an ‘Advanced’ link in the pop-up. Clicking this link provides the ‘’Map Metadata to Field’ option, which relates to how this data will populate your fields in new Issues with correlating metadata.
Once you have provided all of this information, click the ‘Save’ button. The new Custom Issue Field will appear in your list of active Custom Issue Fields.
To see what Custom Issue Fields will look like in the full Issue page view, see How do I adjust my 3-pane view?
You can also set Custom Issue Fields when creating an Issue on behalf of a user. To learn how, see How do I create an Issue on behalf of a user?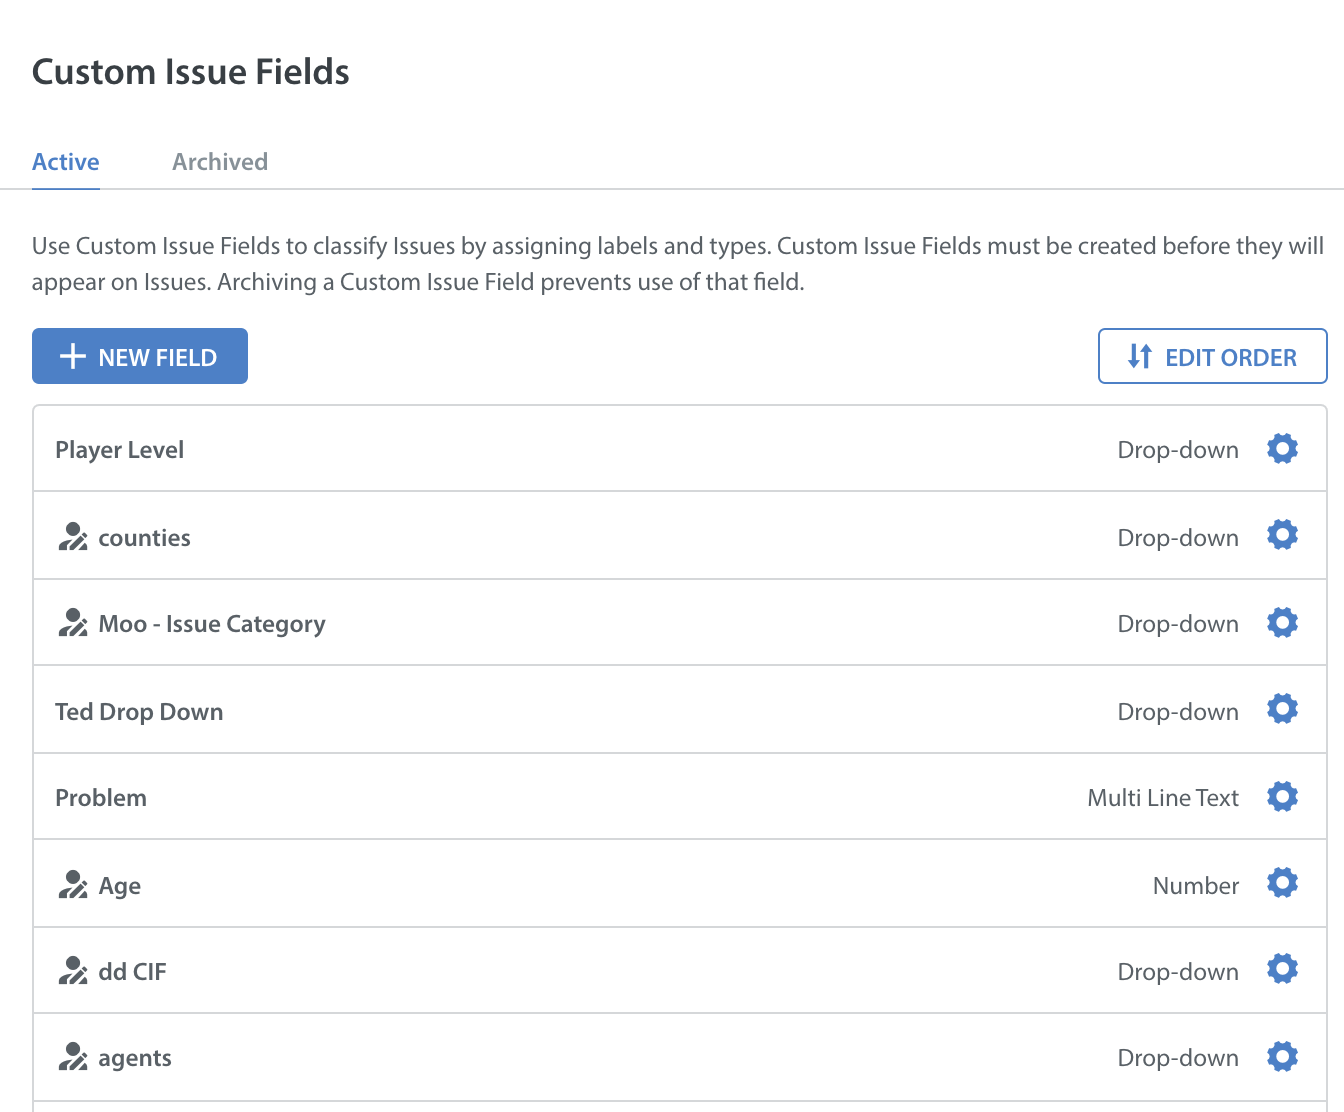
Please note the following about the behavior of Custom Issue Fields:
- If a value in a drop-down field is deleted later, it will be removed from all Smart Views, Issues, and Automations it is associated with. If it is re-added later, it will need to be manually re-added to those Smart Views and Automations.
- You can only have a maximum of 250 active and archived Custom Issue Fields at any given time. If you’ve reached this limit, we recommend deleting older archived Custom Issue Fields to free up space for more.
- You can only have a maximum of 1000 options in a dropdown type Custom Issue Field.
Now that you’ve created your first Custom Issue Fields, learn how to manage them by reviewing the following FAQs: