
If you have concerns about showing Agent names under certain circumstances, you can use Nicknames. These shield the Agent’s real name from the user by providing a pseudonym that differs from their real identity.
This can come in the following forms:
- Using a pseudonym for all Agents, such as “John”
- Using a general support name, such as DemoWorld Support
- Using a first name and support end line, such as “John DemoWorld”
To set up Nicknames for user notification email templates, the first step is to check that you have the setting to add nicknames enabled:
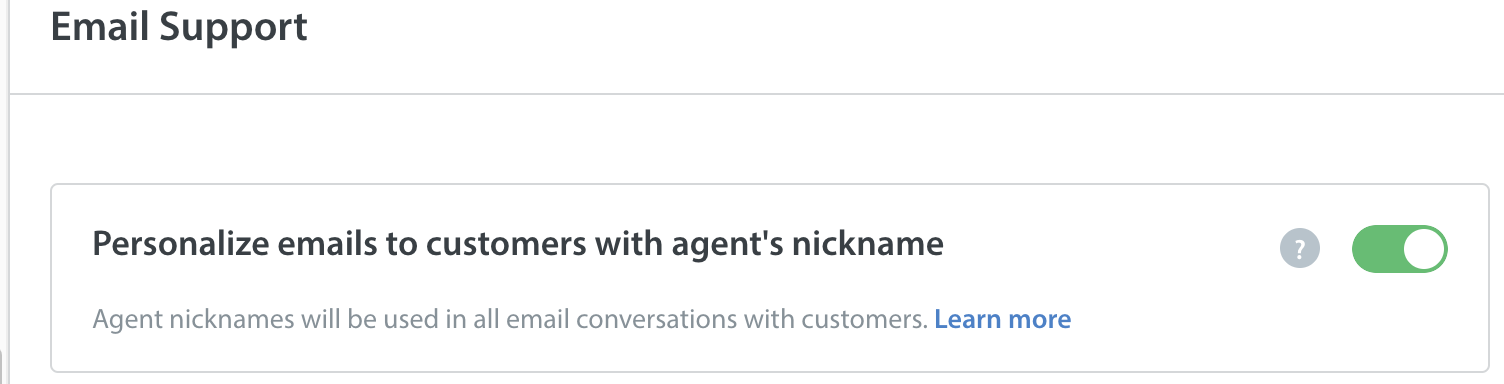
- Navigate to Settings > Support Settings > Email Support.
- Under ‘Email Support Settings’ check that ‘Personalize emails to customers with Agent’s nickname’ is toggled to ‘YES’.
To set up Nicknames for In-app conversations, you’ll need to enable a different setting:
- Navigate to Settings > App Settings > select the app you’d like to work with > Supported Platforms > Configure.
- Under ‘Support Experience’ check that ‘Personalise Conversation Experience’ is toggled to ‘YES’.

- Once these settings are updated, any Helpshift Admin, Supervisor, or Agent can change their Nickname by clicking on their Account Settings.
Then a new Nickname field will be editable.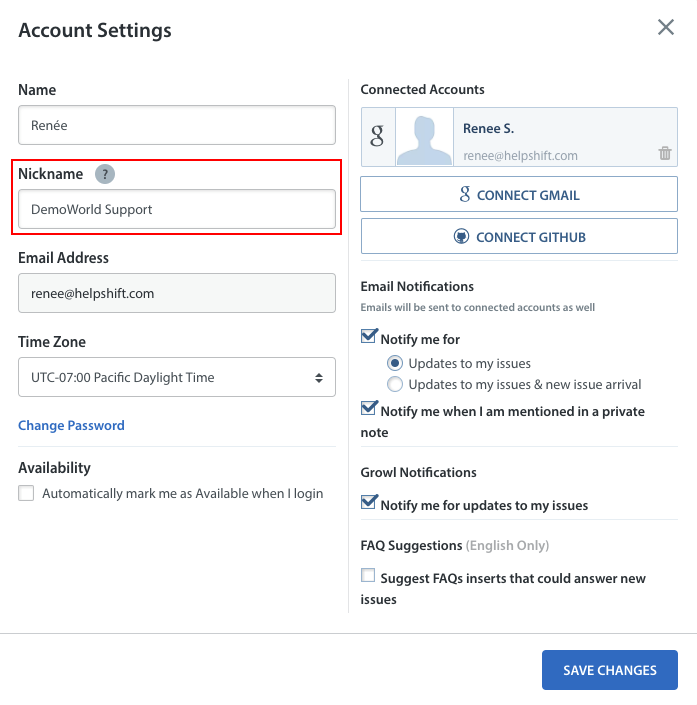
Note: In your team Analytics section, the real Name (internal name) of your Agents will be visible, not the Nickname. You can see their nickname by opening up their User Settings panel.
To update other settings, see How do I manage my Account Settings? To change your profile icon, see How do I edit my profile avatar In Helpshift?