
Webhooks can be used in conjunction with our APIs to perform a variety of actions on Issues after a follow-up via email is sent, such as having Custom Issue Fields or tags added to the Issue.
Note: The Webhook event for follow-up emails can only be applied to Web Chat Issues.
First, you’ll set up a Webhook to detect whether or not a follow-up email was sent.
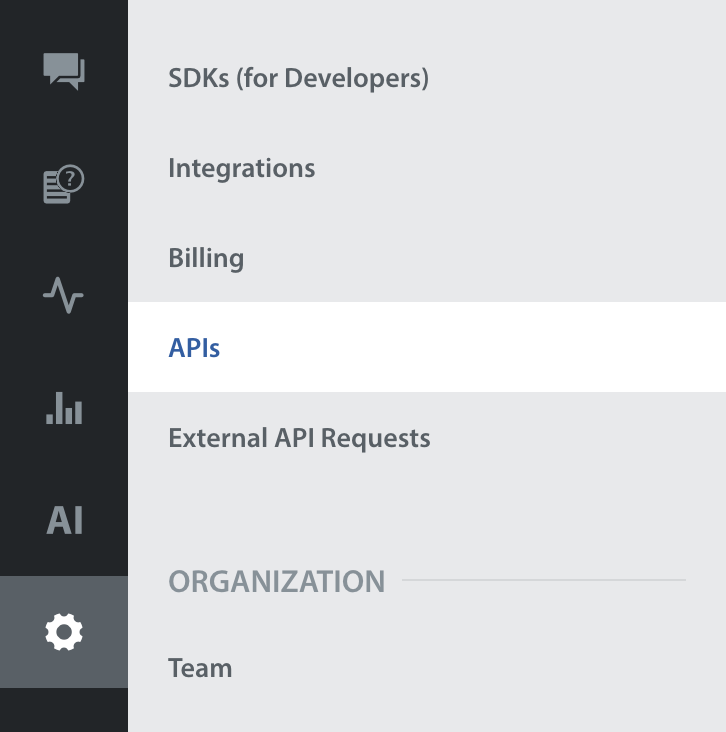
- To do so, first navigate to Settings > APIs.
- Scroll down to the Webhooks section, then click the ‘Add Webhook’ button.

- In the pop-up that appears, complete the fields as follows:
- Webhook name: The name of the Webhook, which will be unique to your domain.
- Target URL: The required HTTPS URL – we only allow HTTPS listener URLs to ensure data encryption to prevent unauthorized access.
- Authentication mechanism: Helpshift offers the following options to allow you to add an extra layer of security:
- Basic auth: Username and password based
- Custom auth: Secret key based
- No auth: If chosen, no authentication is applied – this gives you flexibility while testing
- Events: Select ‘Follow-up email sent’
- Filters: Specify the trigger for the Webhook to run.
- Notification delivery failure email: An optional field for you to get notified via email when a notification delivery fails.
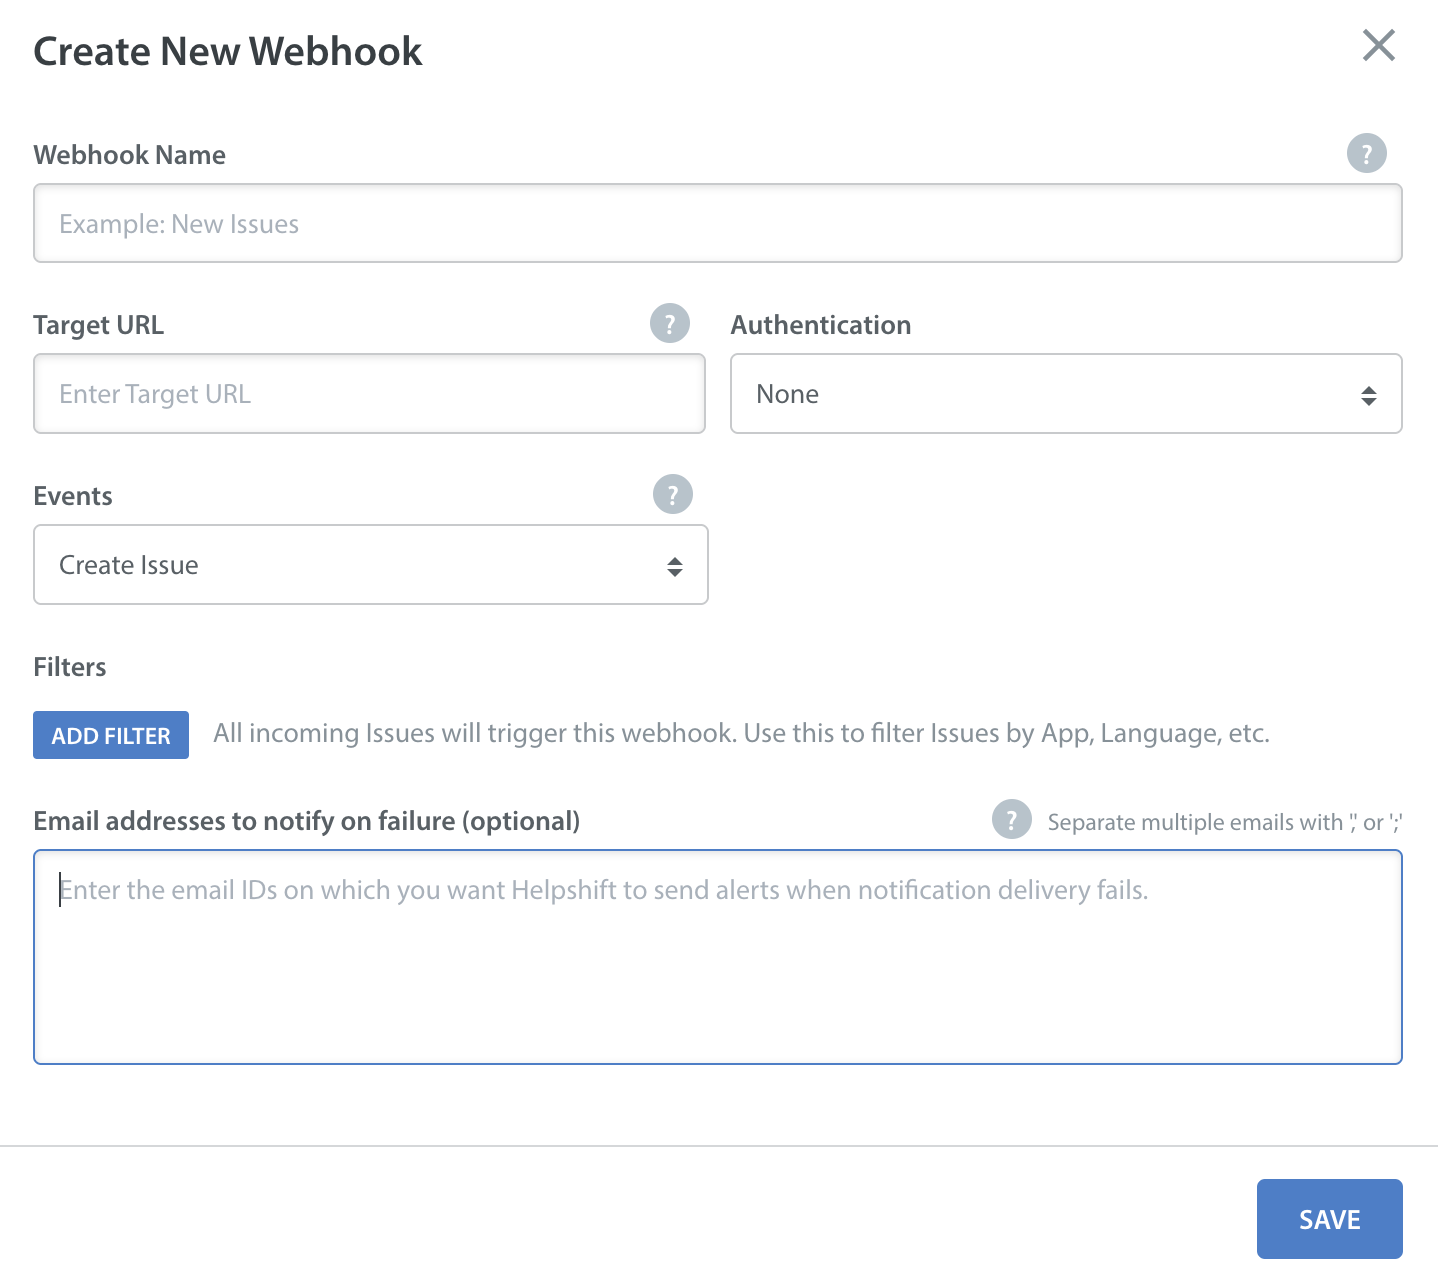
- Once you click Save, the Webhook will appear on your list of Webhooks and start working immediately.
It can be modified or deleted via the gear icon to the right.
- Once your Webhook is set up, you’ll need to have your developer configure our REST APIs to automatically perform actions on Issues when a follow-up email is sent. To get started, have them go to our API portal and login with your Helpshift domain and API key.