
Bulk Actions allow you to complete the following actions on a large number of selected Issues:
- Update the Issue status
- Reassign Issues to Agents, Agent Groups, Queues, and Bots
- Reply to multiple Issues at once
- Add/Remove tags and Custom Issue Fields to organize and filter Issues into Smart Views to track in Helpshift Analytics
- Add private notes
- Mark as Resolved/Rejected
A common use of Bulk Actions is to identify and select multiple Issues in a search and assign them to a particular Agent, Queue or Bot, or add/remove tags to sort them into a Smart View. This gives Agents the ability to bulk respond and resolve Issues after a closer inspection.
You can perform a Bulk Action in multiple ways:
- Filter the Issues you want to select via a search or by filtering those Issues into a Smart View.

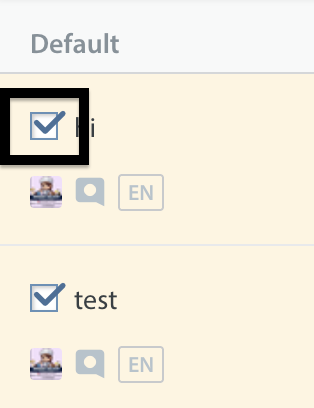
OR - Select similar Issues by clicking on the checkboxes to the left of the Issue title – you can also select all Issues by clicking the checkbox next to ‘Edit Issues’

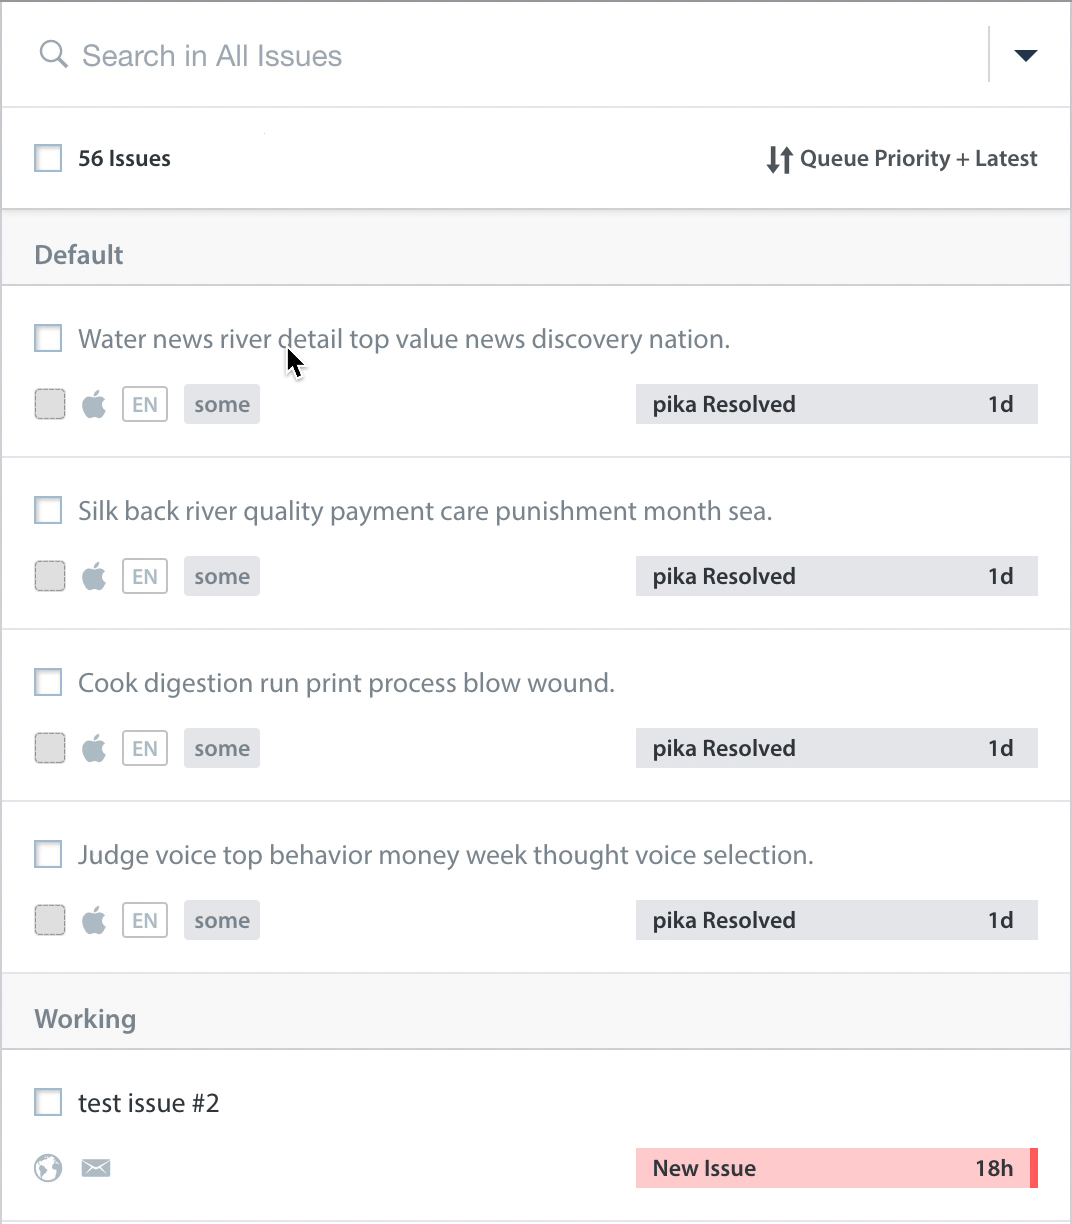
To select multiple issues that are listed consecutively in the feed, you can use the Shift Key shortcut.
- Select the first issue in the list of issues you want to edit.
- While holding down the SHIFT KEY, scroll to the last issue and select it.
- Shift-Click will select all issues between these 2 clicks, including the first and the last issues.
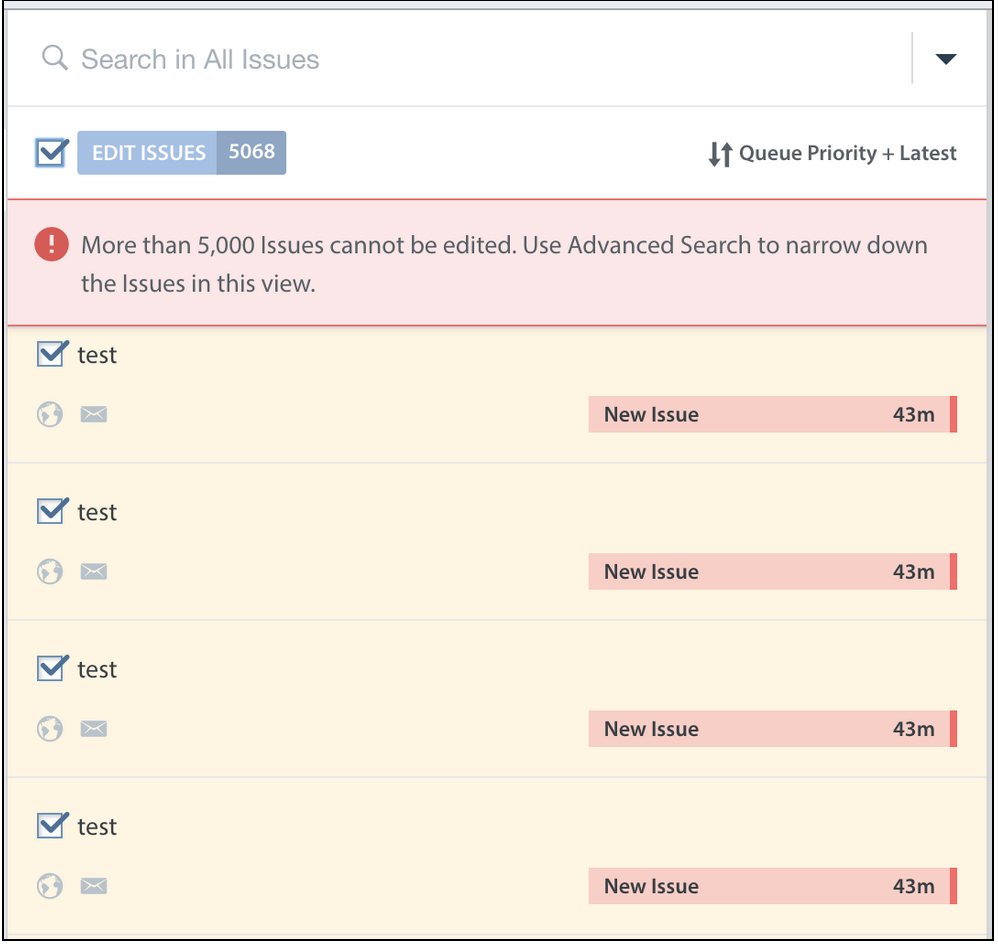
NOTE: You can select a maximum of 5000 issues. If the number of issues selected is more, you will not be able to take any bulk action on them. You will see an error (refer to the image below) if more than 5000 issues are selected.
In case you want to edit more than 5000 issues, you may use Advanced Search to narrow down the list of issues and edit them in smaller groups.
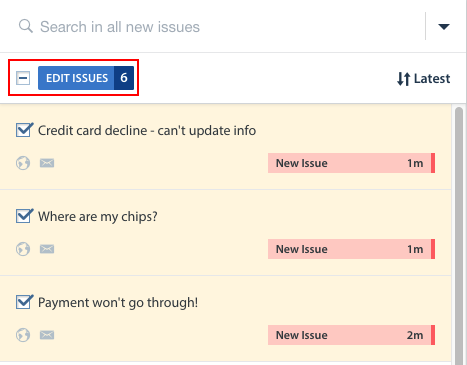
Once you’ve selected the Issues you’d like to update, click the ‘Edit Issues’ button (above the Issues feed) to open a pop-up containing a list of actions.
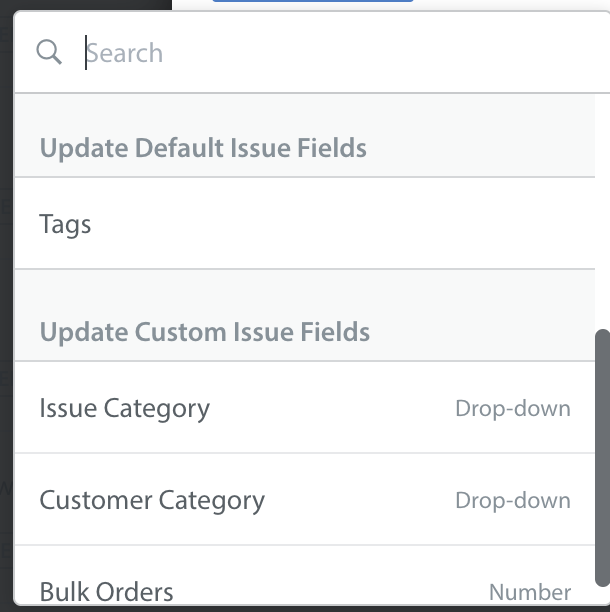
There are three categories of actions you can perform: workflow, update Default Issue Fields, and update Custom Issue Fields.
Update workflows

Update Default Issue Fields or Custom Issue Fields
Those action types are as follows:
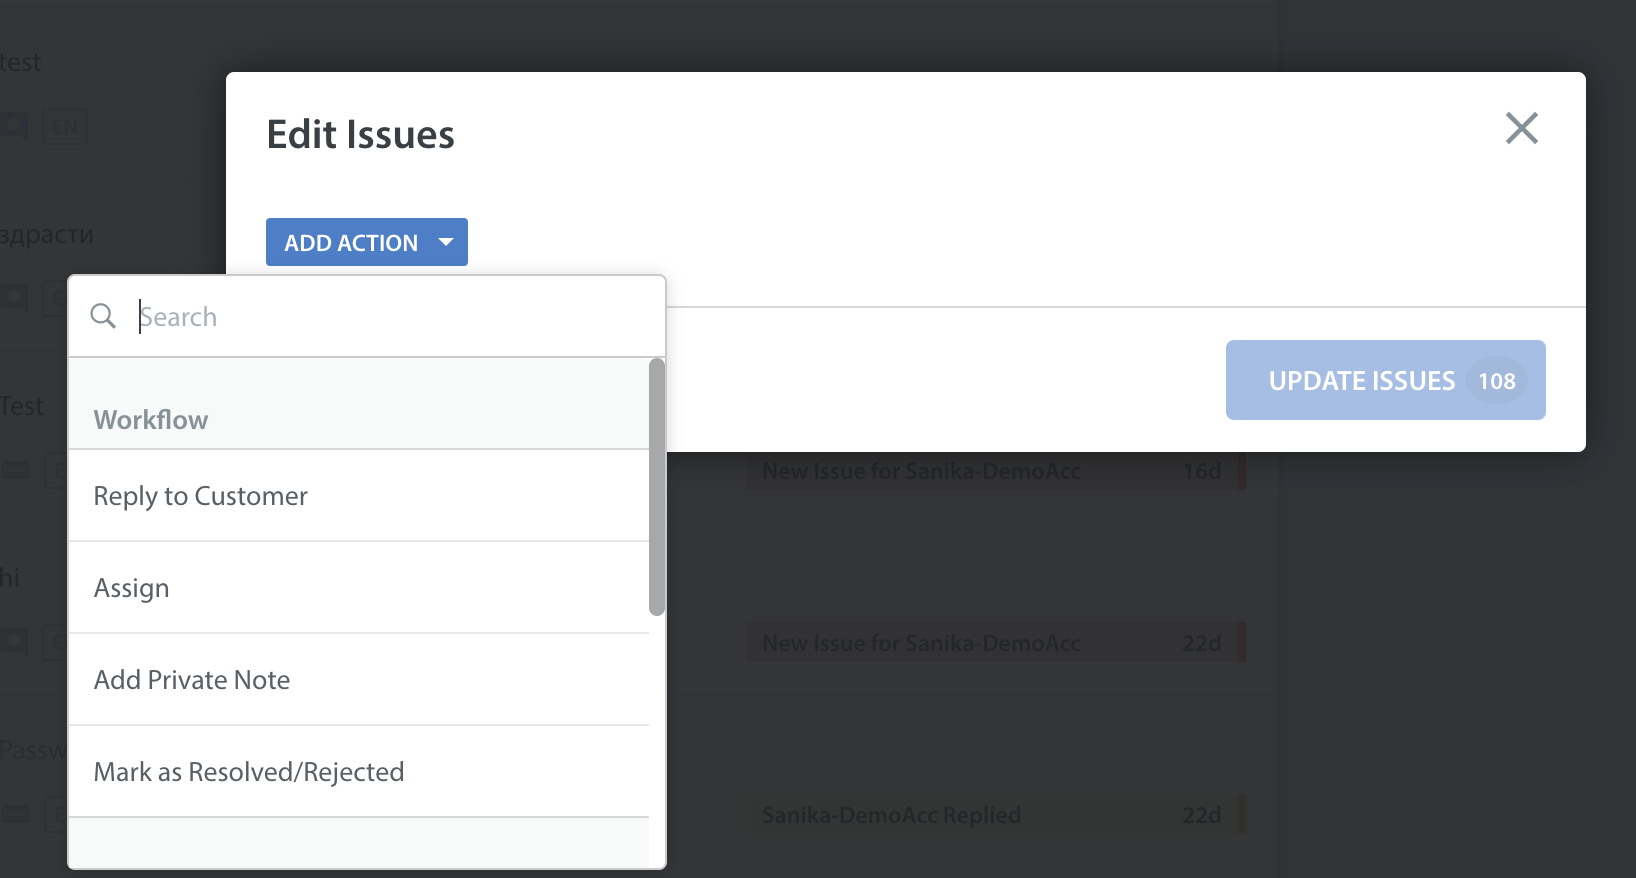
Workflow:
- Reply To Customer: Send a response to the end user
- Assign To: Assign these Issues to an Agent, Agent Group, Queue, or Bot
- Mark as Resolved/Rejected: Resolve or Reject these Issues to close them
- Add a Private note: Add an internal note to these Issues which only your support team can see
Update Default Issue Fields:
- Tags: add/remove tags to these Issues to filter them into a specific Smart View or to track in analytics
Update Custom Issue Fields:
- All of the active Custom Issue Fields available in your Dashboard will be listed in this section to be updated for these Issues
As an example, to filter Issues into a specific Smart View, you’ll select Update Issue Fields > Tags. The drop-down that appears lets you select whether to add/remove tags with this Bulk Action. Select ‘Add’ then enter the tags you’d like to have added into the blank space.
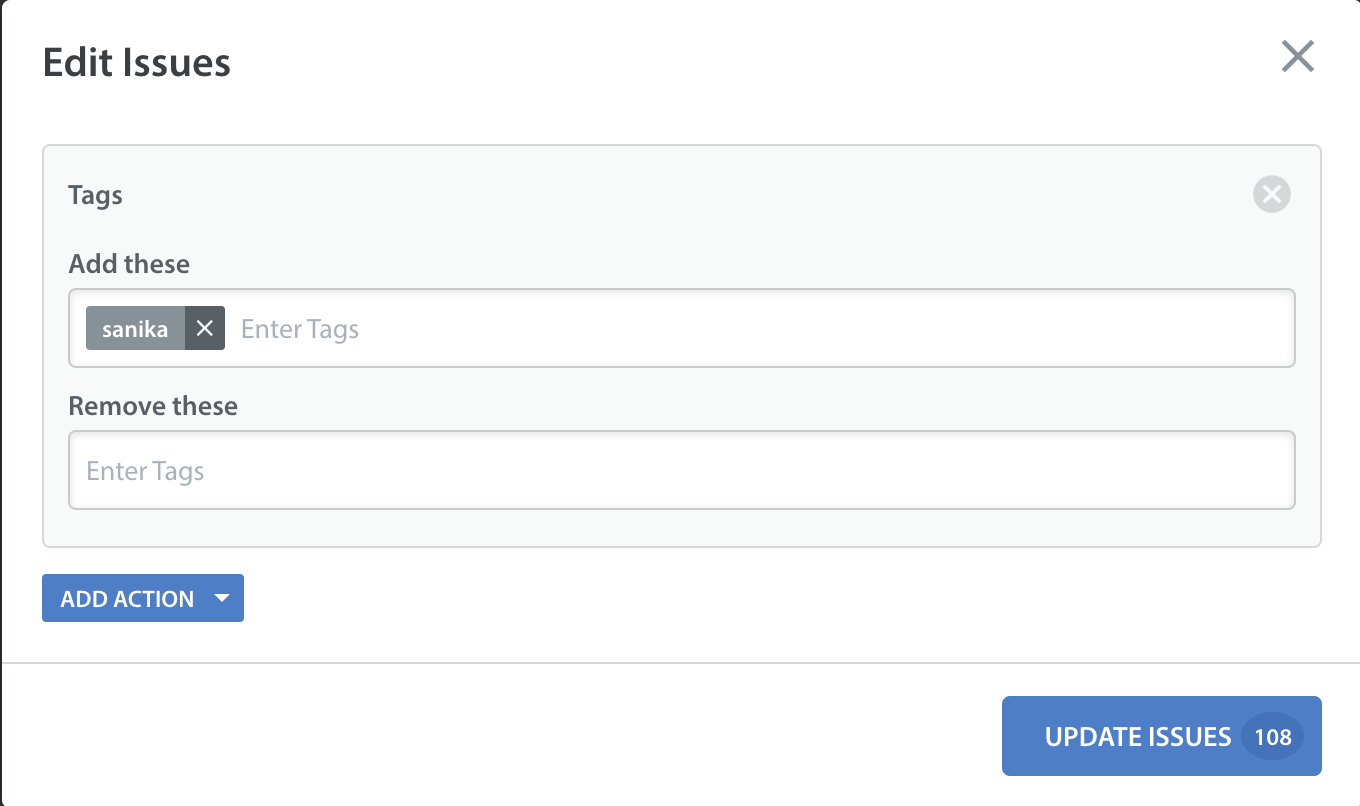
As a note, you’ll need to create these tags first to use them in a Bulk Action. If you haven’t created the tags you need yet, please review How do I create and use tags? To learn how.
In addition to tagging and filtering these Issues into a Smart View, you may wish to send a reply to these users to reassure them that help is on the way. In this example, select Workflow > Reply To Customer, then add a short response in the window that appears.
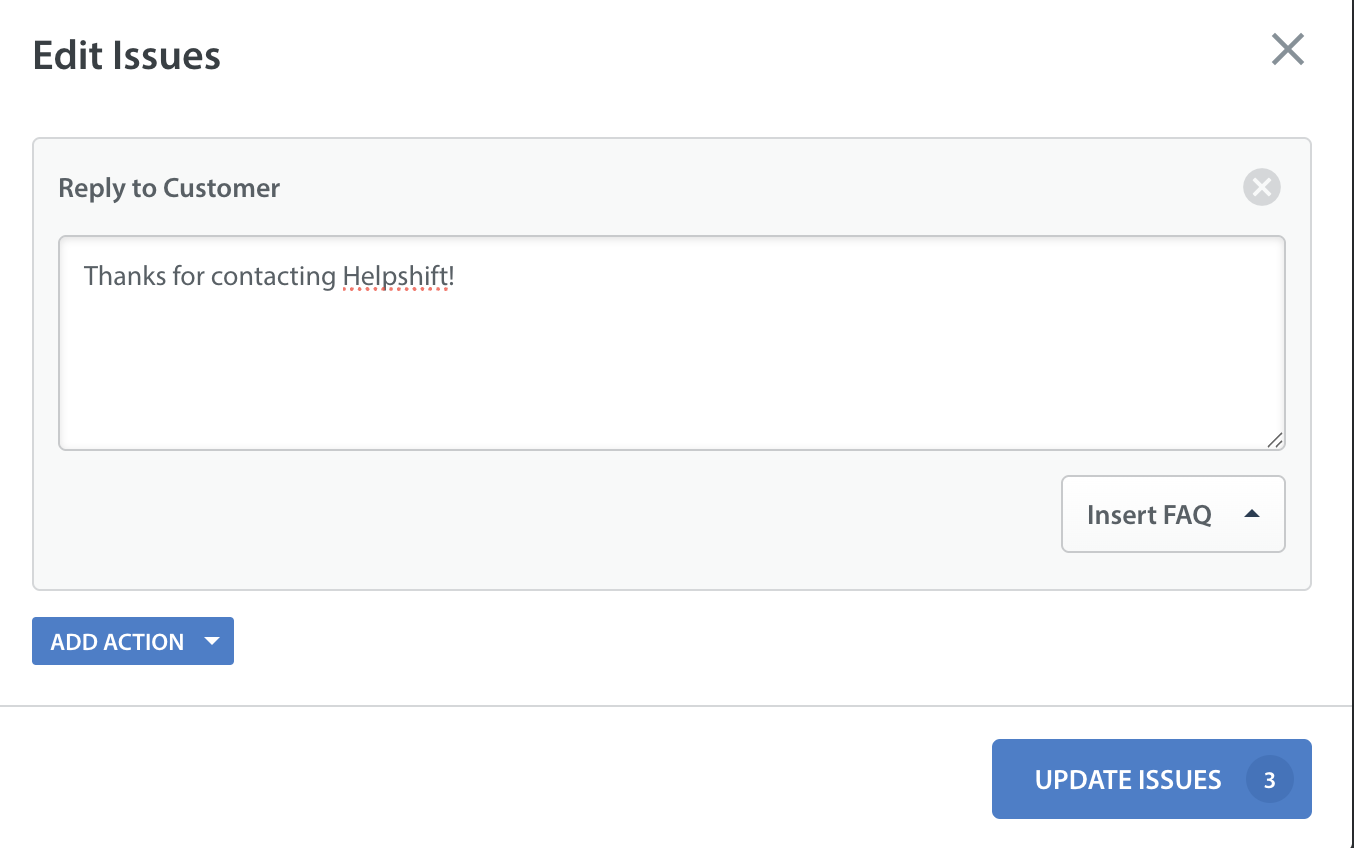
You can also insert an FAQ as a response. To learn how see How do I reply to a message with a predefined answer / FAQ article?
Once you’ve selected your actions, click ‘Save’ to start the Bulk Action. Depending on the number of Issues being updated, you may see a loading bar appear as the Bulk Action is completed.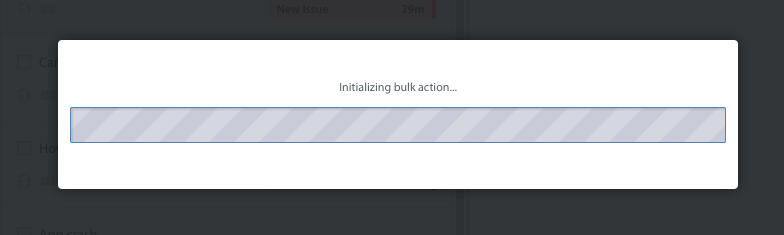
If Queues are enabled and the Agents are NOT permitted to take Bulk actions, they will not see the “Edit Issues” button. Instead, they will see the “Move back to Queue” button. Agents can use this to move issues assigned to them back to the queue in bulk, for example, at the end of their working day.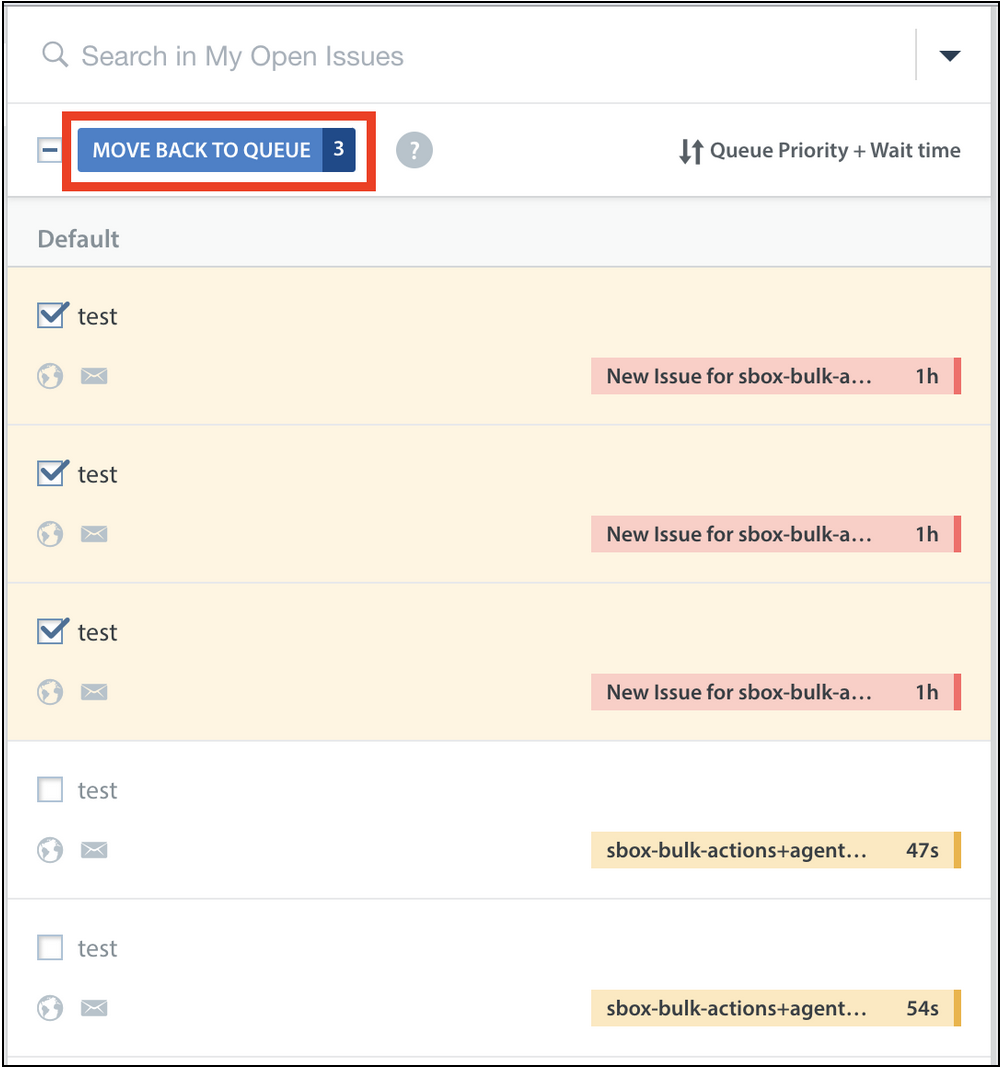
NOTE: Since this is also a bulk operation, the maximum number of issues that can be selected for moving back is 5000.
To learn how to organize your Issues via Smart Views, see What are Smart Views and how do I use them?
To learn how Queues can be used to optimize your Workflow, see What are Queues, and how do I use them?