
Helpshift supports emojis and other special characters in both email and in-app replies.
Please keep in mind that their appearance may render differently on different devices depending on the platform. Please also note that if it’s a standard unicode emoji, all modern platforms should support it, but we encourage you to test across the platforms your product supports to make sure it appears how you’re expecting it to.
Once inserted, your emojis will appear in in-app conversations like this:

Emojis within an iOS in-app conversation
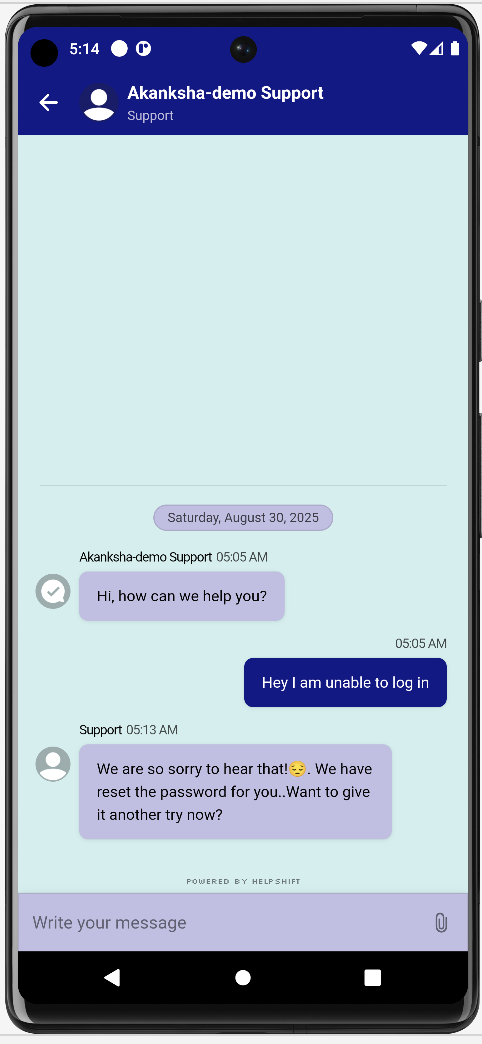
Emojis within an Android in-app conversation
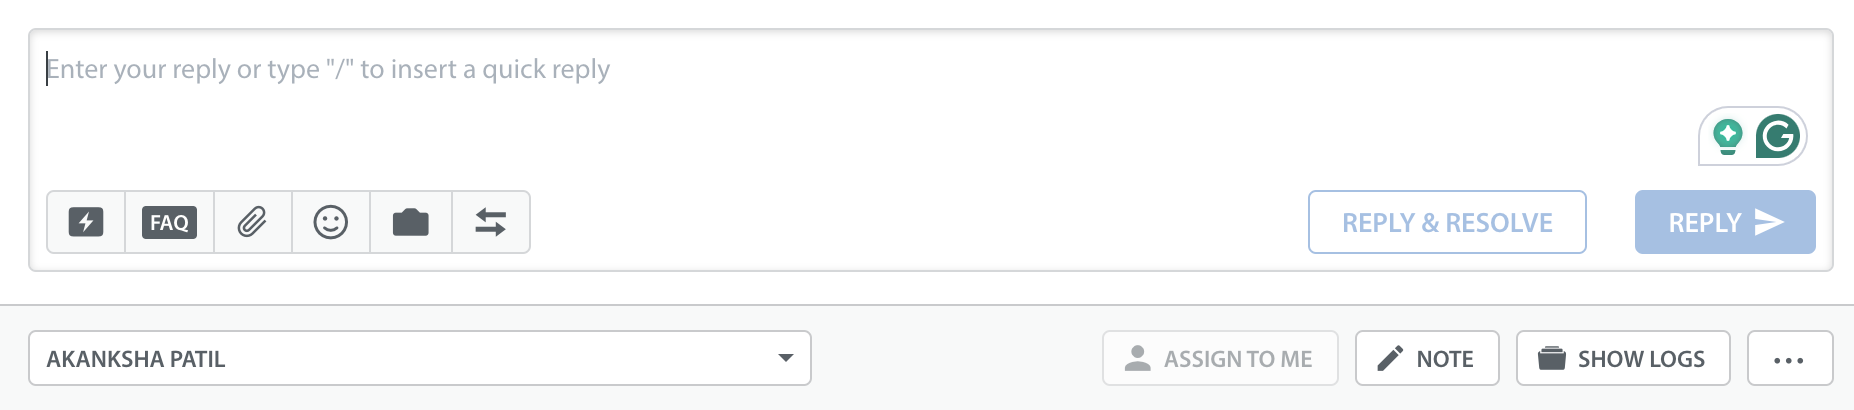
For the Agent Desktop and Bot Builder, you can select and insert an emoji within a message using the Emoji widget.
To know about the keyboard shortcuts that work in the Helpshift Dashboard, refer to What keyboard shortcuts can Agents use on the Dashboard?
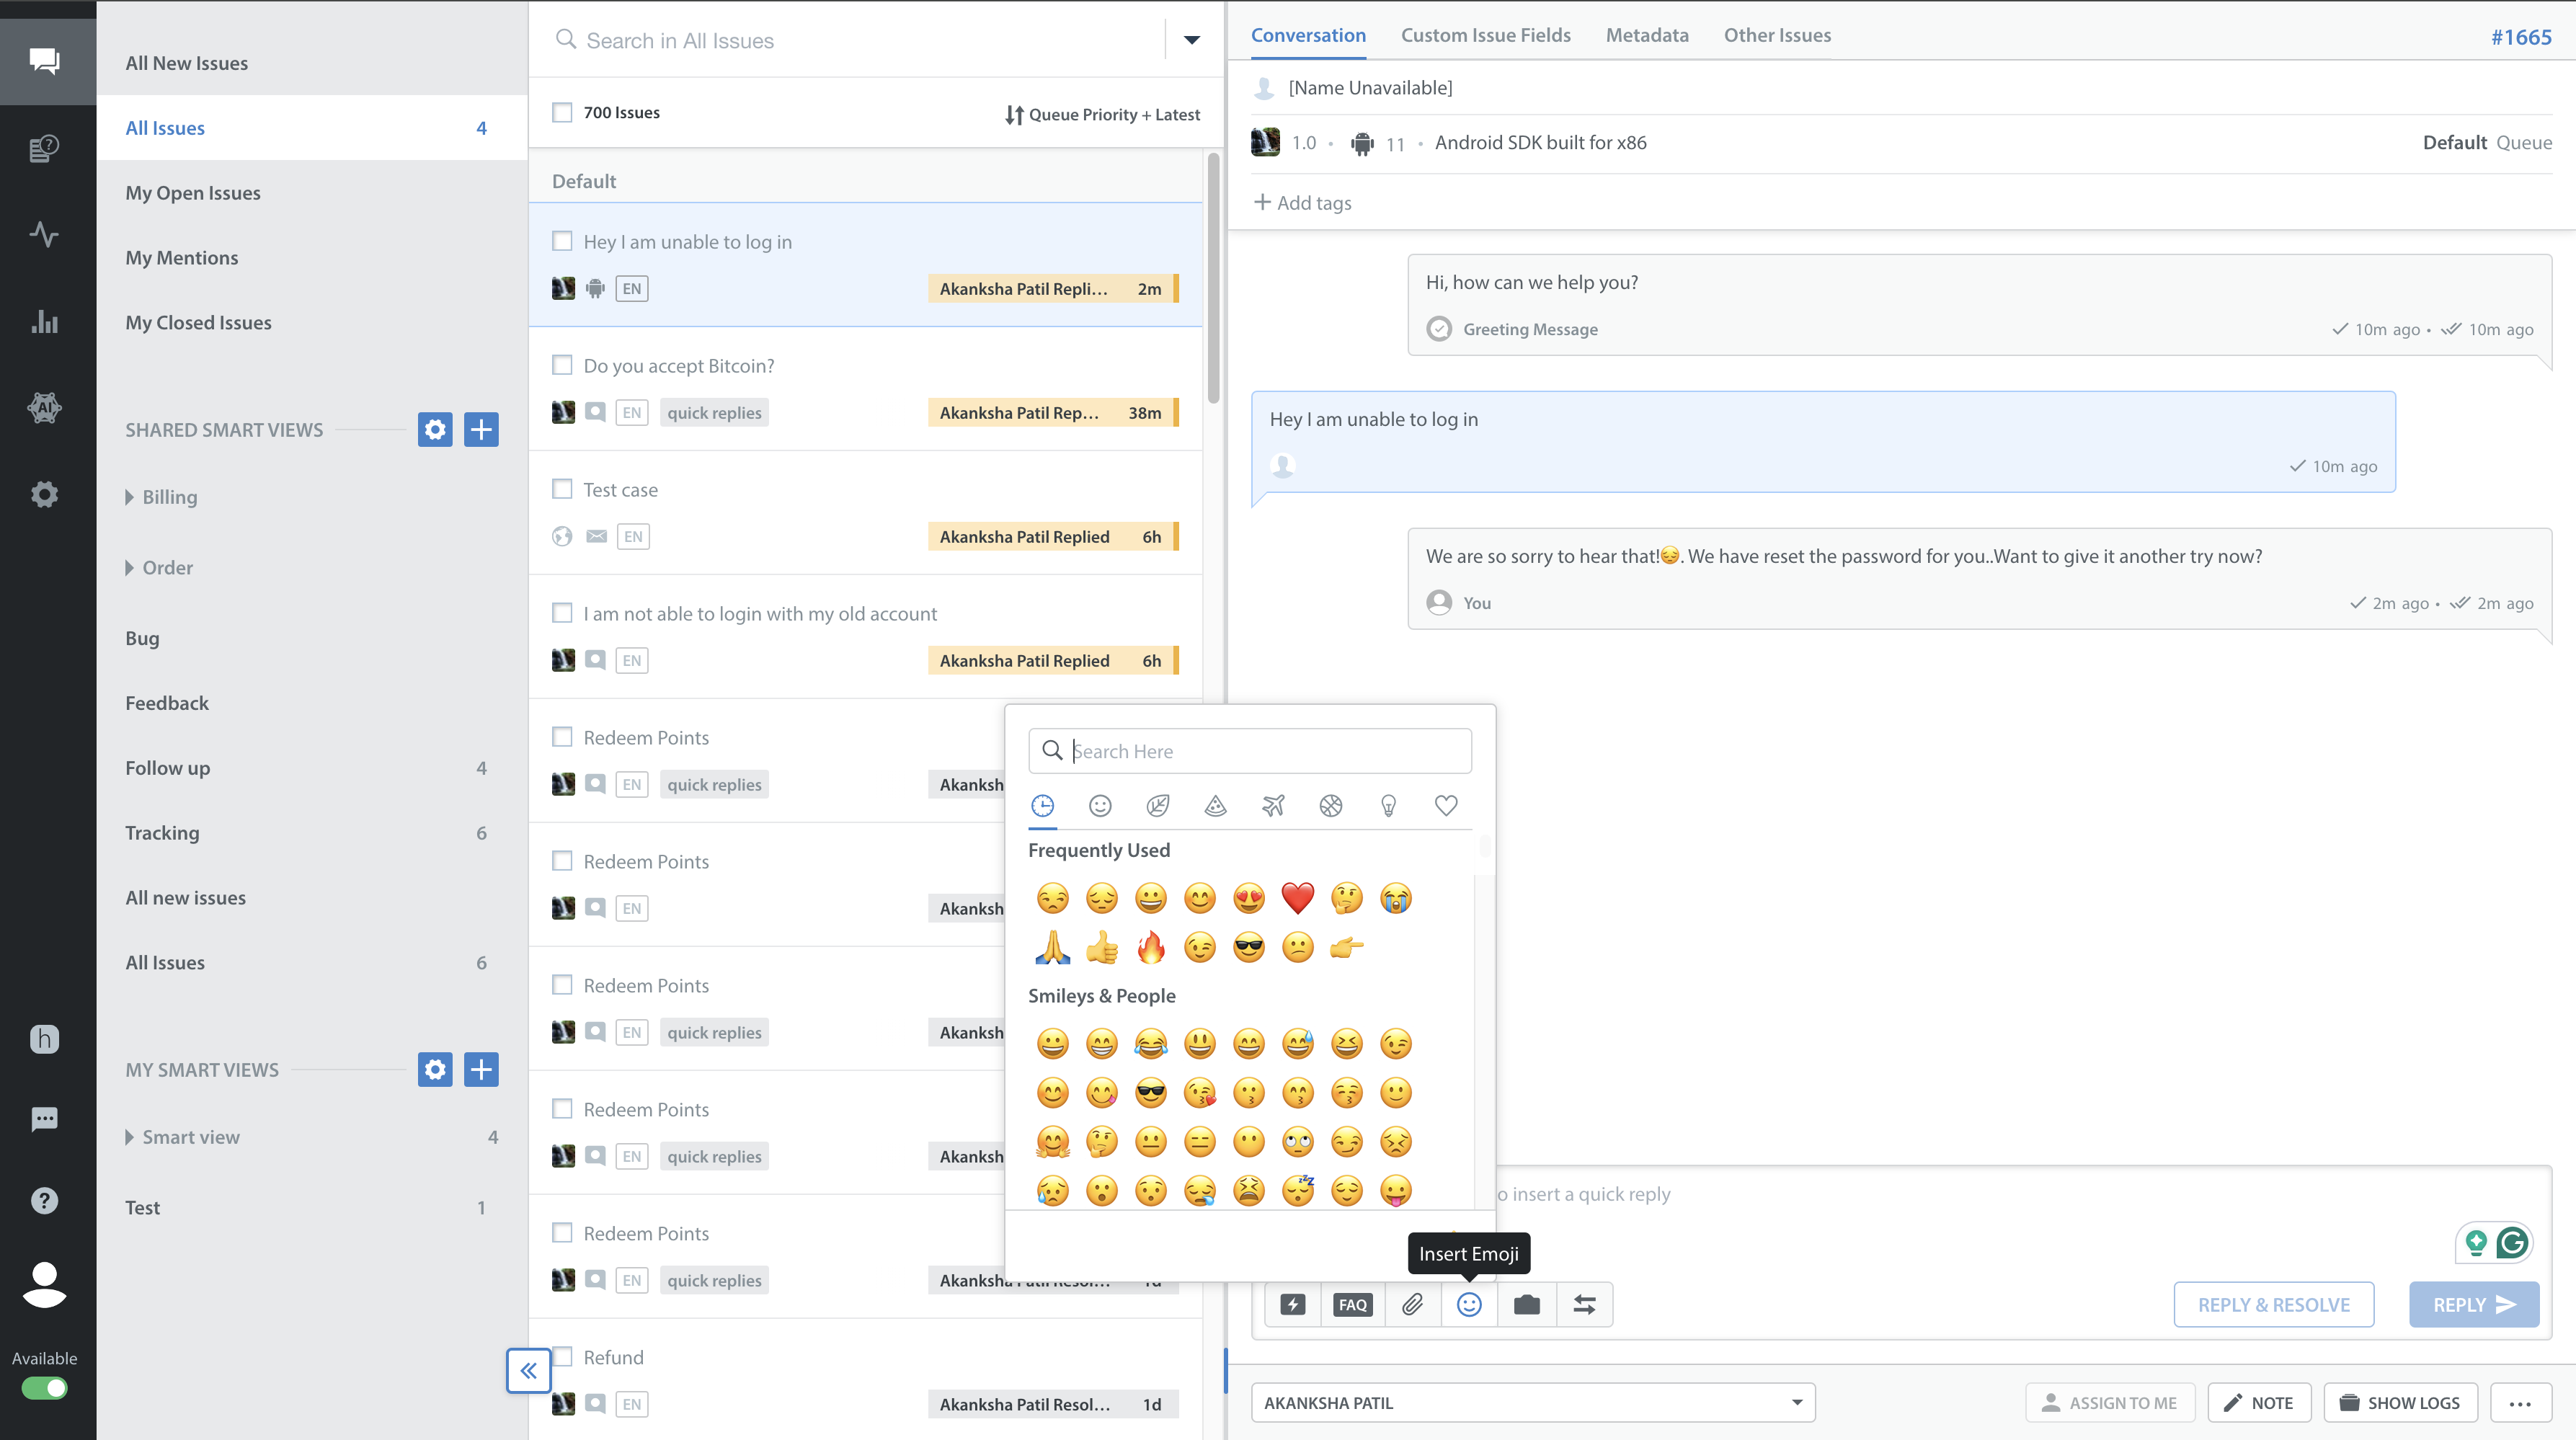
Emojis within a message
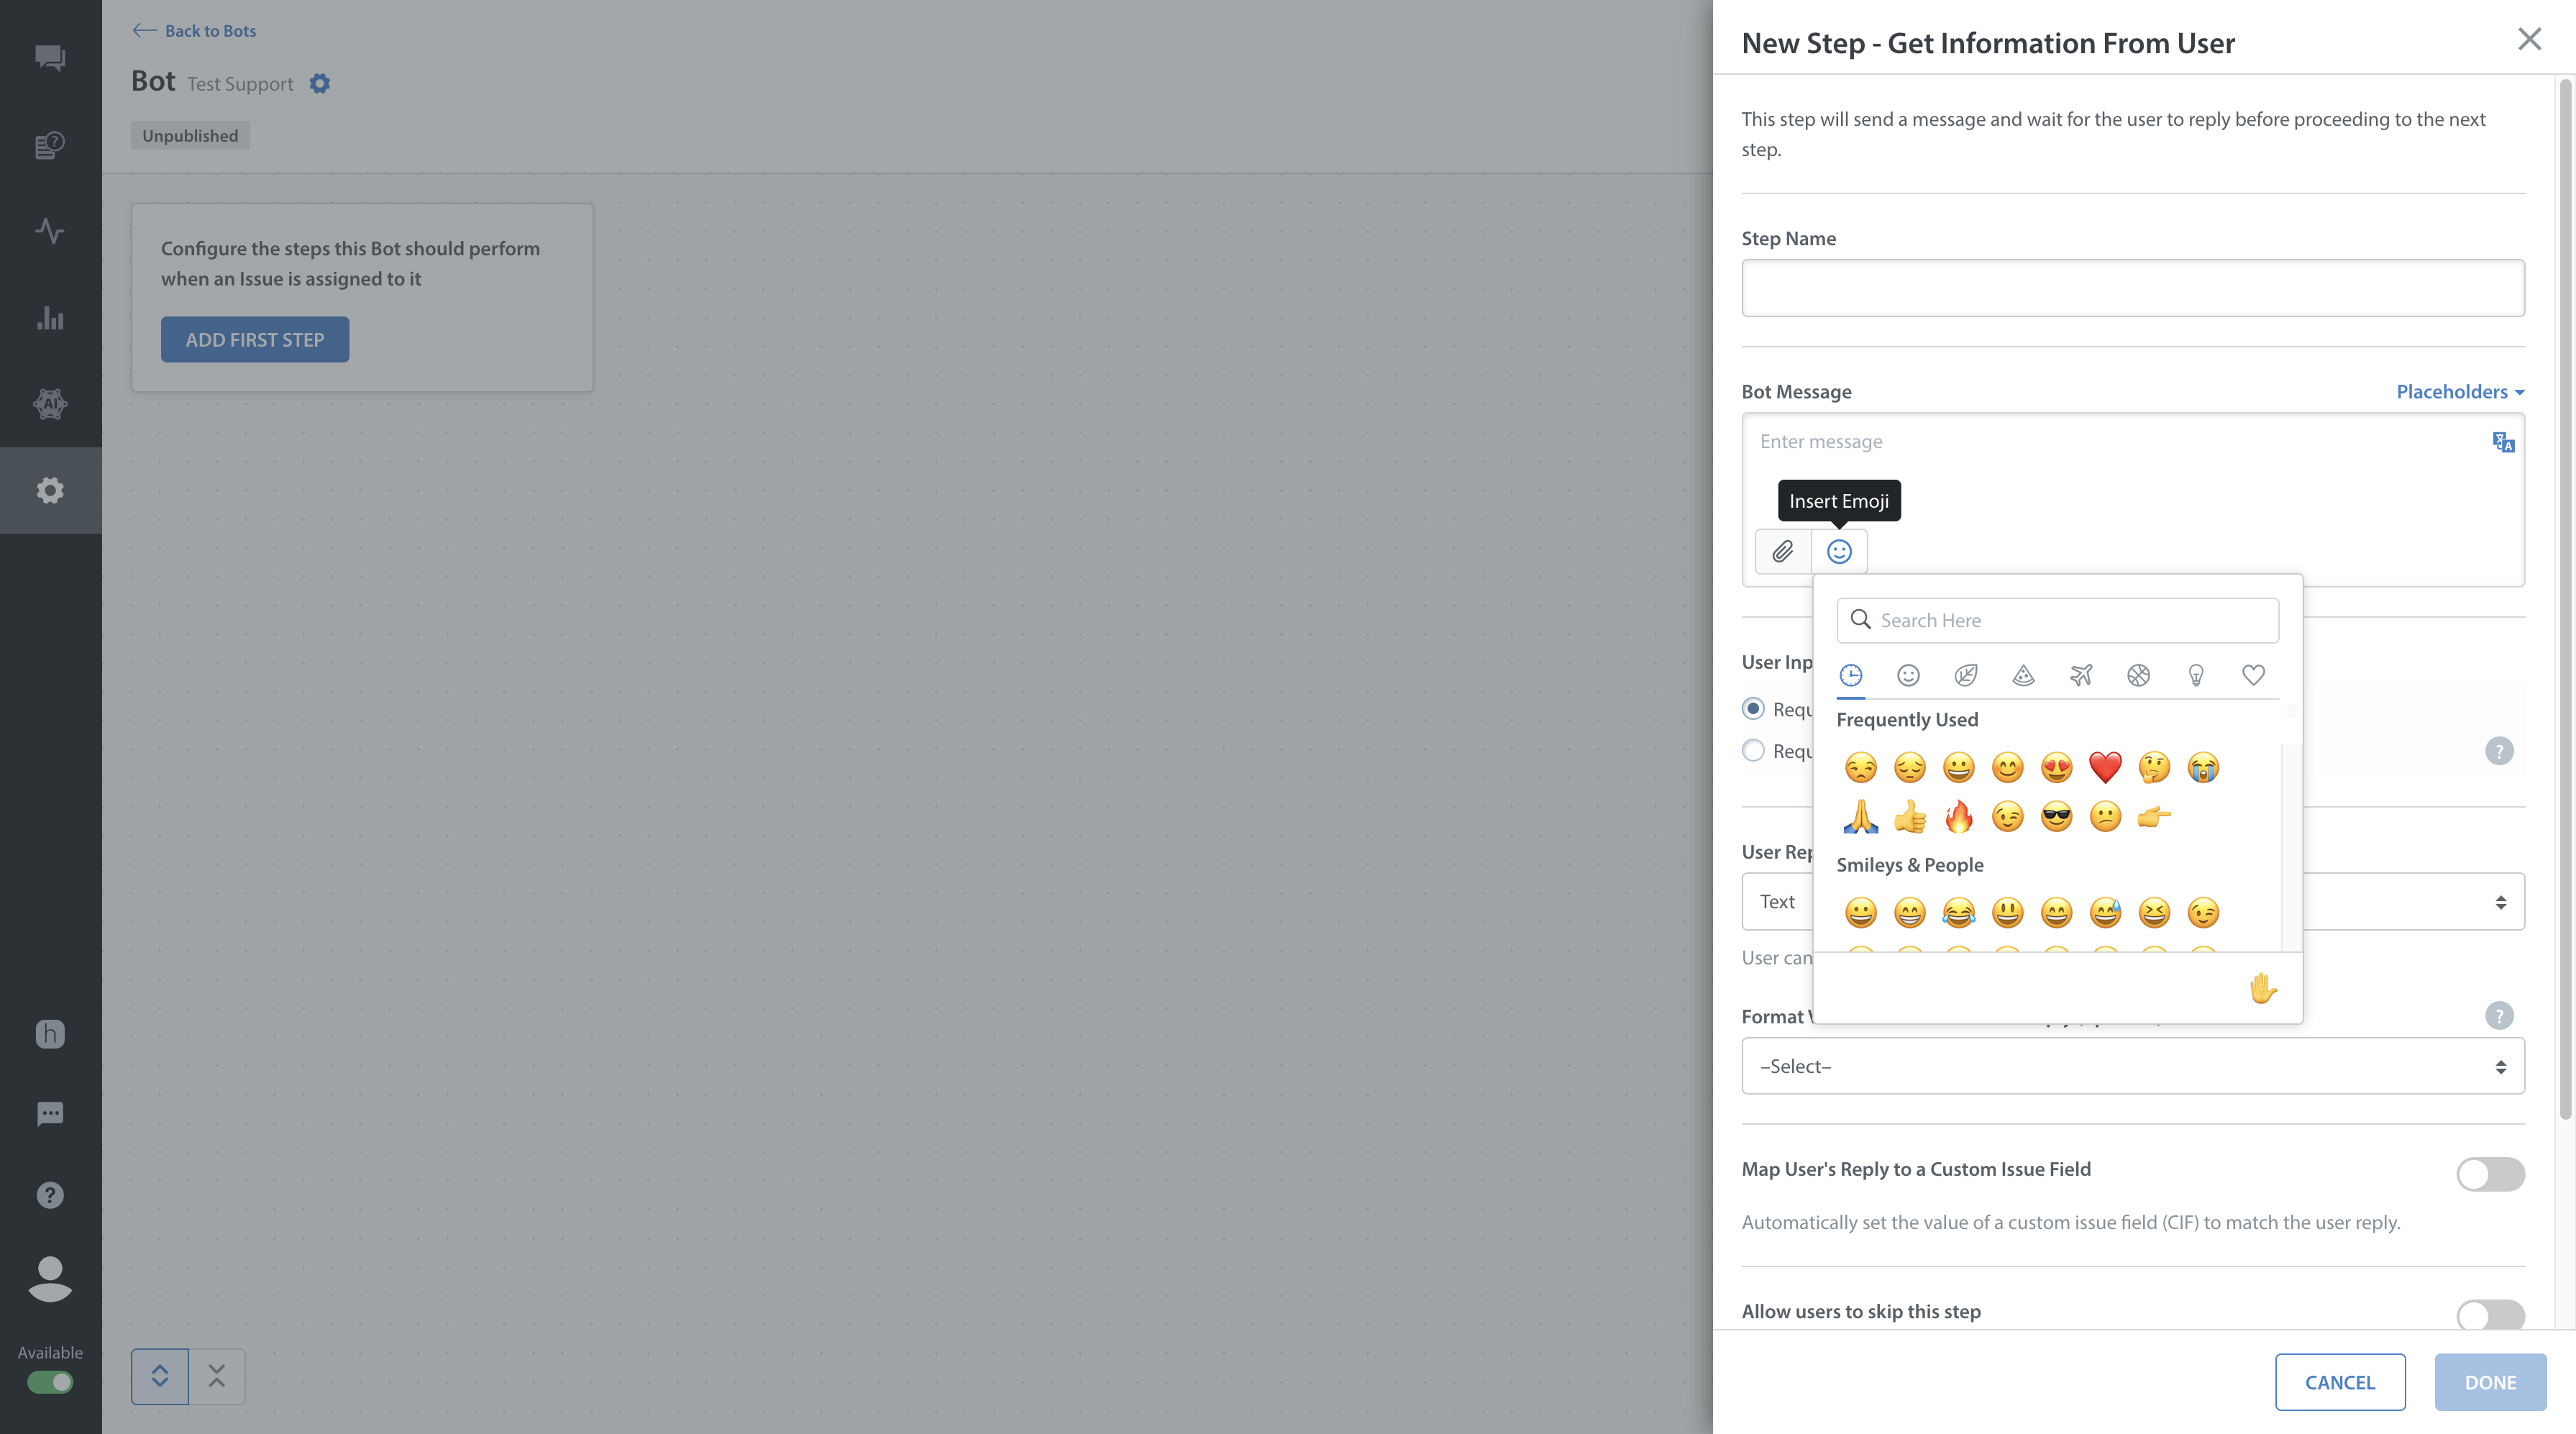
Emojis in a Bot Builder
Note: If the Emoji widget is not available, you can also use Emoji keyboards provided by various operating systems to send emojis as mentioned below.
Mac
- Position the cursor in the text field you’d like to insert an emoji into.
- Simultaneously press the command (⌘) key, control key, and the space bar on your keyboard. This action will launch the character palette.
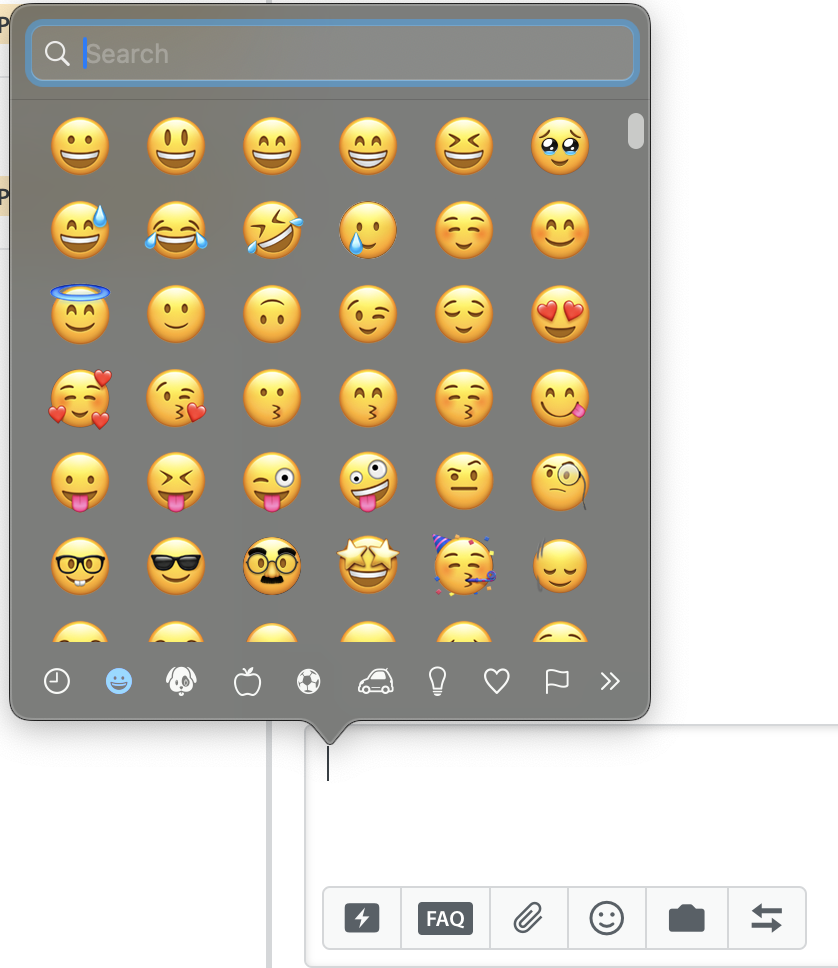
- Select the emoji you’d like to insert into your reply by clicking on it.

- Once you’ve sent the response, the emoji will appear in the reply in your Dashboard as follows.

Windows (8 and up)
- Click or tap the touch keyboard icon in the lower-right corner of the task bar. The on-screen keyboard will appear at the bottom of the screen.
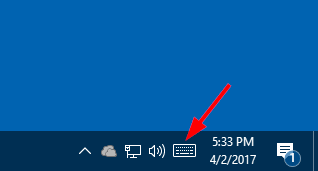
- Click on the emoji smiley-face icon. The emoji keyboard will replace the alphabetical keyboard.
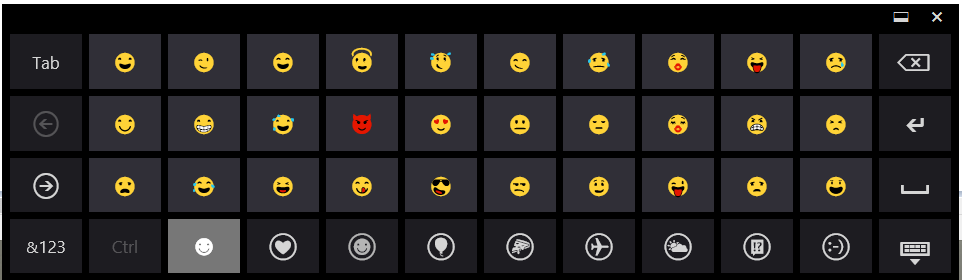
- Click on any emoji to insert it into the current text field.
Note: While Windows 7 does support emojis, you won’t be able to access an emoji keyboard from your Windows 7 PC. You’ll need to copy/paste them from somewhere else directly into the conversation.
The exact same steps can be used to add emojis to Smart View titles, FAQ sections, and articles. To learn how to create Smart Views, please see How do I create Smart Views? For screenshots of how emojis look in FAQ sections and articles, please see Can I use emojis and special characters in FAQ Sections & articles?