
Agents and Admins can create Issues on behalf of end users by clicking a button in certain default Smart Views designed to manage New Issues.
For Admins, this button is available in the ‘All New Issues’ and ‘My Open Issues’ Smart Views.
For Agents, this button can be found in the ‘My Open Issues’ Smart View.
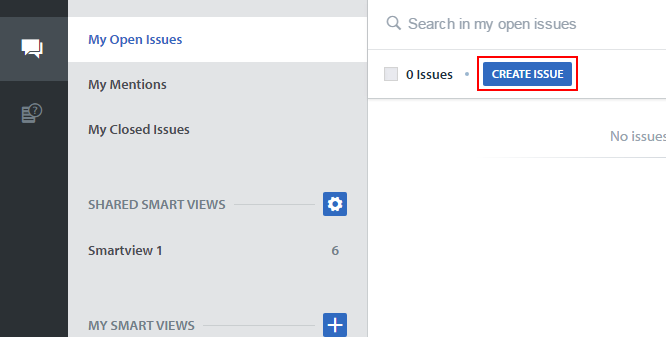
From your Issues Feed, click the ‘Create Issue’ button found in the Smart Views listed above.
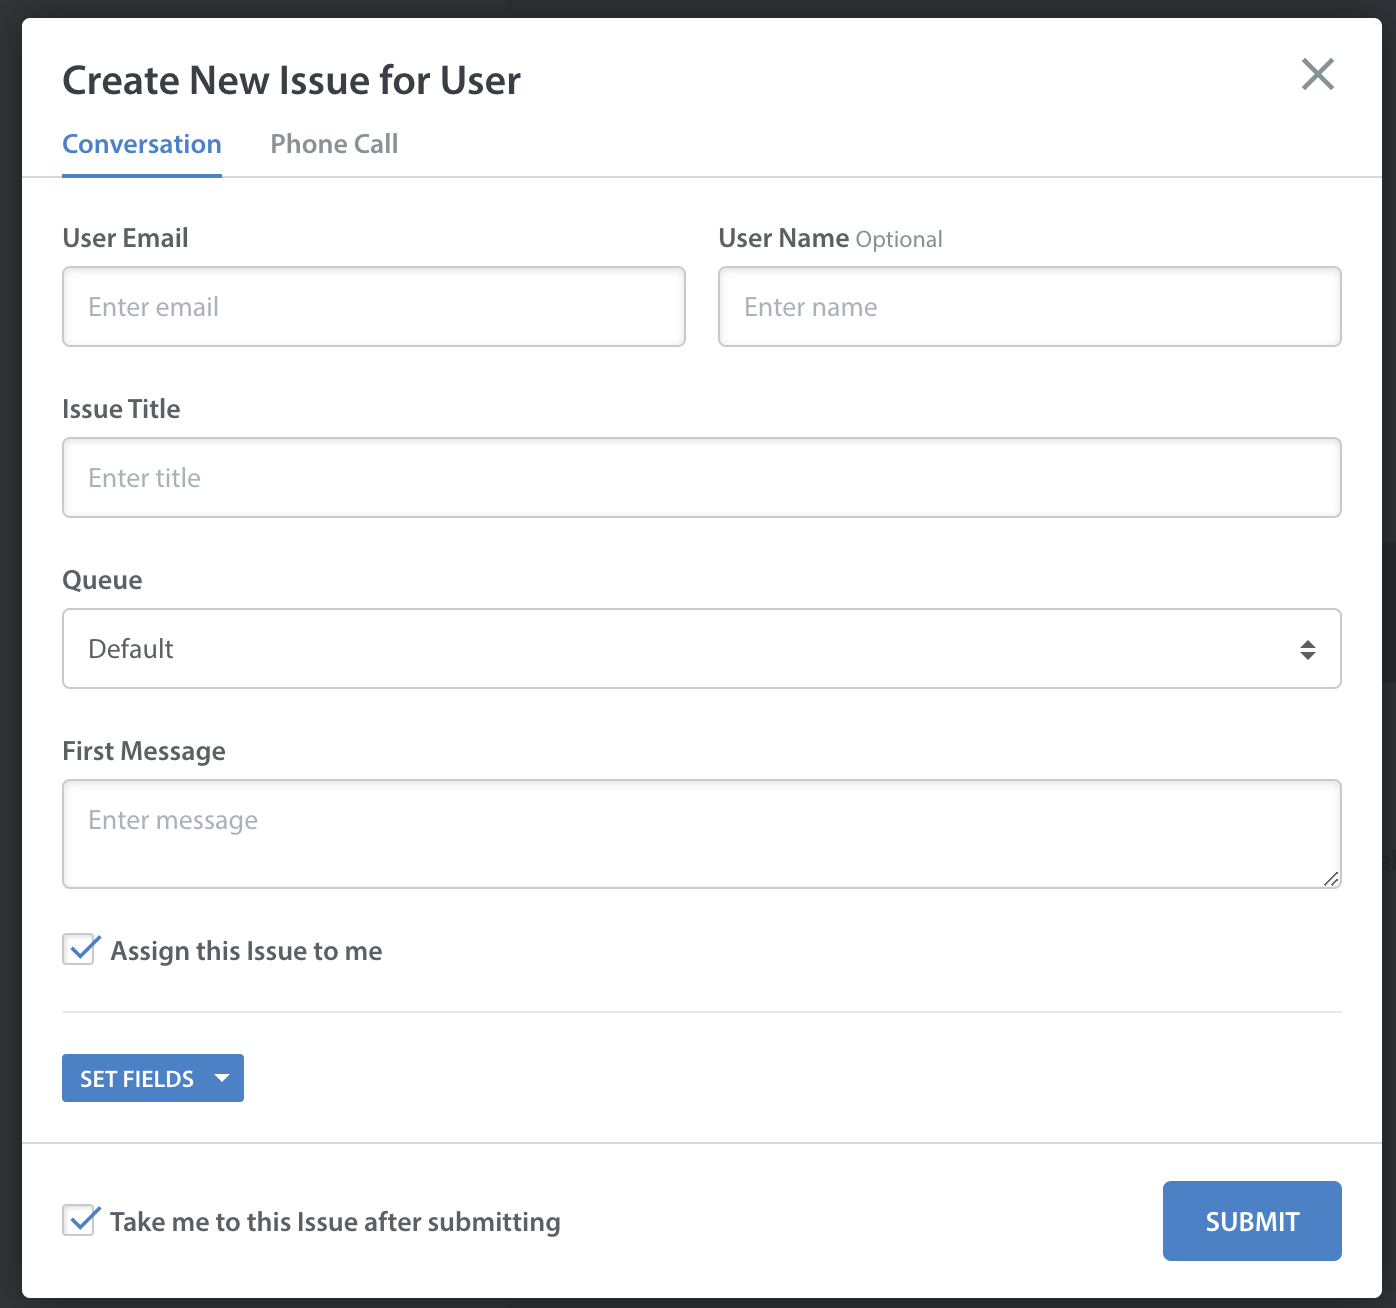
In the ‘Create New Issue for this Customer’ pop-up, enter the following:
- User Name
- User Email
- Issue Title
- The user’s Issue details, or first message
- Select the Queue that the Issue should be associated with, if applicable
- Set any Custom Issue Fields that should be applied to the Issue
The first message can be a summary of an Agent + User phone conversation or direct email correspondence. It can also be used to track and answer emails from organizations within your company. The user will not see these details until your NEXT message in the thread.
Do not make this first message your response to the user, as you are creating an issue on their behalf, not sending a message to them. This is simulating the user sending in an issue. Your reply to this ‘new issue’ you created will be what is sent to the user as a response to their issue that you created on their behalf. The first message will be appended to the bottom of your next reply, like a regular email thread.
If you wish to be taken directly to the Issue, check the box that says ‘Take me to this issue after submitting’ and click ‘Submit.’
Once the Issue has been created and you are in the Issue Detail page, all of the Issue behaviors will be the same as with any other Web reported Issue within Helpshift. You can Tag the Issue, Insert FAQs, enter a Reply to your User, reassign the Issue, and Resolve.
Note: These will show up in Analytics under ‘Web Issues’.