
You can set up business hours for Web Chat to set expectations with end users by letting them know when your team will be available to help them.
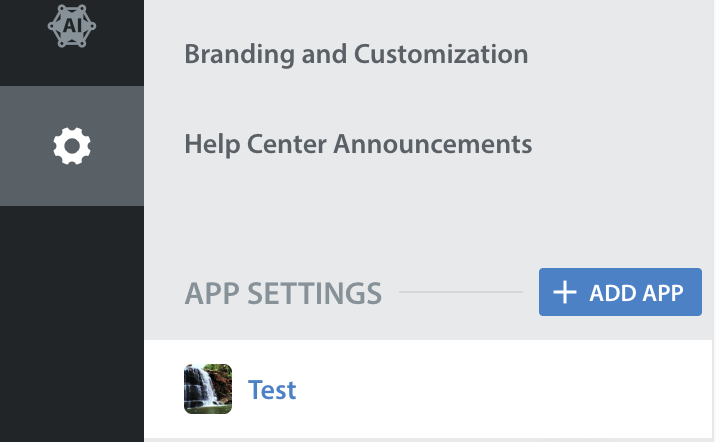
To set your Web Chat business hours, navigate to Settings > App Settings > select the app you’d like to configure Web Chat business hours for.
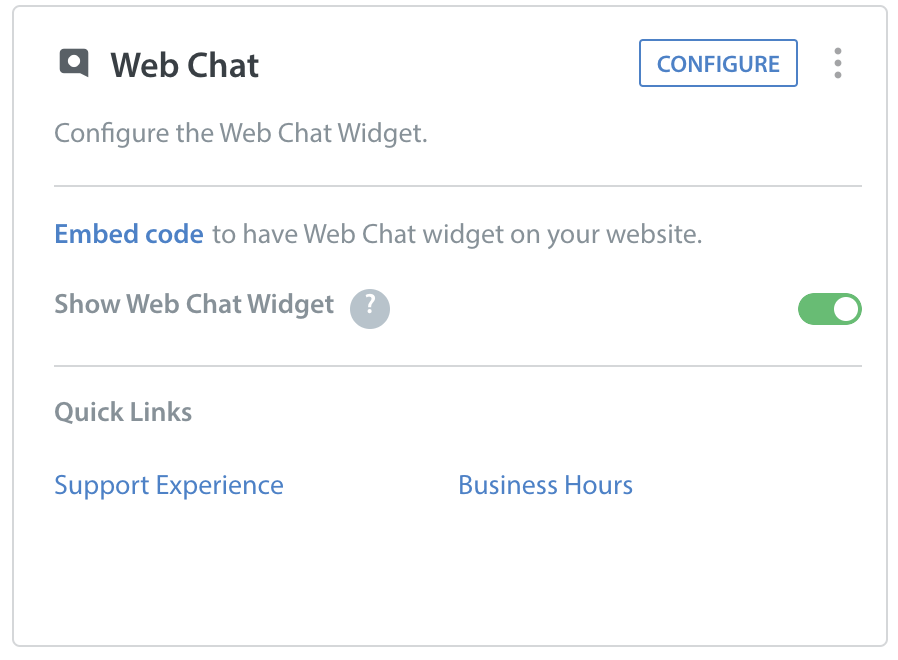
On the page that appears, click on Configure Button in Web Chat Platform Card.
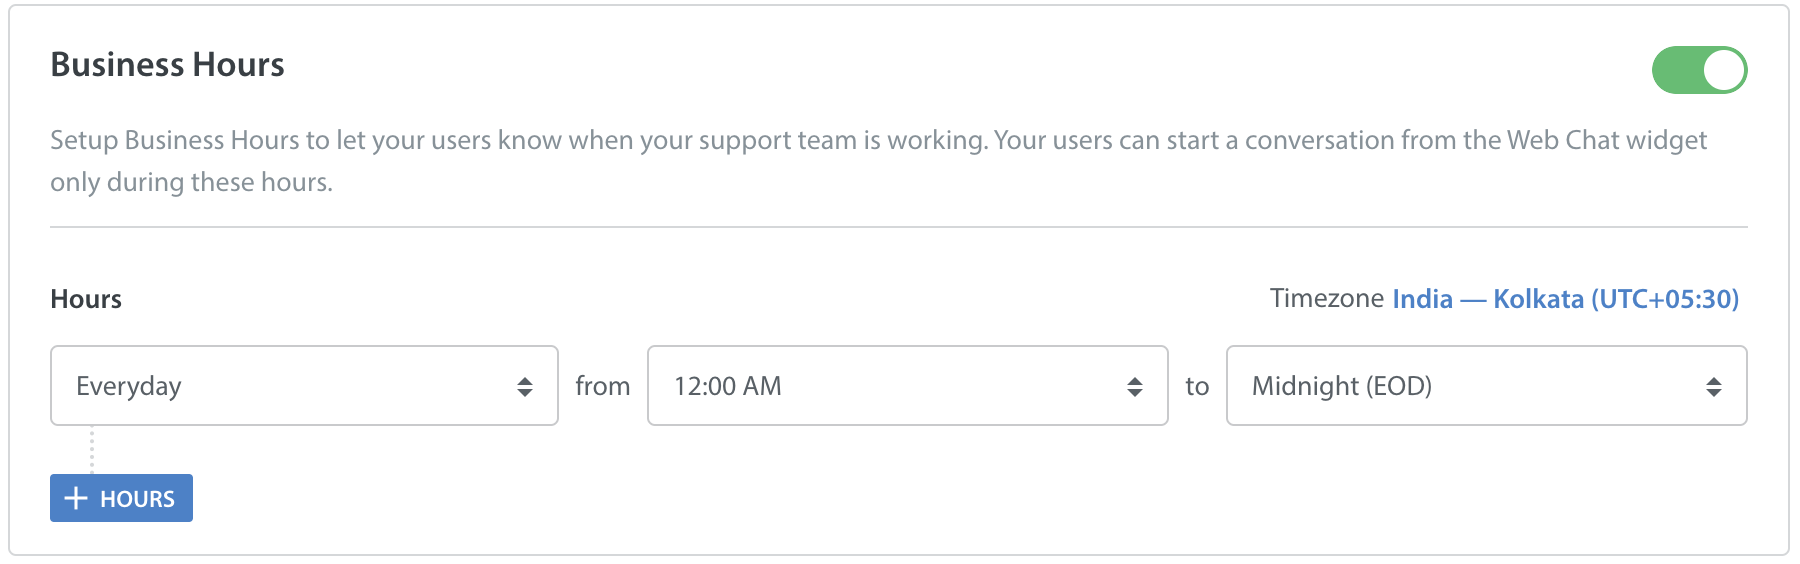
On the Web Chat configuration page, you will see the “Business Hours” tab. Use the drop-downs in the ‘Hours’ sections to configure the dates and times when the business hours message should display.
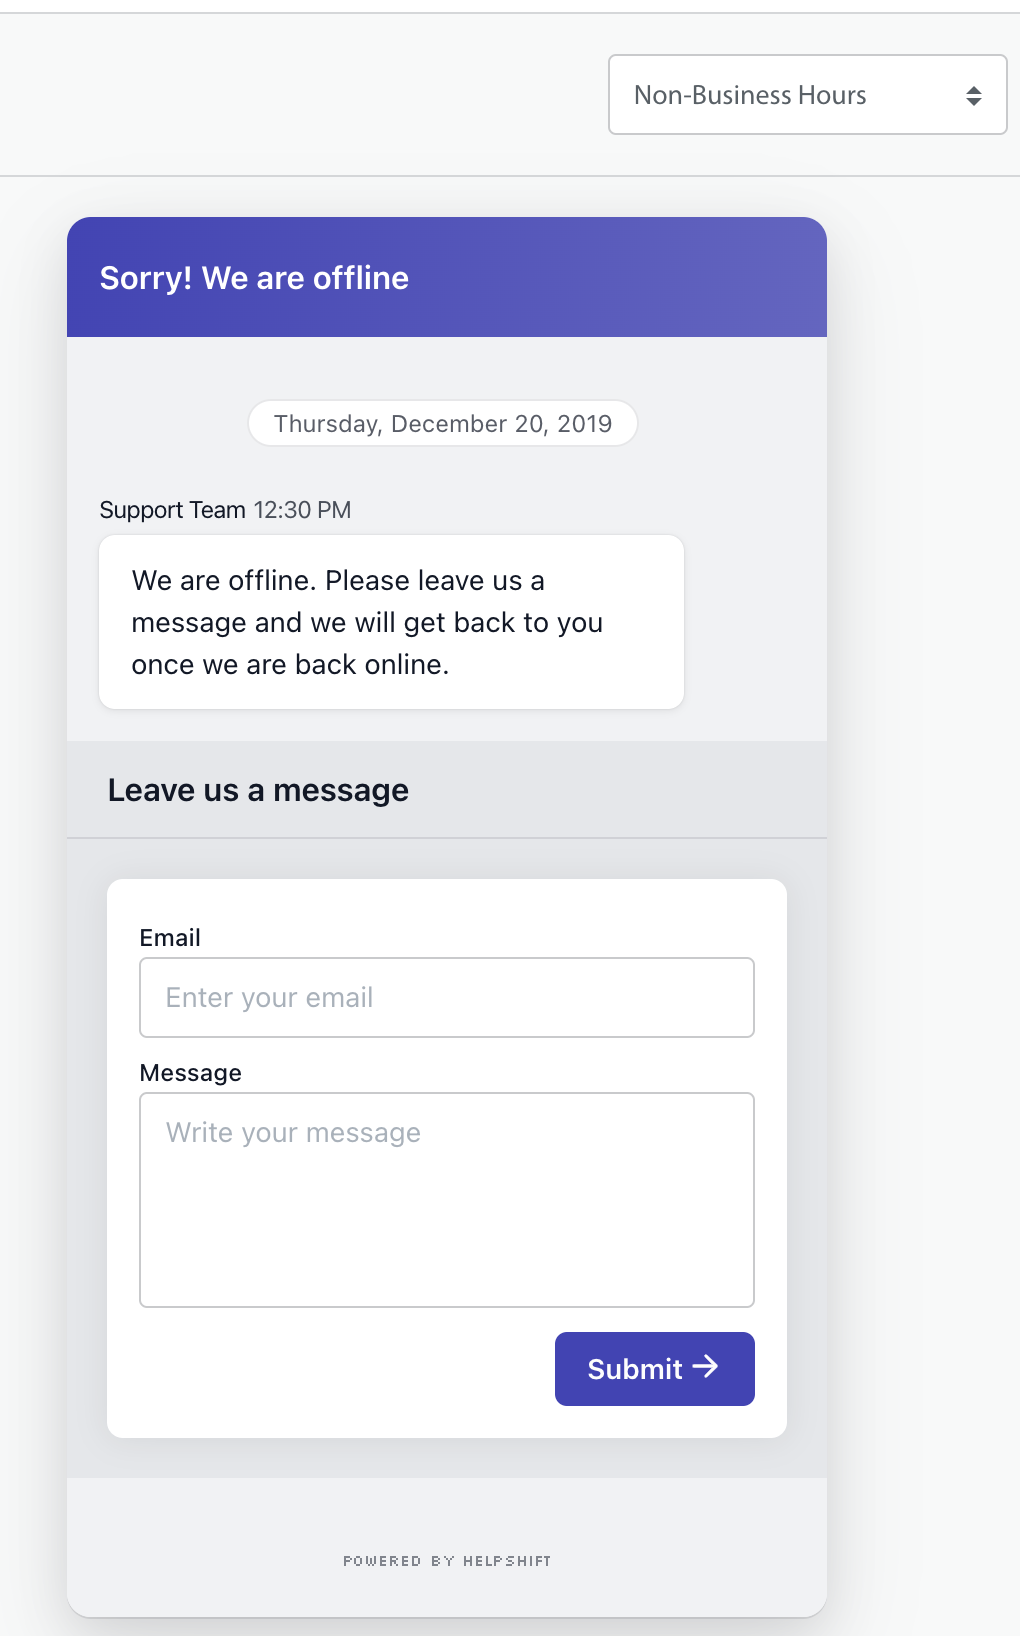
In the Non-Business hours behavior section, you can select whether or not you’d like to allow your end users to leave a message or hide your Web Chat widget entirely when your support team is not available to respond.
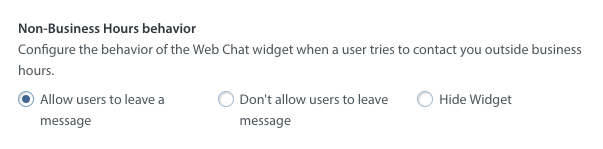
If you select ‘allow users to leave a message’, you’ll see additional options as listed below:
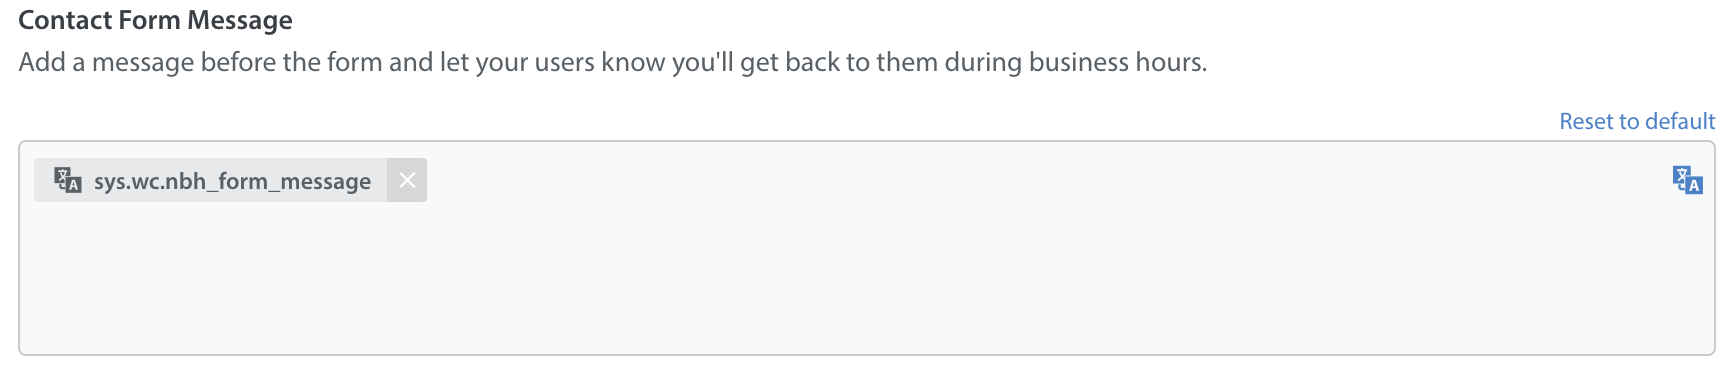
Provide a Contact Form Message to encourage users to reach out in the event that your team is unavailable.
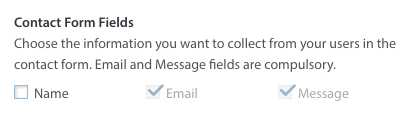
Add Contact Form Fields they can complete to enable your team to follow up and continue communication.
Enable attachments so they can attach a file as needed.

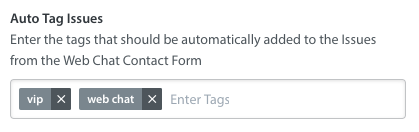
Automatically tag these incoming Issues so they will be automatically routed to the appropriate Queues or filtered into Smart Views.
You can also set the message that displays to users during non-business hours by filling out the ‘Widget Title (Non Business Hours)’ text field.

You can preview how your business hours will look on the right side by selecting the ‘Non-Business Hours’ option in the Preview drop-down.

You can track Issues that come in during non-business hours by setting up a Custom Issue Field or tag for Issues that meet this criteria. You can then track that tag data in Helpshift Analytics or the Custom Issue Field or tag data in Power BI.
To learn more about setting up Web Chat, please see our Web Chat guide.