What is User Identity Verification?
User Identity Verification is a security measure that verifies that all requests made from within your app or Web Chat widget are coming from authentic end users. This ensures that 3rd parties cannot perform malicious actions, such as filing Issues on behalf of your users, or updating their personal information.
User Identity Verification does not apply to anonymous users, so this feature is important only if you authenticate your end users. Identity Verification is currently only supported for iOS, Android and Web Chat.
When User Identity Verification is enabled, your users are only able to reach out to your support team when they are verified upon login. A user is considered verified when our system recognizes that a valid token has been included as part of the login request.
Once our system verifies that the token is valid, the user is able to login and file Issues. This verification will happen only if Identity Verification is enabled on the Helpshift Dashboard.
What does it look like to my end users?
Once this feature is enabled, your users will have the following experience based on their verification status:
- Anonymous users will always be able to file Issues.
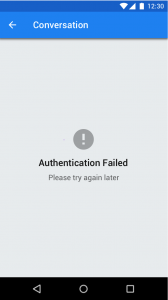
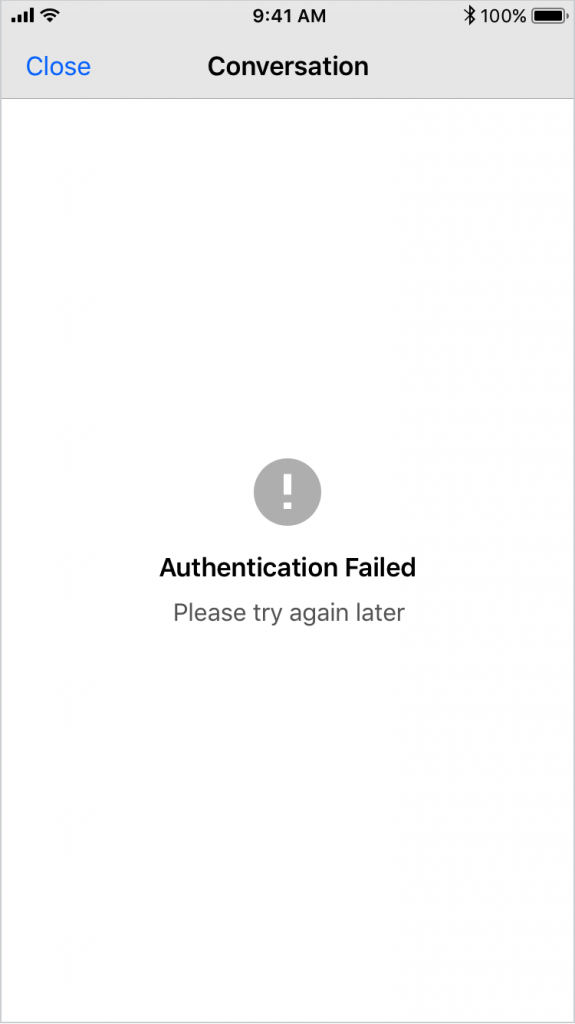
- Logged-in users who could not be verified will see an error message in their Web Chat widget or in-app conversation screen.
Authentication failed error in Android Authentication failed error in iOS
- Logged-in users who were successfully verified will see their previous Issues and have the ability to create new Issues.
How do I set it up?
Setting up User Identity Verification will require assistance from your developer to configure the endpoint and update your apps and Web Chat widgets. You also must ensure that most of your users are using the latest version of your iOS or Android app with Identity Verification configured.
It is important to note that enabling this feature will prevent users who are not on the latest version of your app (with Identity Verification configured) from being able to file Issues. Plan a way to incentivize your users to update to the latest version in order to complete this process.
- As an Admin, navigate to the Settings page within your Dashboard.

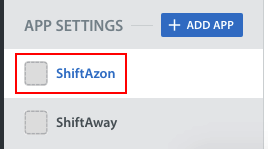
- Scroll down to App Settings, then select the app you’d like to set up User Identity Verification for.
- On the page that appears, scroll down to the User Identity Verification section, then click ‘generate’.
 After you have done so, a secret key will be generated and appear in your Dashboard.
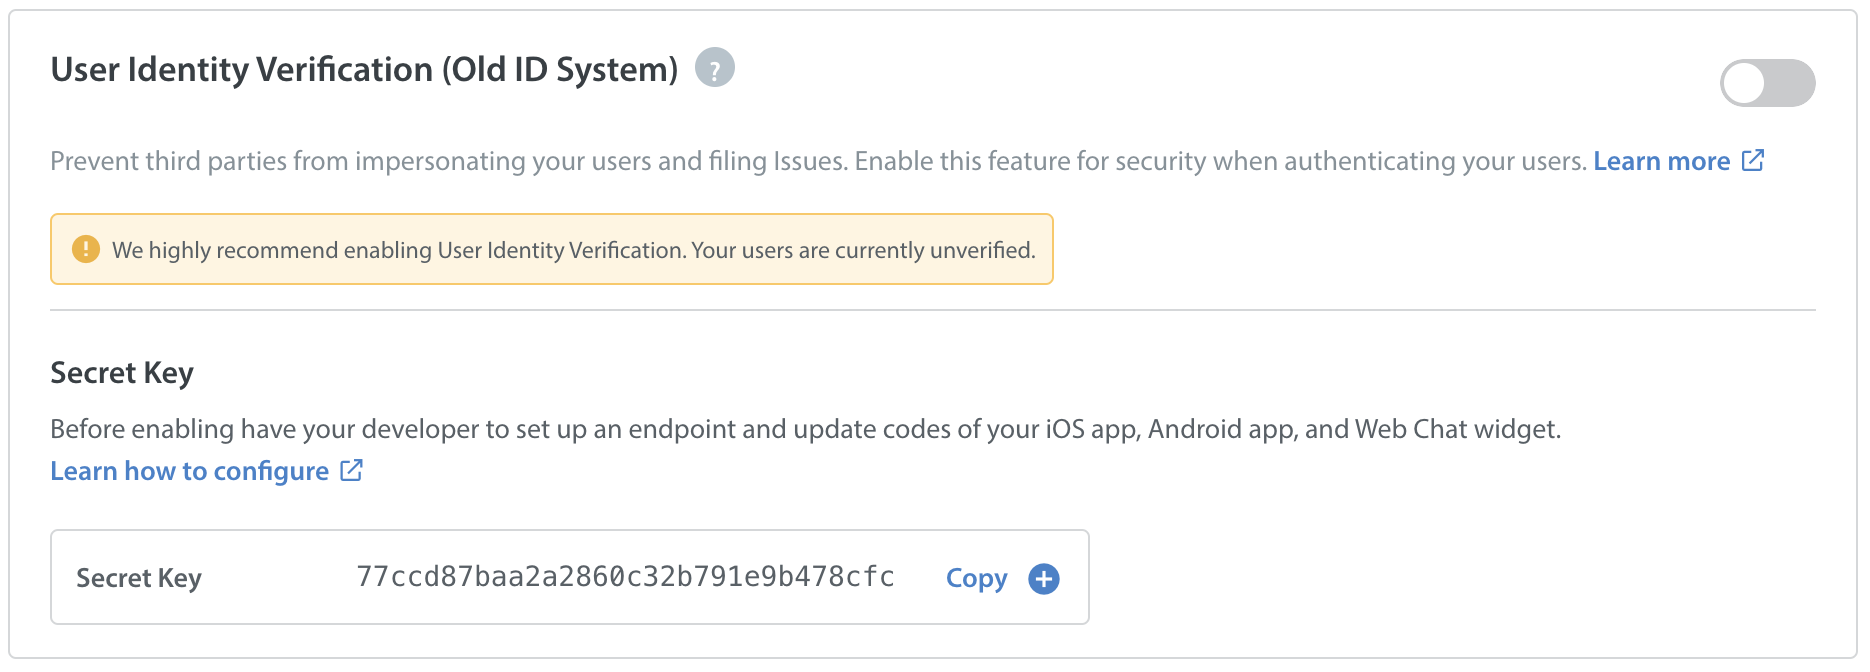
Before enabling this feature, your developer needs to set up an endpoint and update your iOS app, Android app, and Web Chat widget codes which will authenticate users. For complete steps, please direct them to our FAQ How do I configure the endpoint and my app / Web Chat widget for User Identity Verification?
We strongly recommend that you have your developer build a test version of your iOS or Android app (or Web Chat widget) to allow you to test out this configuration before updating your live apps. Once they have done so, review How do I test that I have User Identity Verification set up correctly? For proper test steps.
If everything works on your test, app, you can configure this implementation in your live apps. Once you have done so, you’ll need to incentivize your users to update to the latest version of your app that contains this implementation. Enabling this feature will prevent users who are not on the latest version of your app (with Identity Verification configured) from being able to file Issues.
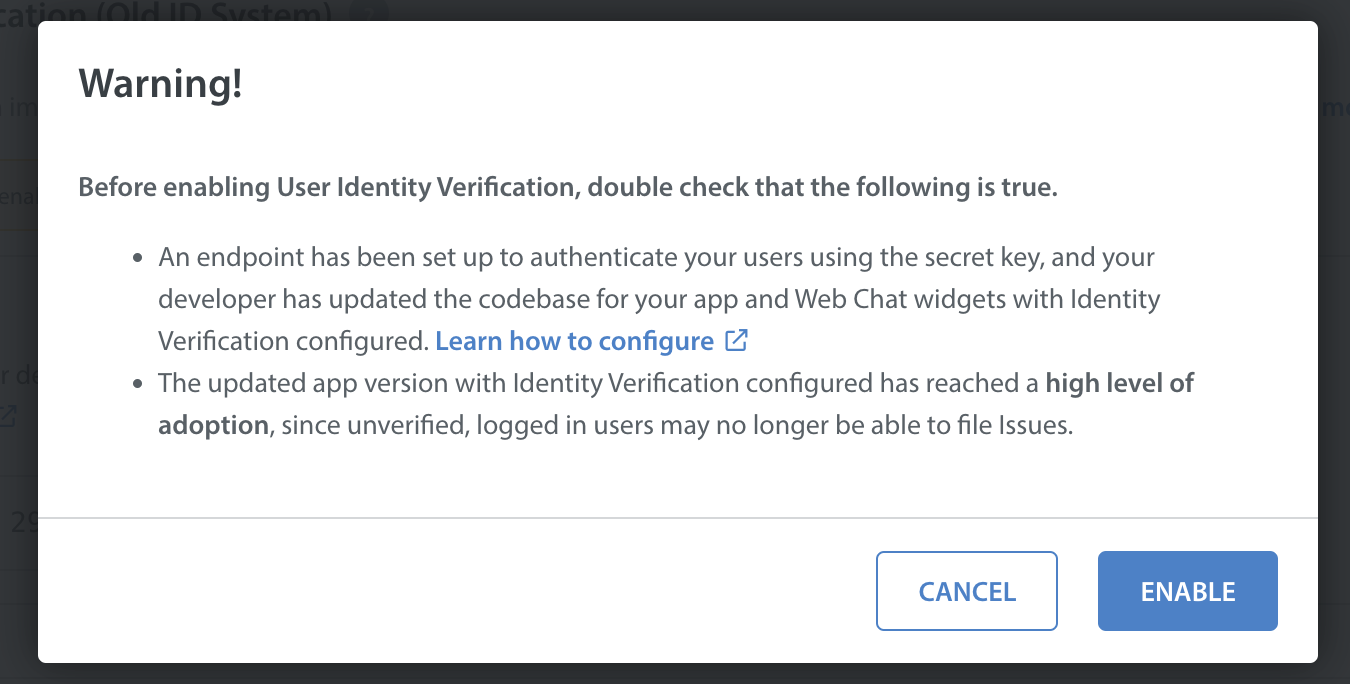
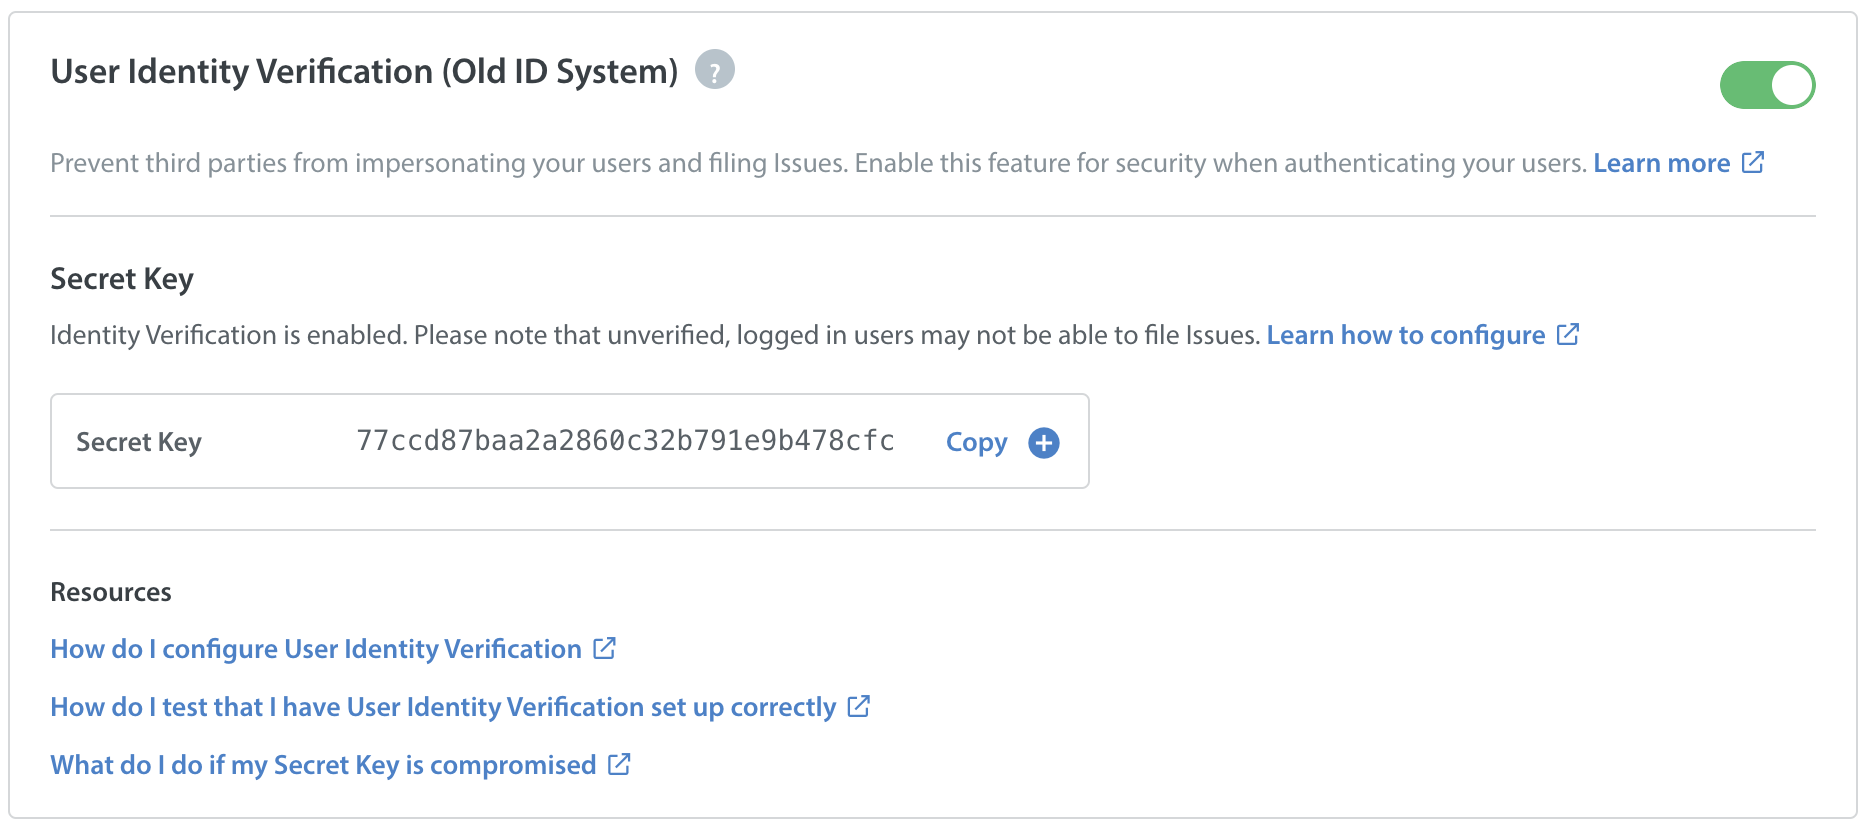
Once most of your users have updated to the latest versions of your app, return to the Settings > App Settings > User Identity Verification area, and click the toggle to enable this feature. A pop-up will appear prompting you to ensure that your endpoint is configured, and that the majority of your users have updated to the version of your app that includes the endpoint.
Once you click ‘Enable’, you’ll see a confirmation on your Dashboard that User Identity Verification is on.

