To provide a better support experience, we recommend making custom app or brand-specific contact forms so you can create unique contact experiences for your users.
Help Center
Some use cases are as follows:
Gaming Company with Different Genres
If you are a gaming company who has a Social Casino game, Mid-core game, and RPG game, then your Contact Us Form could have different values for each Issue Type. Your RPG game may have “Live Event” as an Issue Type, but that won’t be applicable to your Social Casino game.
Multiple Apps with Different Platforms
If you have four apps, and one of the apps is on Facebook but the others aren’t, you’ll want to have that app’s Contact Us Form have a platform value for Facebook, while the other three apps won’t.
Apps for Different Users
If your company has two apps: one for customers, and one for operators (b2b), both apps will have different functions which will require specific information. Your customer app may have Issue Type refund or missing item, while your operator app may have undelivered or late pickup as Issue Type.
To start customizing your form for each app, navigate to Settings > App Settings > scroll down and click on one of your apps. This will bring you to the Web Contact Us Form area.
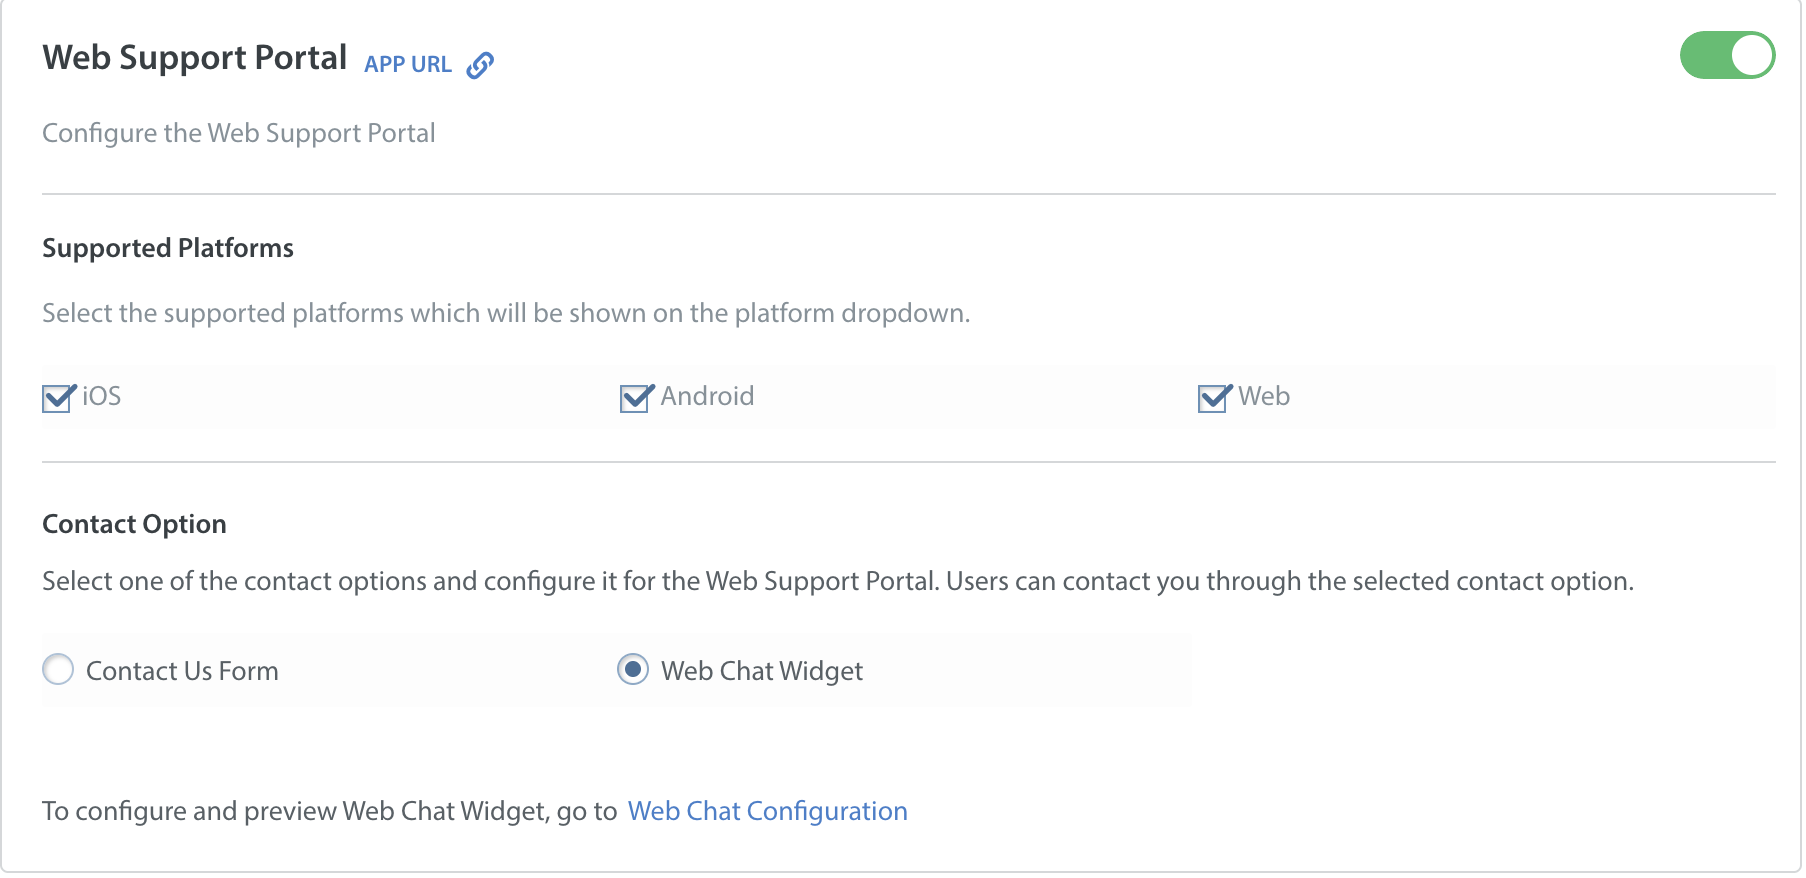
After clicking the ‘Configure Web Contact Us Form’ button, you’ll be taken to the Form Editor where you can manage the content and required fields of the form. Those fields are as follows:
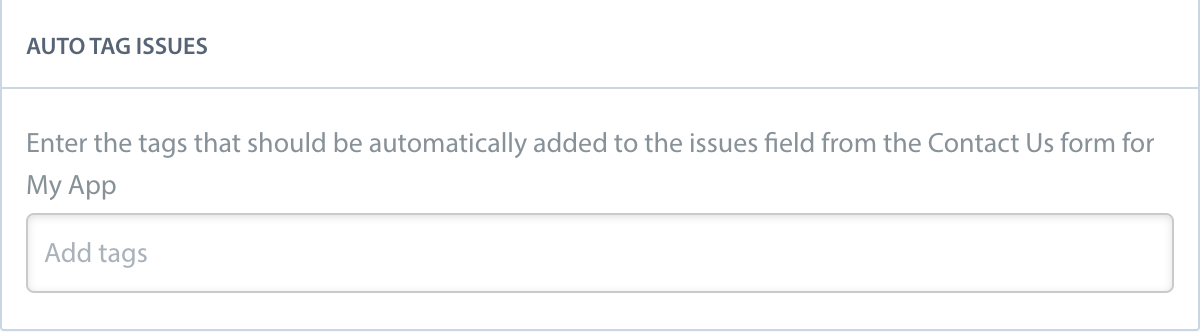
- Auto Tag Issues – automatically add Tags to every new Issue filed from Contact Us Form (example: Web, Non-mobile)
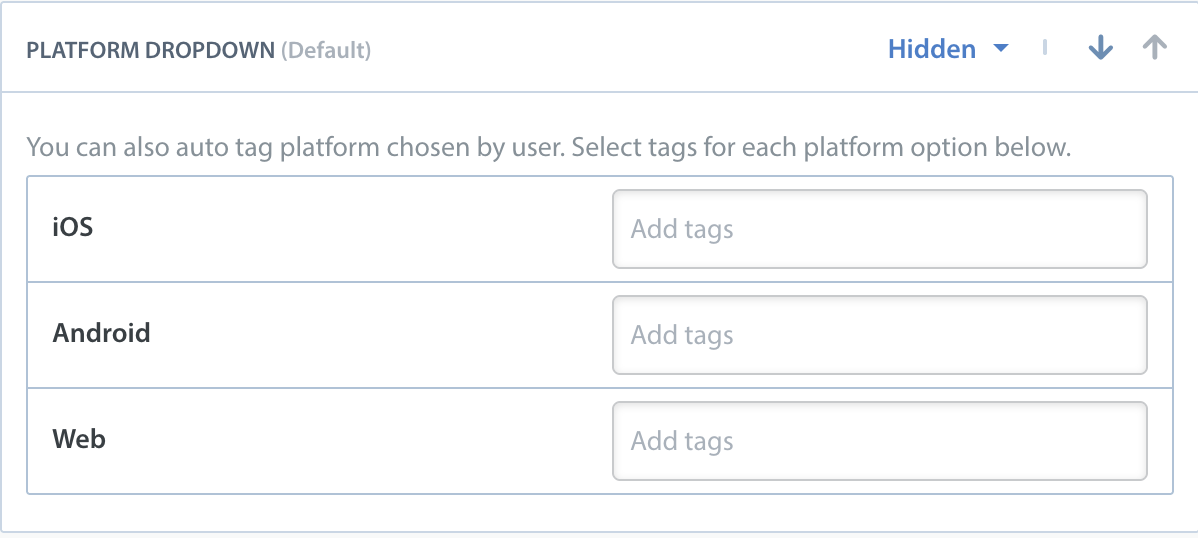
- Platform Drop-down – iOS, Android, Web (option to auto-tag each value with your own custom Tag)
- User Name – the name of the user (example: Bob Moses)

- User Email – the email address of the user (example: bob.moses@gmail.com)

- User Message – text box where user types in content of message

- Attach File – add the ability for the user to attach a file (image, pdf, etc) to their message

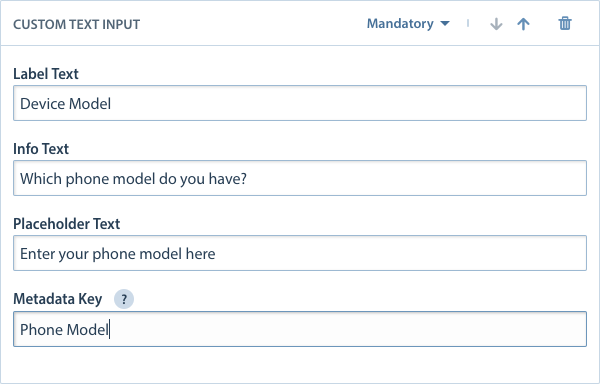
- Custom Text Field – add a text box so your users can fill out additional information (example: Device Model, City, Score/Level)
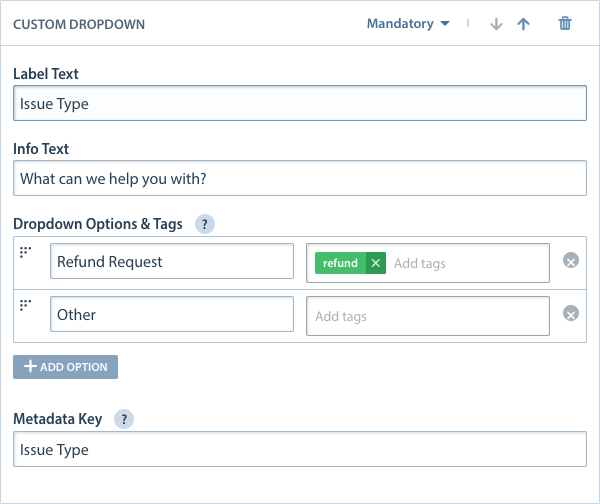
- Custom Drop-down – add a list of predefined answers for your users to select (example: Issue Type, Market/Location, Country)
- Custom Checkbox - add a checkbox with a statement for your users to get their consent/opt-in; you can also add a hyperlink to any policy/document(for example, privacy policy, T&Cs, etc.)

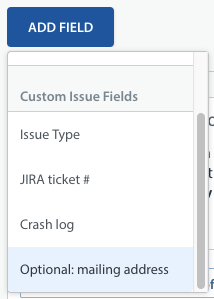
- Custom Issue Fields – provide Custom Issue Fields to your end users to complete when filling out the form – all of the active Custom Issue Fields associated with your Helpshift Dashboard will be listed here

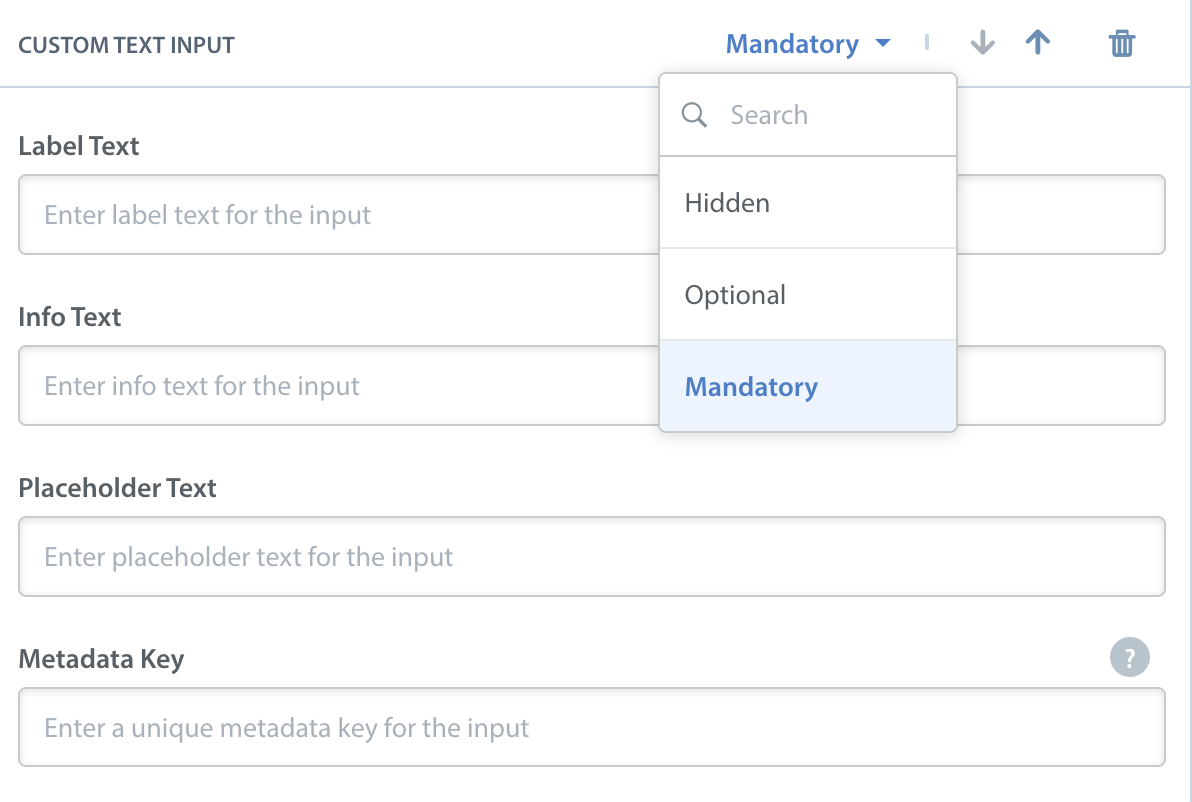
Each field can have one or all of the following statuses:
- Mandatory: user must fill out field or message will not be submitted
- Optional: user is not required to fill out the field in order for message to be sent
- Hidden: field will not be shown to User
When you are creating Custom Fields (Text or Drop-down), you’ll have the option to associate a Metadata Key or Tag to each value.
Metadata Key is the standardized data point that you will want to show up in your Custom Metadata field inside the Issue. This will appear to the right of the Metadata Key when a user submits text or a value via the message.

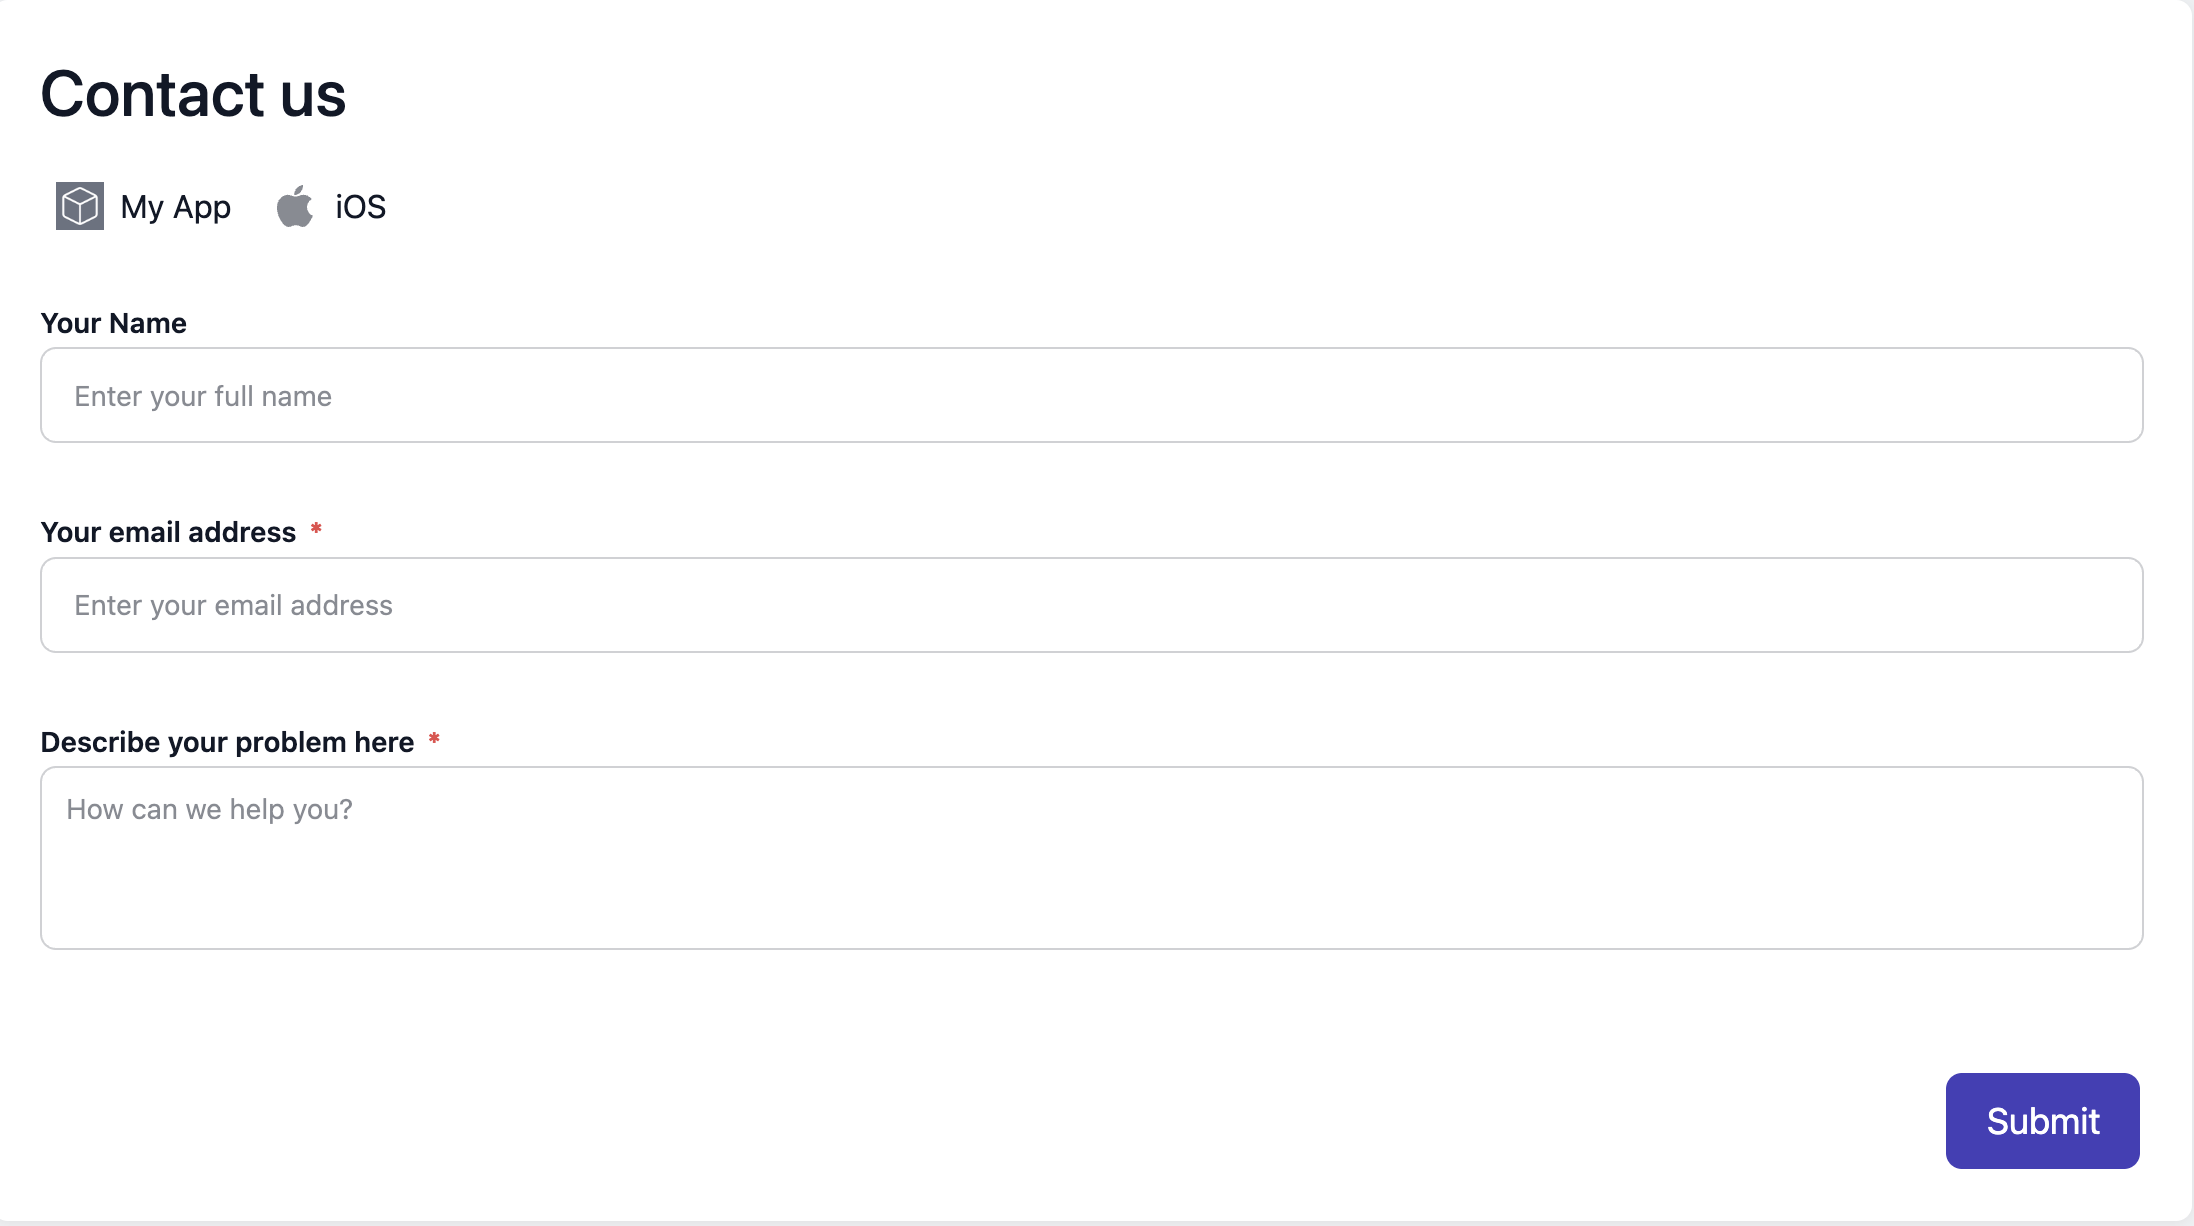
A preview of what the published form will look like will be available on the right side while you fill out these fields, and will automatically update as you complete each one.
Tags allow you to keep track of the selected values in Drop-down Forms. When the user selects an option from the drop-down and submits a message, a corresponding tag will be automatically applied to the Issue. You can then create a SmartView or run an Automation based off those tags.
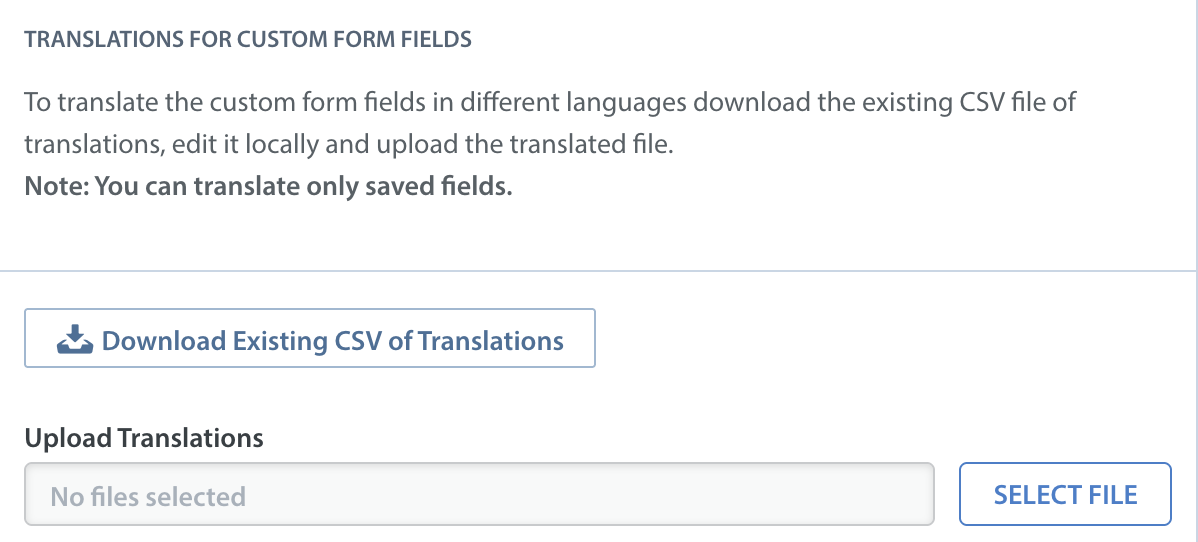
If your app is localized in more than one language, you can easily upload the translations for each form by using the widget in the Form Editor. This widget is available in the ‘Translations for Custom Fields’ section.