
If you’ve already added custom fields to your Web Support Portal contact form, you can upload translations for these custom fields so they’ll appear localized along with the rest of your Web Portal content. If you haven’t localized your Web Support Portal yet, please see How do I set up my Web Support Portal in different languages? first.
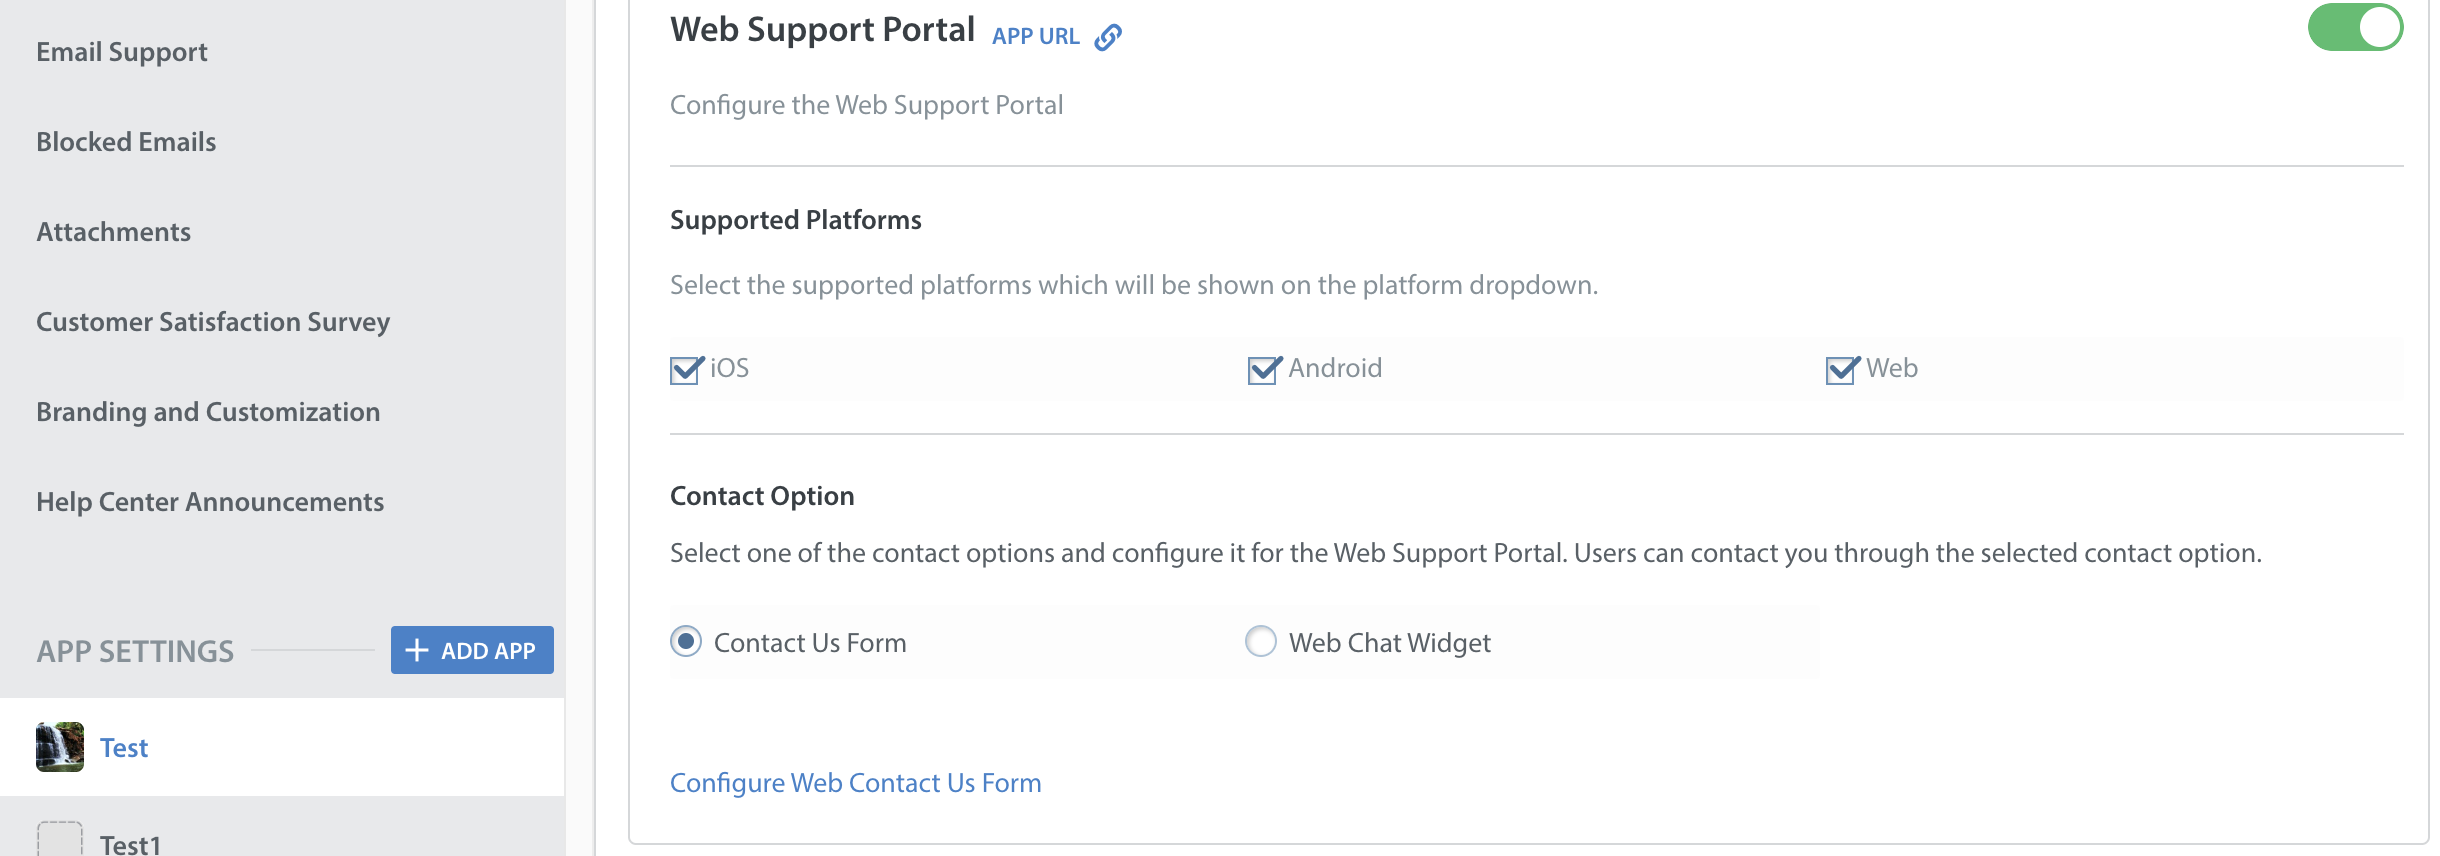
To upload translations for the custom fields in your contact form, navigate to Settings > App Settings, select the app for which you’d like to upload translations, select Web Support Portal. Then choose the Contact Us Form radio button, and click on Configure Web Contact Us Form.
The contact form editor will appear. On the left side of this page, scroll down to the TRANSLATIONS FOR CUSTOM FORM FIELDS section.
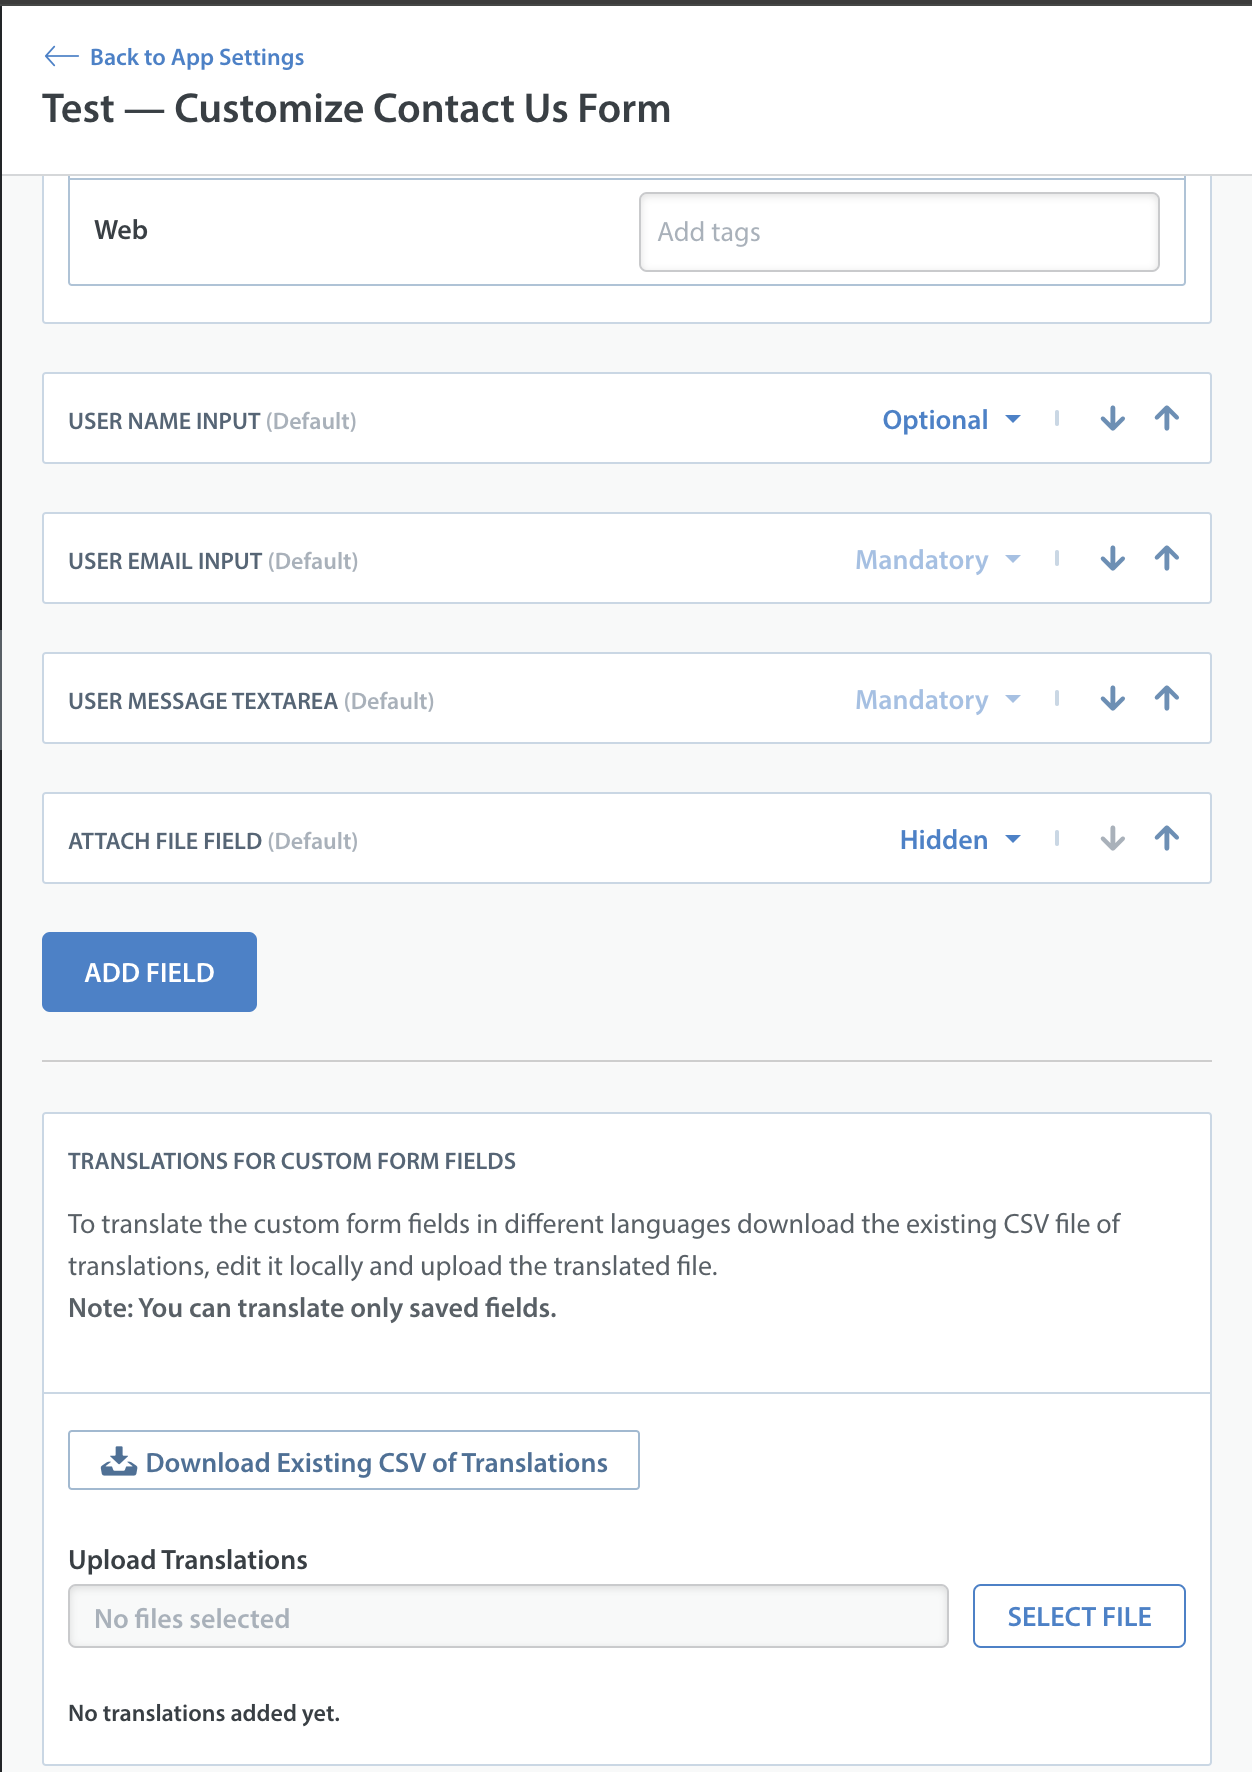
Click the ‘Existing CSV of Translations’ button to start the download. This file contains all your custom strings as of the last time you ‘saved’ changes to your contact form. Once you’ve downloaded the form, you’ll have the option to input translations for all the languages you’ve enabled in your web portal, then re-upload the edited CSV.
To learn more about customizing your Contact Us form, please see How do I customize my Web Contact Us Form?
If you are setting up your Web Support Portal in different languages, you’ll also want to configure your Dashboard and in-app support experience to organize and offer support for Issues by language. To get started, please see the following: