
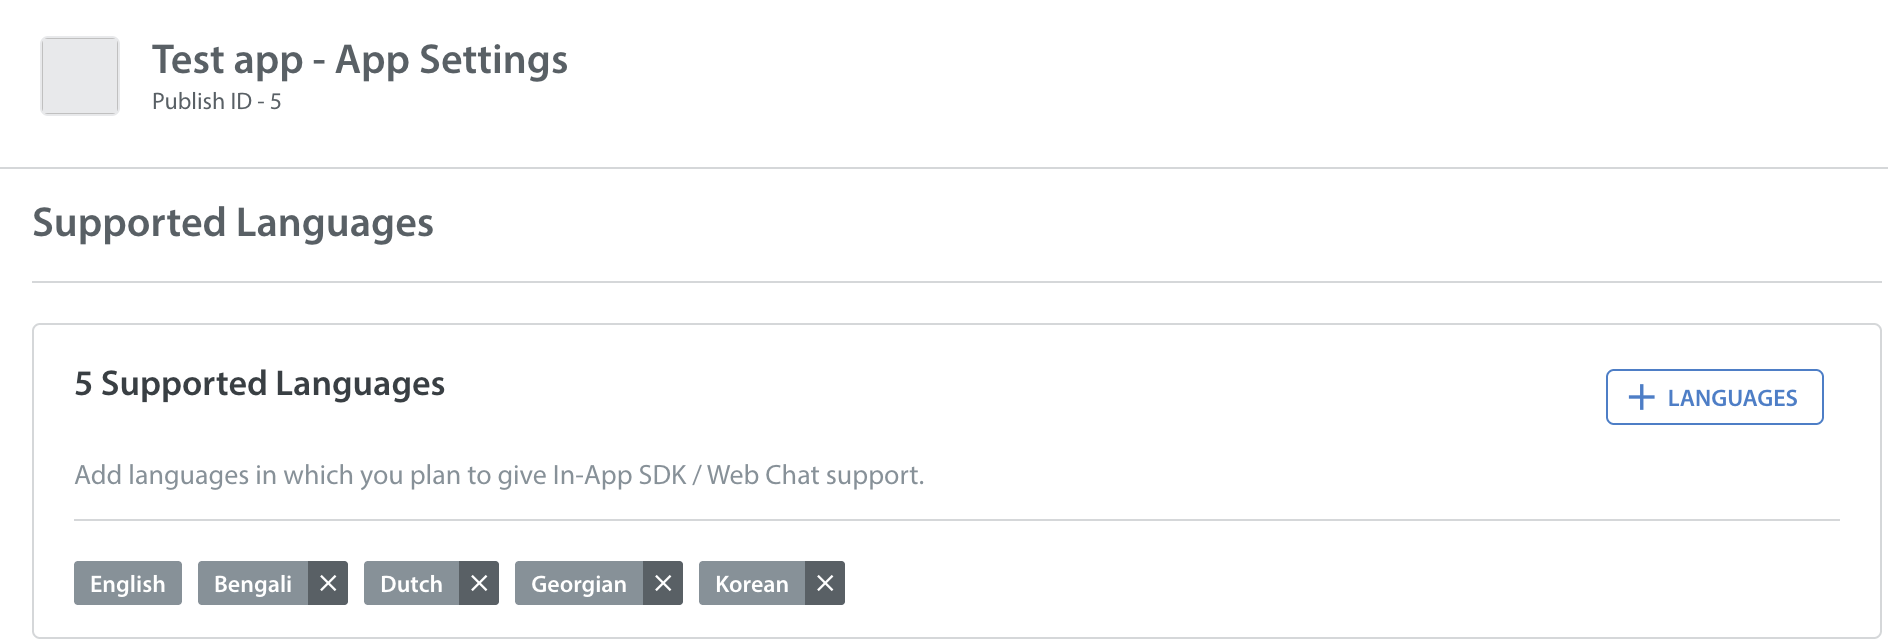
To set up your Web Support Portal in different languages, be sure to add languages to your app in your main App Settings page. You can do so by navigating to Settings, selecting your app, then scrolling down to the Languages Supported area.
Next, create FAQs in your newly added languages.

When you need to point your web users to certain FAQs within a conversation, use a link with the specific language URL slug. The default CSS setting makes your Web Portal contain a language drop-down at the bottom of the page.

As an example: you have an English and a Spanish website. In your domain, if the value of “en” is changed to “es”, the URL will be redirected to your Spanish Portal.
When setting this up, be sure to create the different links for various languages by differentiating the “l=xx” string. A language drop-down can be set up at the very bottom of your Web Portal to toggle between languages, so you can reference and copy the unique URL from selecting one there.
To see the various languages and their codes, see our developer documentation for our list of supported languages in iOS and Android.
For consistency, you’ll also want to also set up your contact form in different languages. To learn how, see How do I set up my Web Support Portal contact form in different languages?
If you are setting up your Web Support Portal in different languages, you’ll also want to configure your Dashboard and in-app support experience to organize and offer support for Issues by language. To get started, please see the following: