
Note:
- This feature is available only on SDK X.
- To enable User Identity Verification along with Smart FAQs, please upgrade to SDK version 10.2.0.
With Helpshift's 'Smart FAQs', you can empower FAQs with the capability to capture the user context in detail. This is a huge benefit because users can solve problems directly from the FAQ or start a conversation with relevant context. This avoids the common question and answer steps, saving significant time for both end-users and agents.
You can use Smart FAQs for various use cases, below are some examples:
- Lost progress
- Report inappropriate username
- Data deletion request
- Bug reporting
- Allow users to provide feedback
- Allow users to submit ideas
- Lost account
- Purchase related issues
- Inappropriate ad reporting
Benefits of using Smart FAQs:
- A great end-user experience,
- Faster issue resolution by agents
- Improved CSAT
You can follow a two-step process to configure Smart FAQ:
- Create and configure Smart Form
- Attach Smart Form and Enable Smart FAQ
Create and configure Smart Form
- Log in to your Helpshift instance as its administrator.
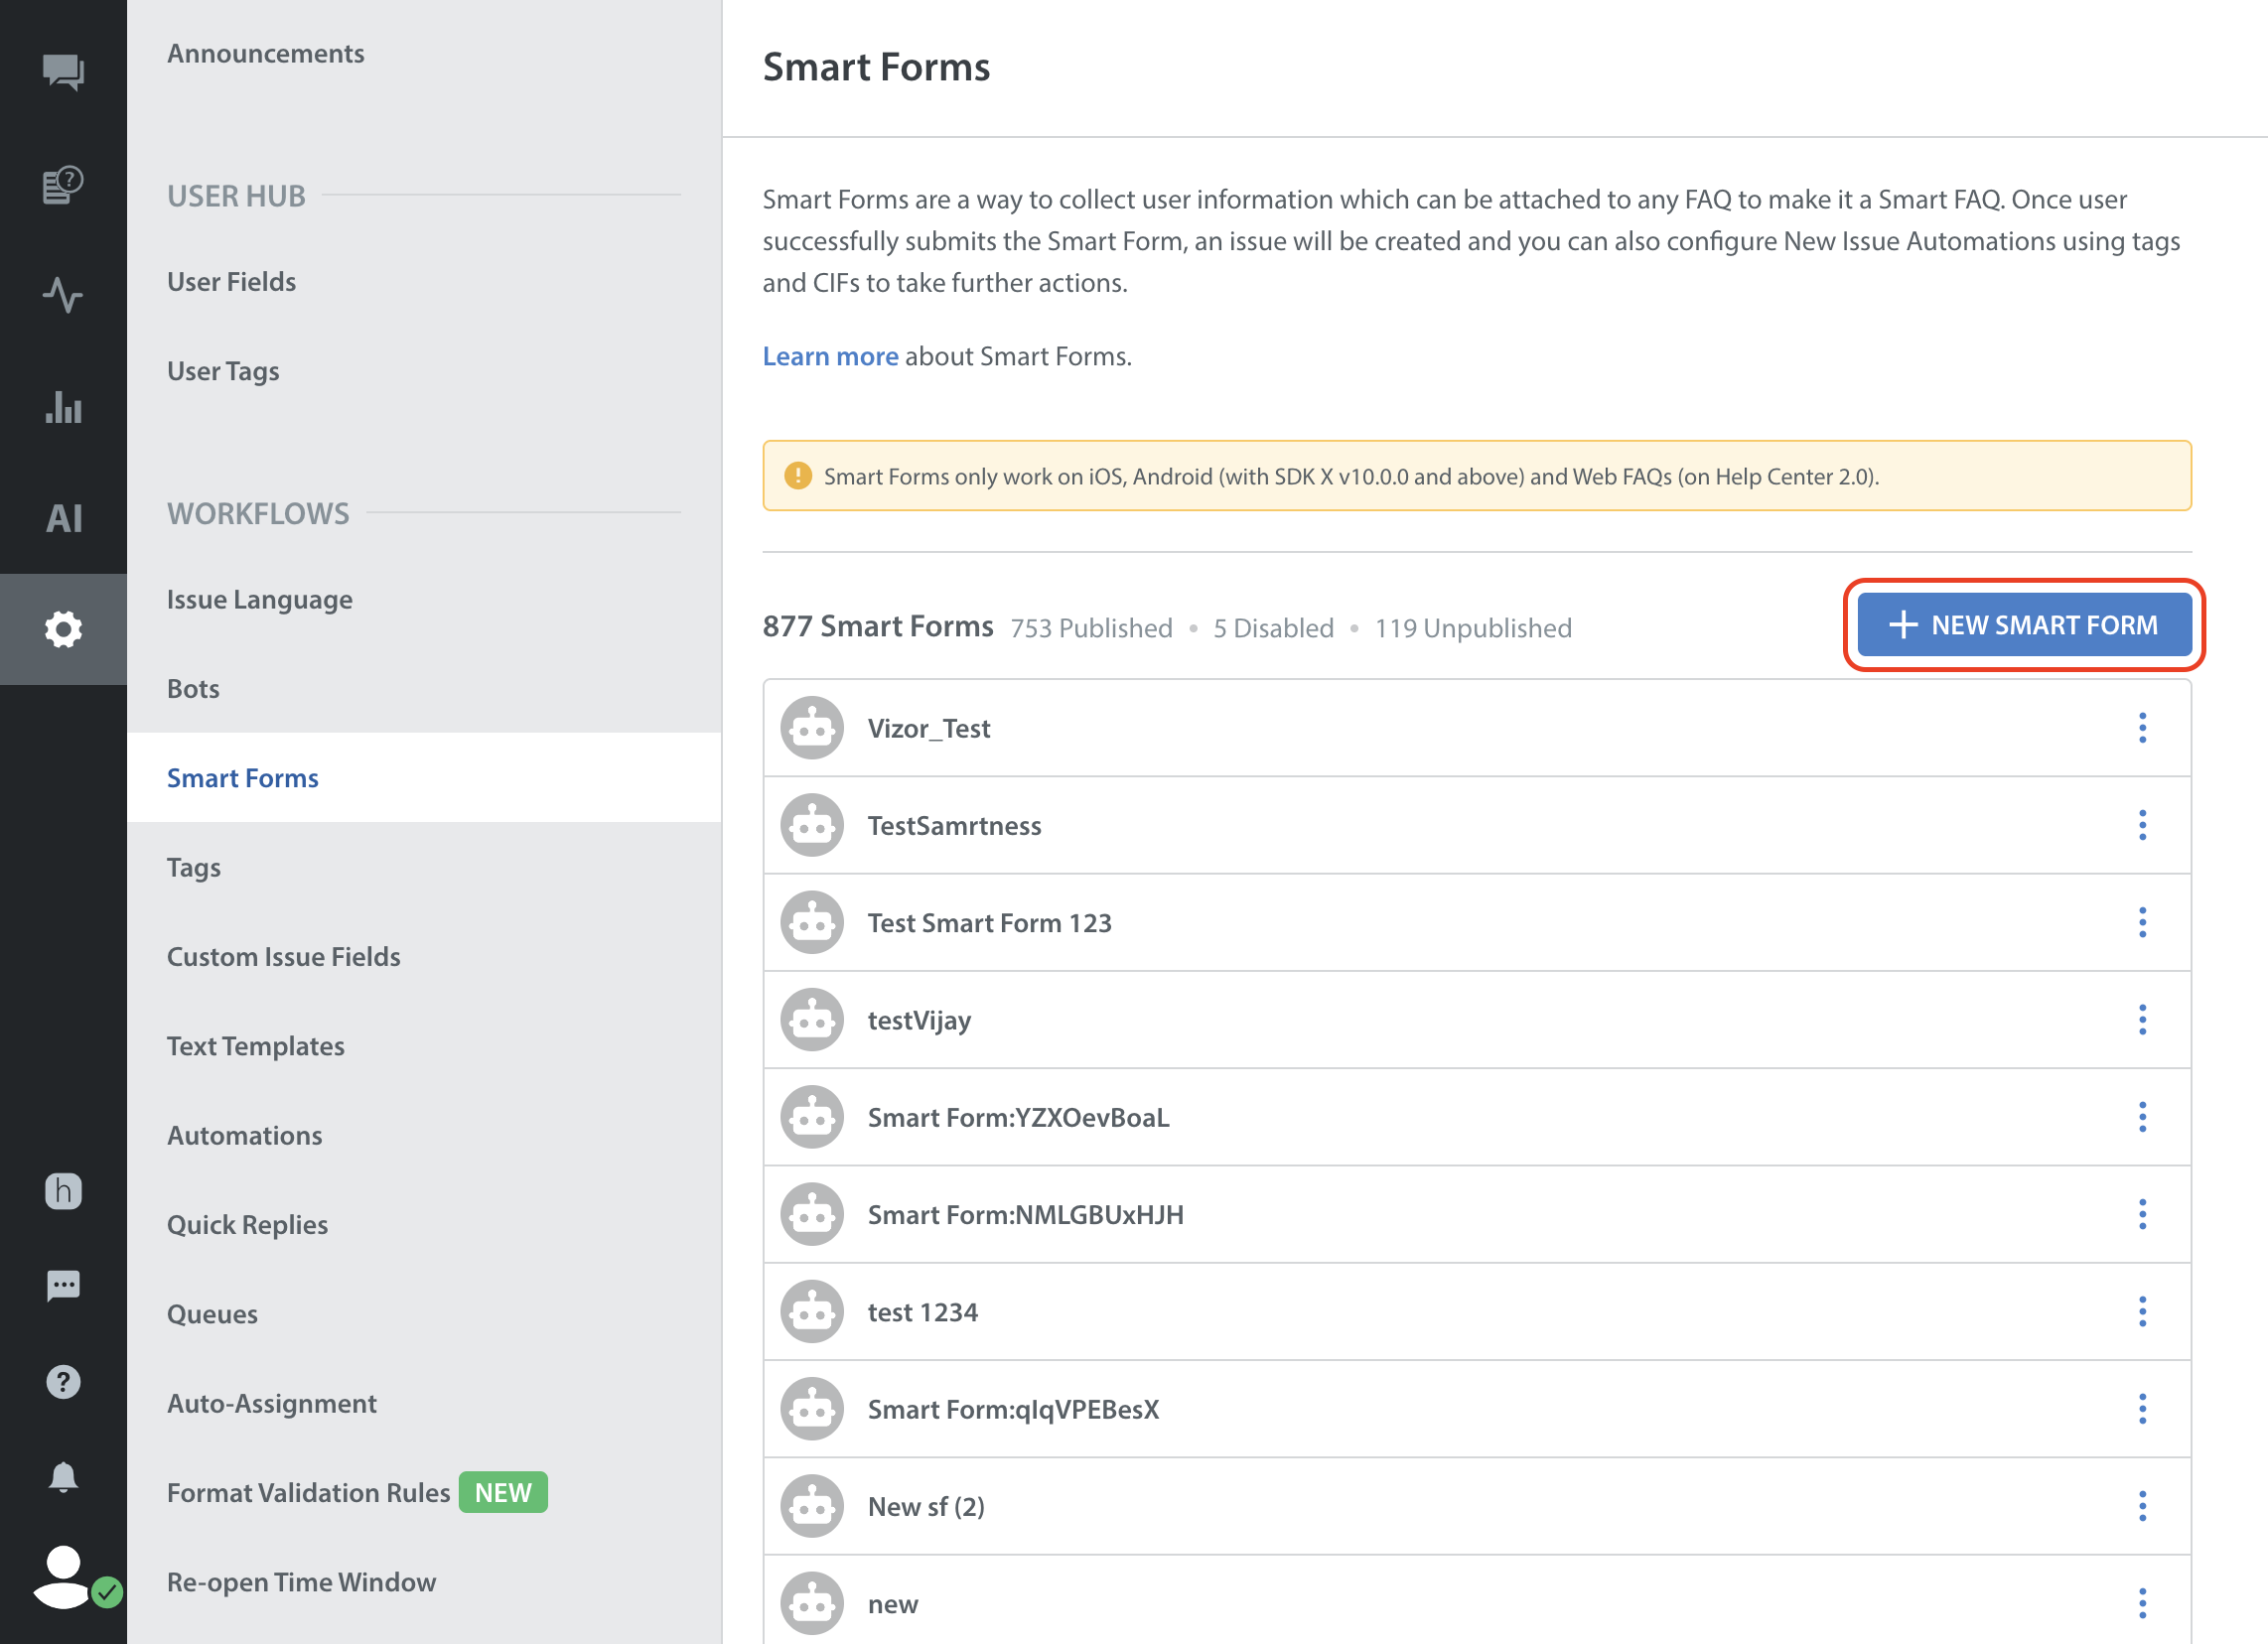
- Click Settings on the Helpshift toolbar, and then click Smart Forms in the Workflows area.
- Click + NEW SMART FORM to create a new smart form.
- In the New Smart Form dialogue box, enter a name and nickname for the Smart Form.
- Click CREATE AND CONFIGURE SMART FORM.
- Click Add First Step > Collect Information from User.
- In the get info modal, add Step Name.
- Click ADD FIELD.
The user reply format dropdown will have only Text, Multiline, Email Address, Number, List of options, Yes/No options, and attachments.
- Every option has the below fields to fill:
- Label
- Placeholder
- Info Text (Optional)
- (Optional) If you wish to “Map Users Reply to a Custom Issue Fields”, turn On the toggle.
- (Optional) If you wish to make any field an “Optional Field”, turn On the toggle.

Note: For non-logged-in users, name and email will be asked by default before initiating Smart Form.
- Every option has the below fields to fill:
- To add more fields, click ADD FIELD and repeat the instructions given under step 8 to add more fields additional fields. (You can add a maximum of 8 fields.)Note (only specific to attachments):
- Attachment cannot be mapped to CIF, as CIF currently doesn’t support attachment.
- Only one attachment field per form is allowed.
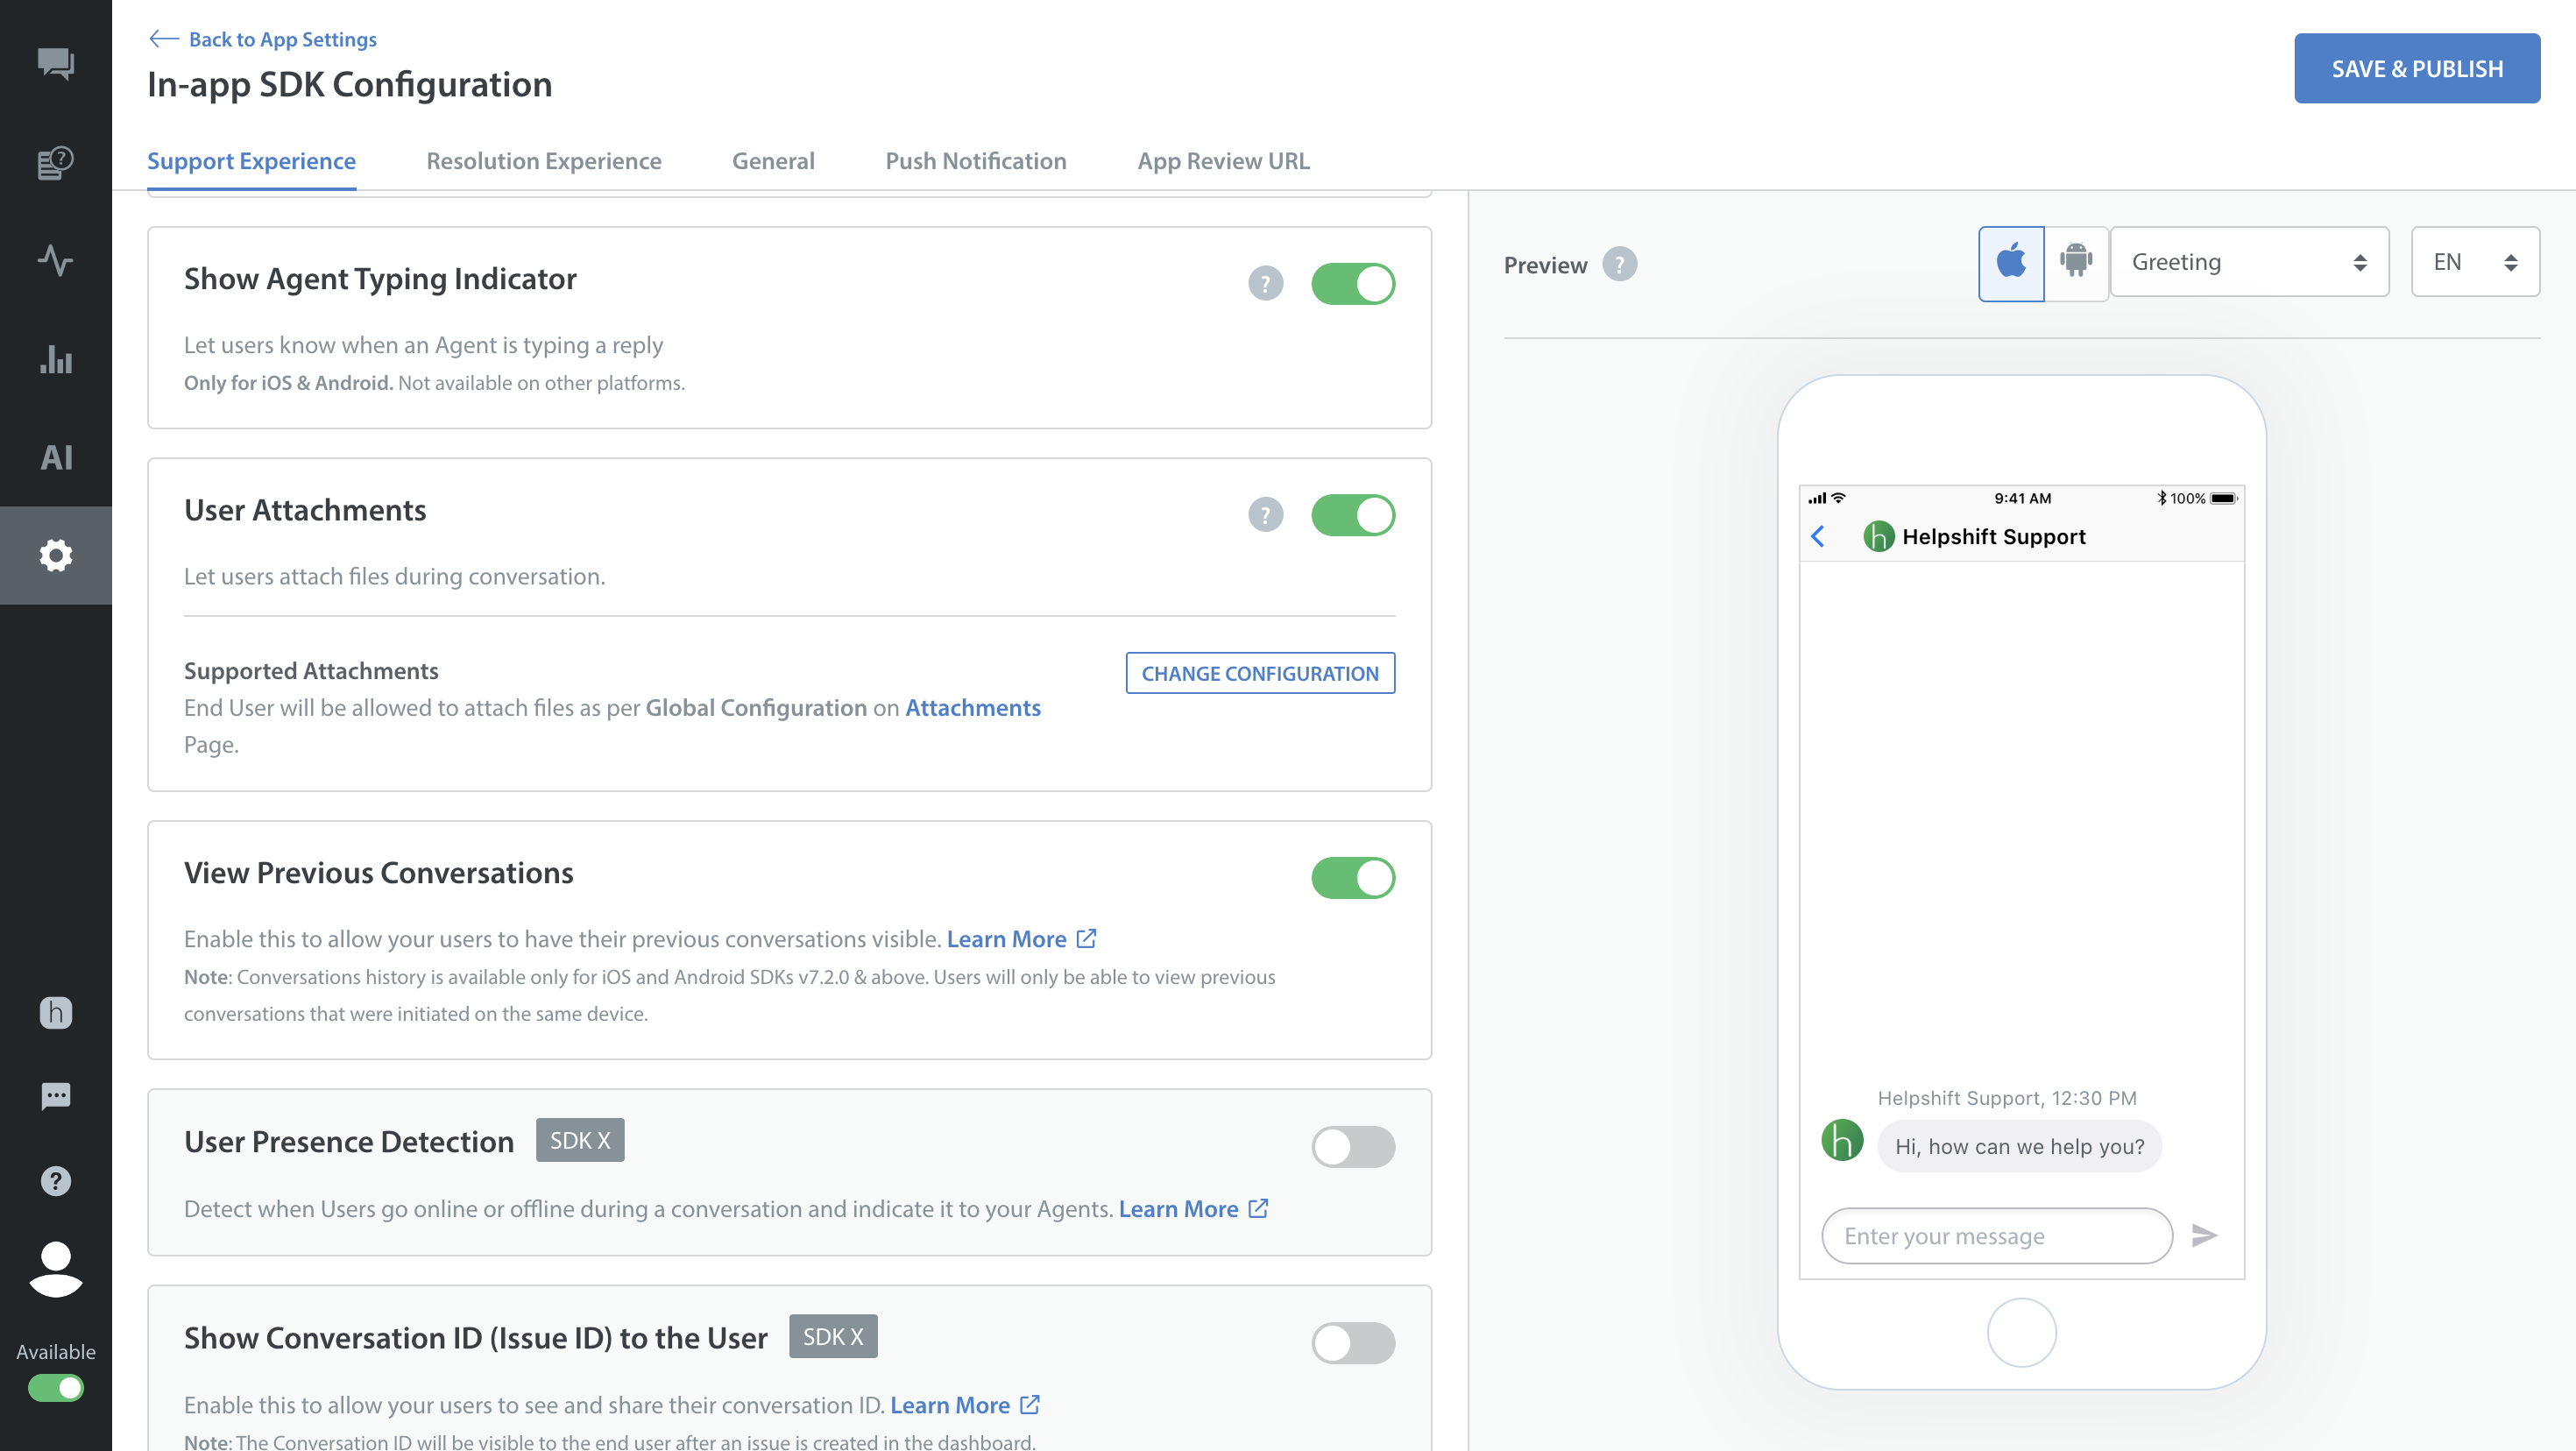
- Using smart forms in SDK (iOS & Android): Go to Settings > In-app SDK Configuration > User Attachments to configure supported attachments.
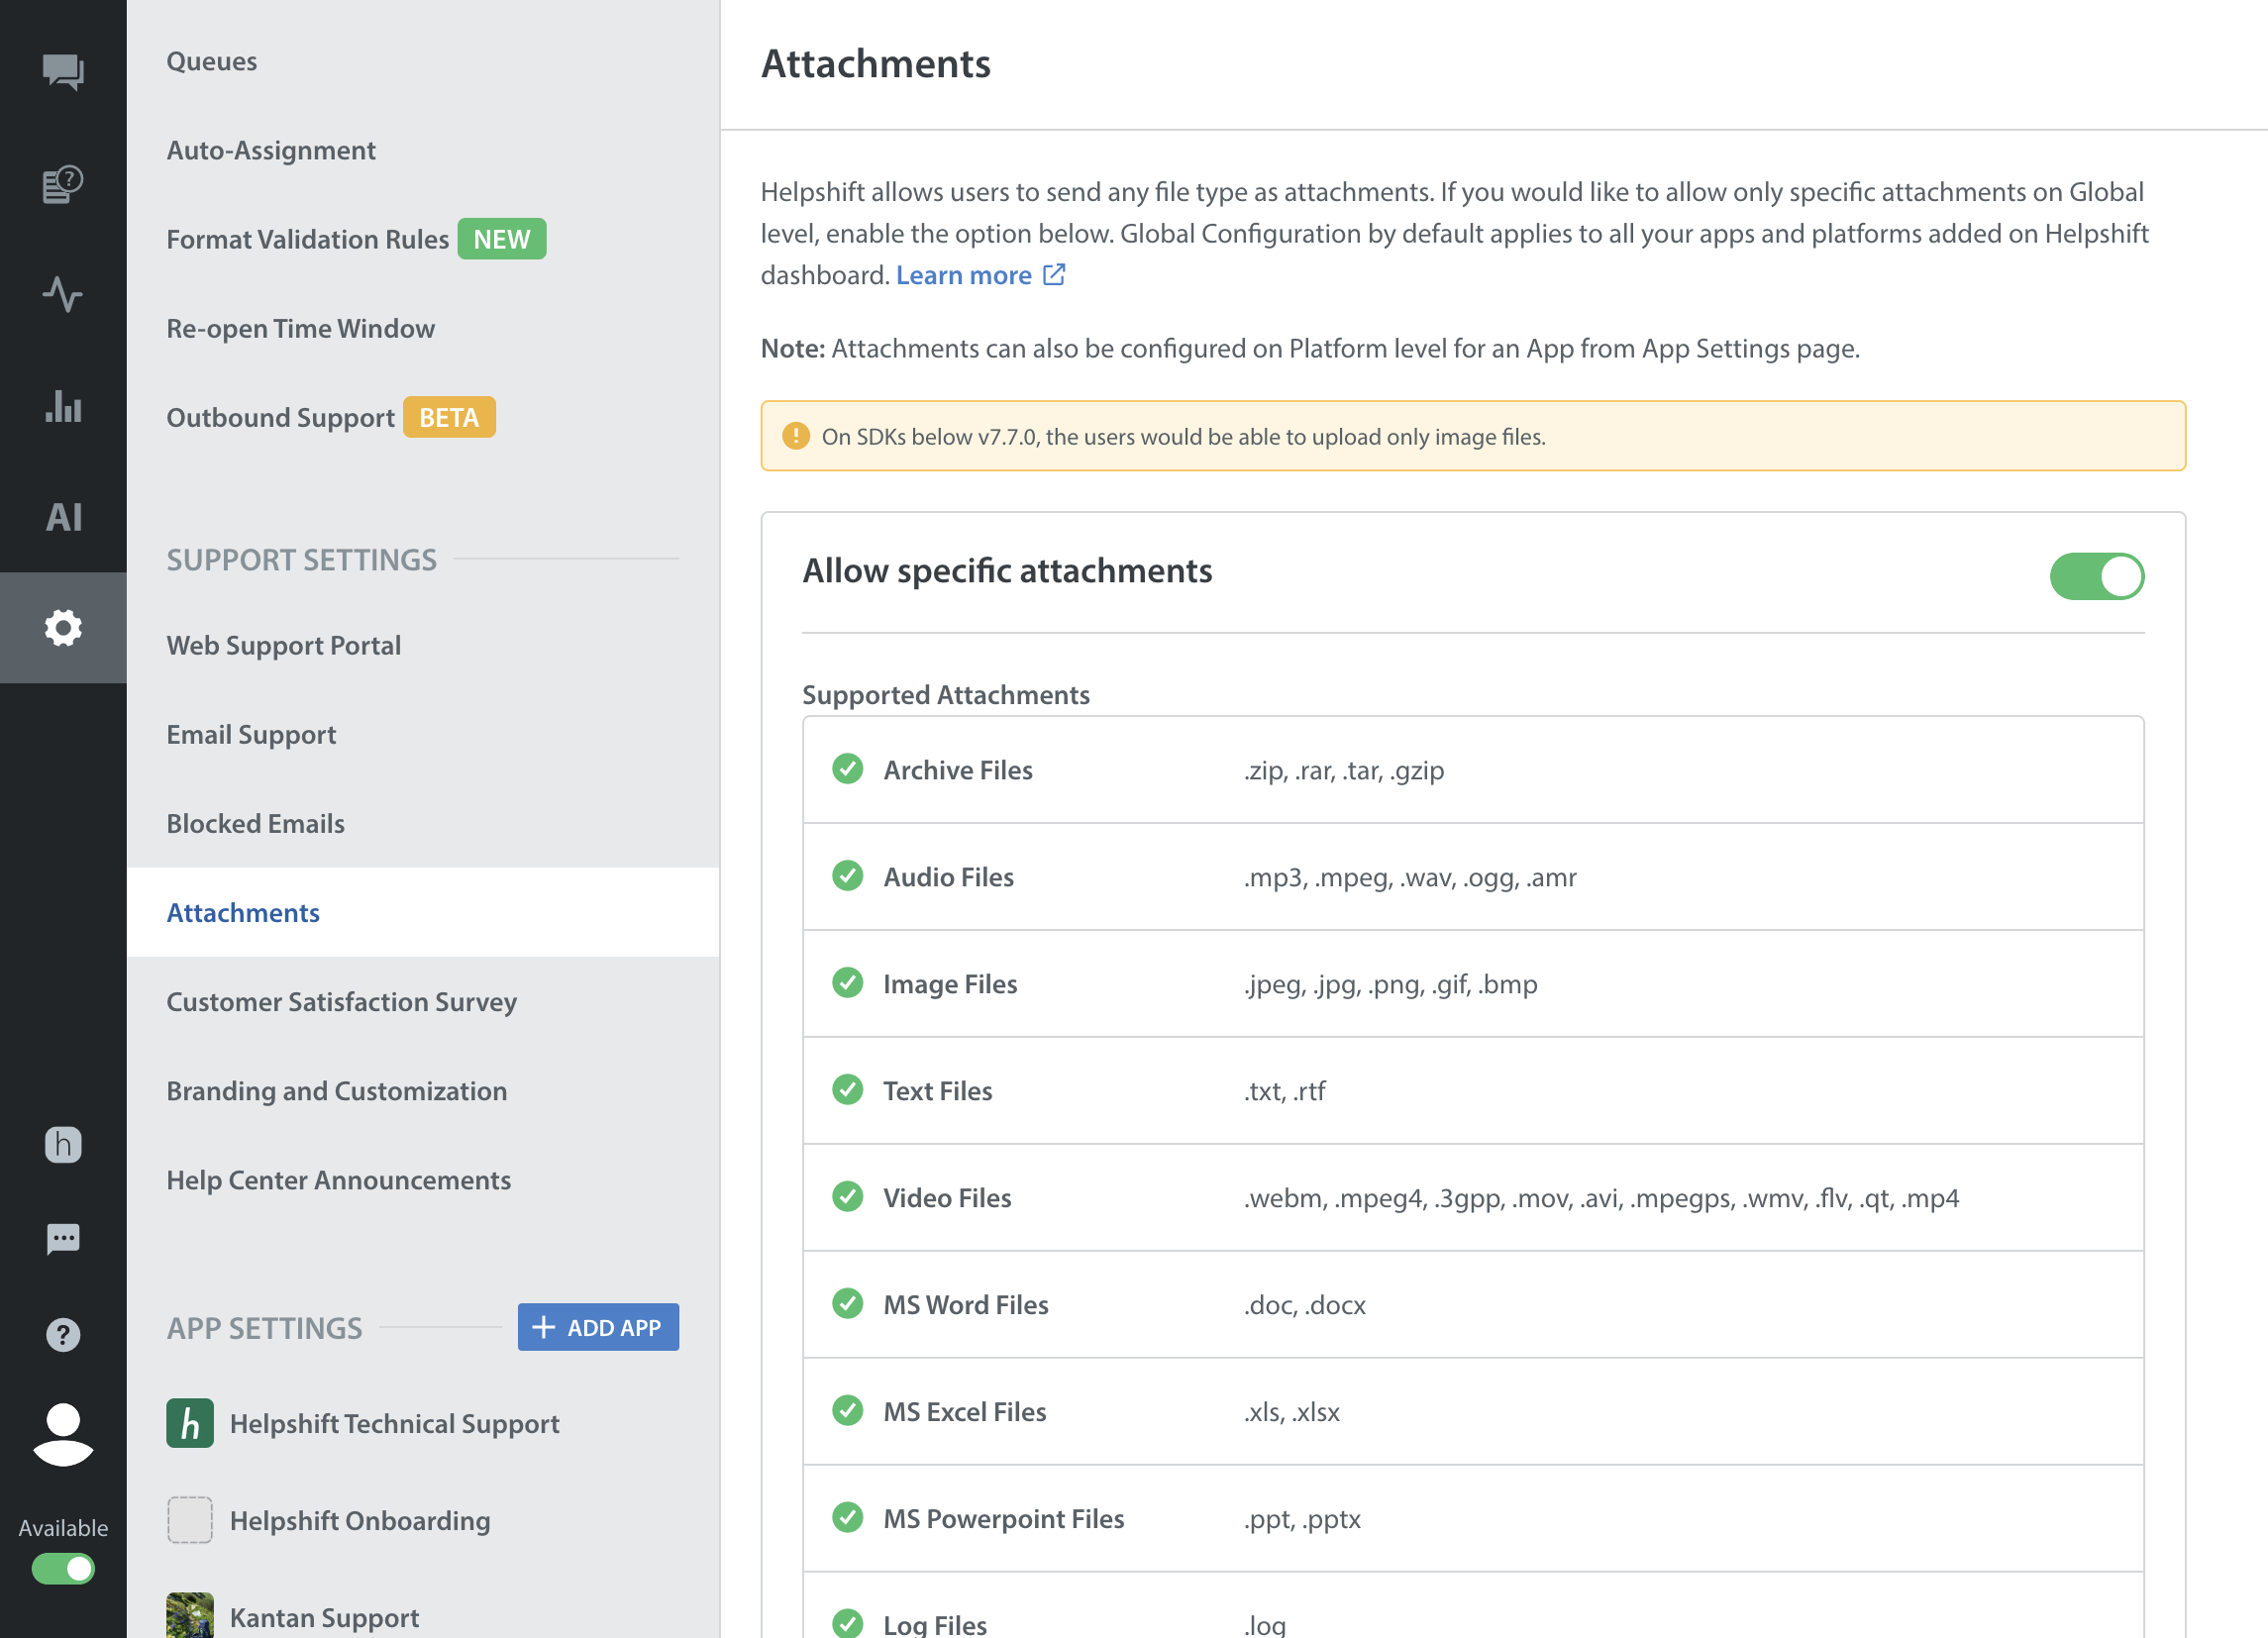
- Using smart forms on the Web: Go to Settings > Attachments to configure supported attachments.
- Click Done.
- Click on the + icon to add the End Smart Form step.
- Add step name
- Acknowledge message(optional)
- (Optional) Click ADD ACTION To add Tags or CIFs that you may use in New Issue Automations to take further actions.
- Click PUBLISH SMART FORM.
The new pop-up screen collects information for Call To Action (CTA) and Fallback text to publish the Smart Form. - Add Call to Action and Fallback Text on the pop-up screen.
What is CTA?
Label text for Call To Action (CTA) button in Smart FAQ. Users will interact with this button to invoke the Smart Form.
Fallback text
This text will replace Call To Action (CTA) button on unsupported platforms, i.e. platforms not part of the following: iOS, Android (with SDKs v7.1.0 and above), and Web FAQs. - Click Save and then Publish the smart form.


Attach Smart Form and Enable Smart FAQ
- Go to the FAQs section. Or you click to go to FAQ after publishing the Smart Form.
- Select the FAQ, click the Edit option for which you would like to attach Smart Form, and enable Smart FAQ.

- In the Smart FAQ section, attach Smart Form from the dropdown list.

- Turn On the toggle for Smart FAQ and click ENABLE SMART FAQ on the pop-up screen.


End-User Experience
SDK X

Web
