There are several ways you can create a custom report. The simplest and most effective way is to edit an existing report. This allows you to select additional filters and customize the visuals to represent the data you’d like to see.
To edit an existing report, proceed as follows:
- Navigate to the report from within your Power BI dashboard.
- In the top left, click the text ‘Edit’.

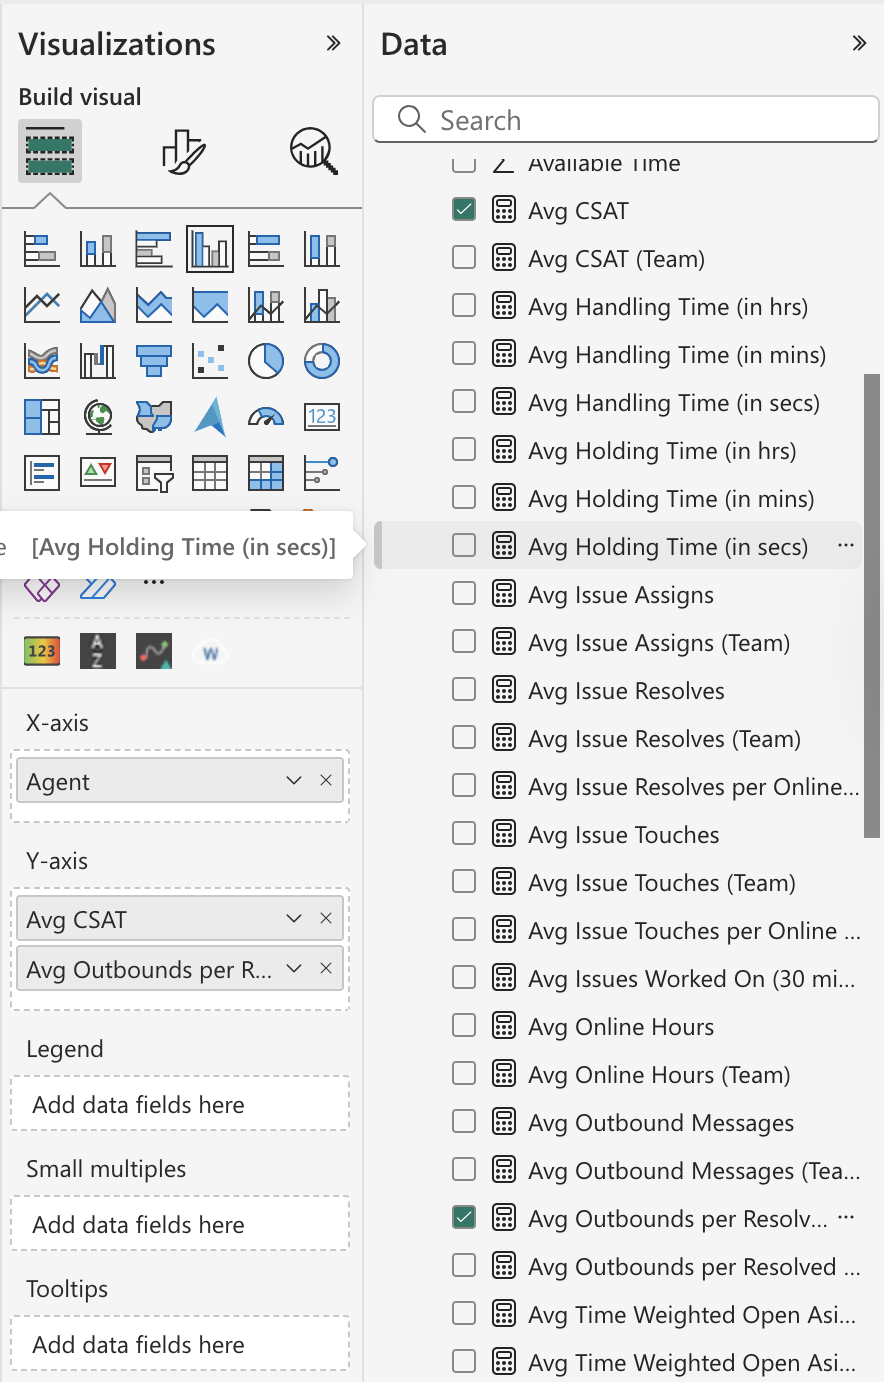
- A set of visualizations and data will appear on the right. You can select fields (also known as metrics) that you’d like to show in your visuals by selecting the checkbox next to the field. For example, you may want to compare the average CSAT score metric with the volume of outbound responses metric to identify the fewest responses that need to be sent by an Agent to resolve an Issue.
To create a new report to compare these metrics, navigate to the Agent Analytics report, then in the Visualizations/Data area, select the fields Agent, Avg CSAT, and Avg outbound responses per Resolved Issue.
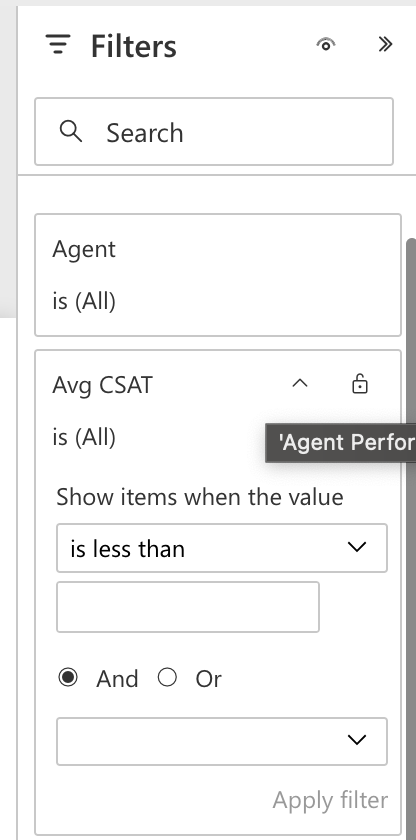
You may notice that if you select a field, it appears in a list on the left side, as in the screenshot above. This is based on Power BI’s default logic. If you scroll down to the ‘ Filters’ section on the left, you’ll see drop-downs for each filter where you can select additional parameters, such as a specific CSAT score or Agent.
Please note that different filters will be available within the ‘Data’ selection based on which report you’re in. For questions about customizing which filters appear in which reports, please reach out to success@helpshift.com.
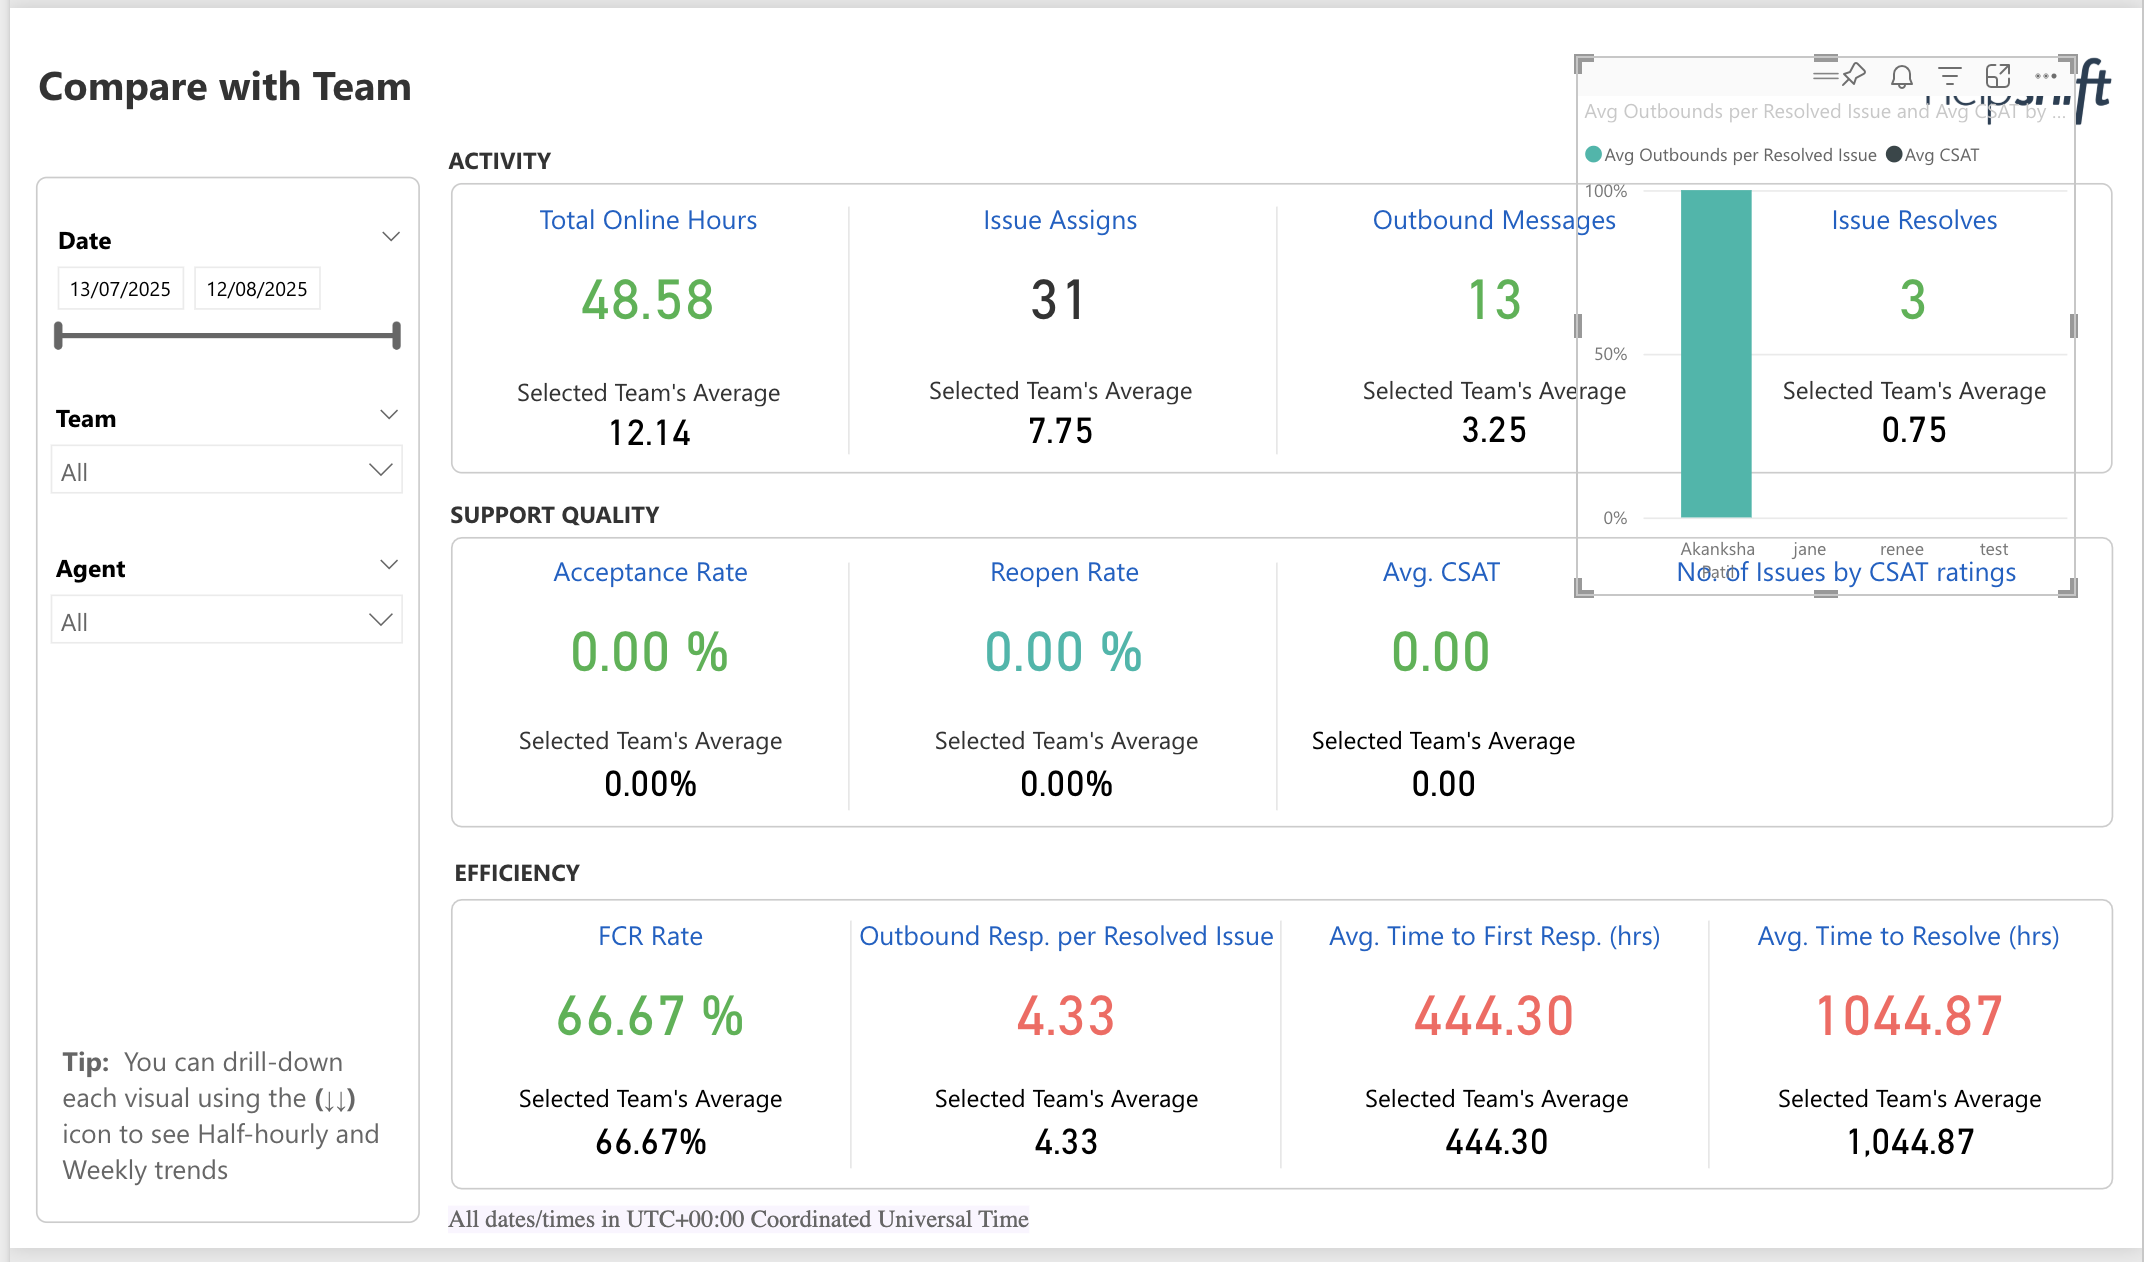
The new visual with the filters you selected will be highlighted within your new report after you start editing the field. Drag, drop, resize or delete the existing visuals to situate the new visual on the page.
Once you’ve selected the filters you’d like to compare data for, click the ‘Reading View’ button.
After you click the ‘Reading View’ button, you will be prompted to save your changes. Click ‘Save’ to ensure this report is updated.
You can also use tables to further customize the data you see in the newly created report. To learn how, see Microsoft’s article Working with tables in Power BI reports and dashboards.


