
Note:
Identify which of the published intent menus are currently used before you plan to delete an intent.
Edit these intent menus so that they no longer show the intent label to your end-users.
To delete an intent, follow the steps below:
- Log into your Helpshift account as an administrator.
- On the Helpshift toolbar, click the Helpshift AI button.
- On the Helpshift AI page, look for the Smart Intents card.
- Click MANAGE ➔ on the Smart Intents card.
This will open the Smart Intents page with the Intents tab active by default.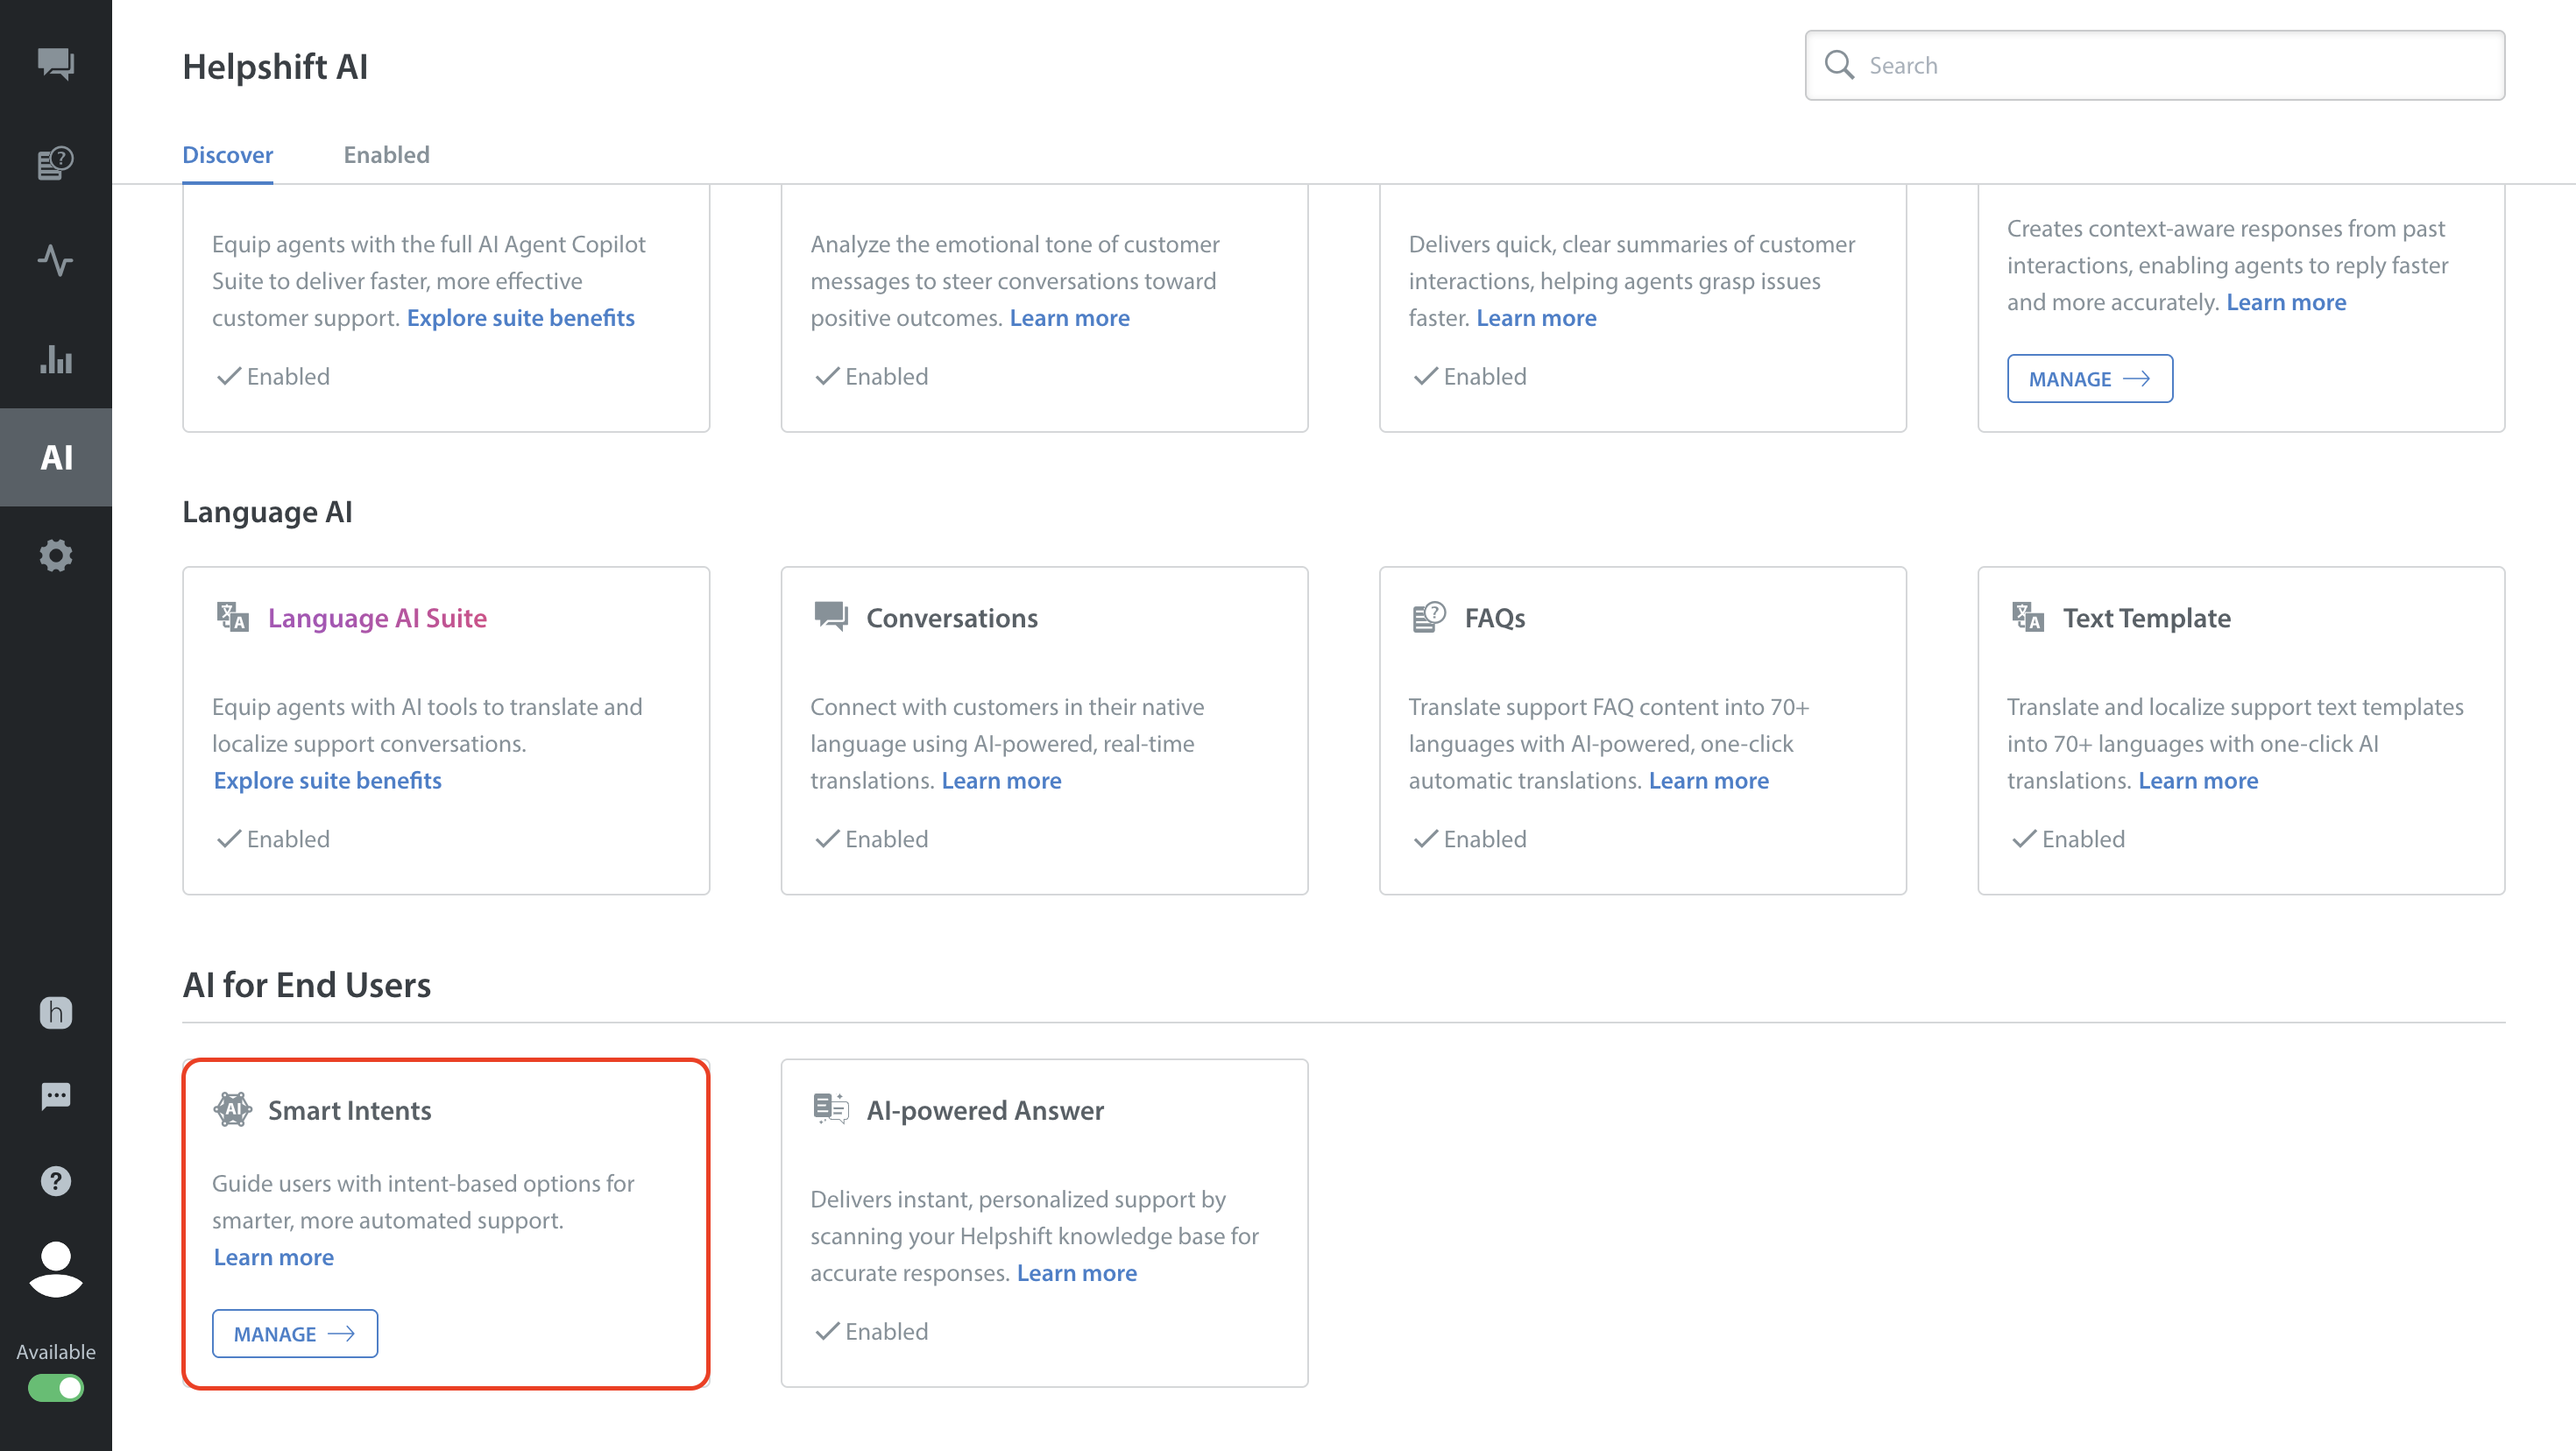
- Navigate to the intent group containing the intent you want to delete.
If the intent group card is collapsed, click the toggle button to expand it. - Click the More Options button (⋮) of the intent you want to delete.
- Select Delete. A confirmation pop-up will appear to confirm the Delete Intent action.

- Click DELETE.

Note: Deletion occurs immediately and is permanent.