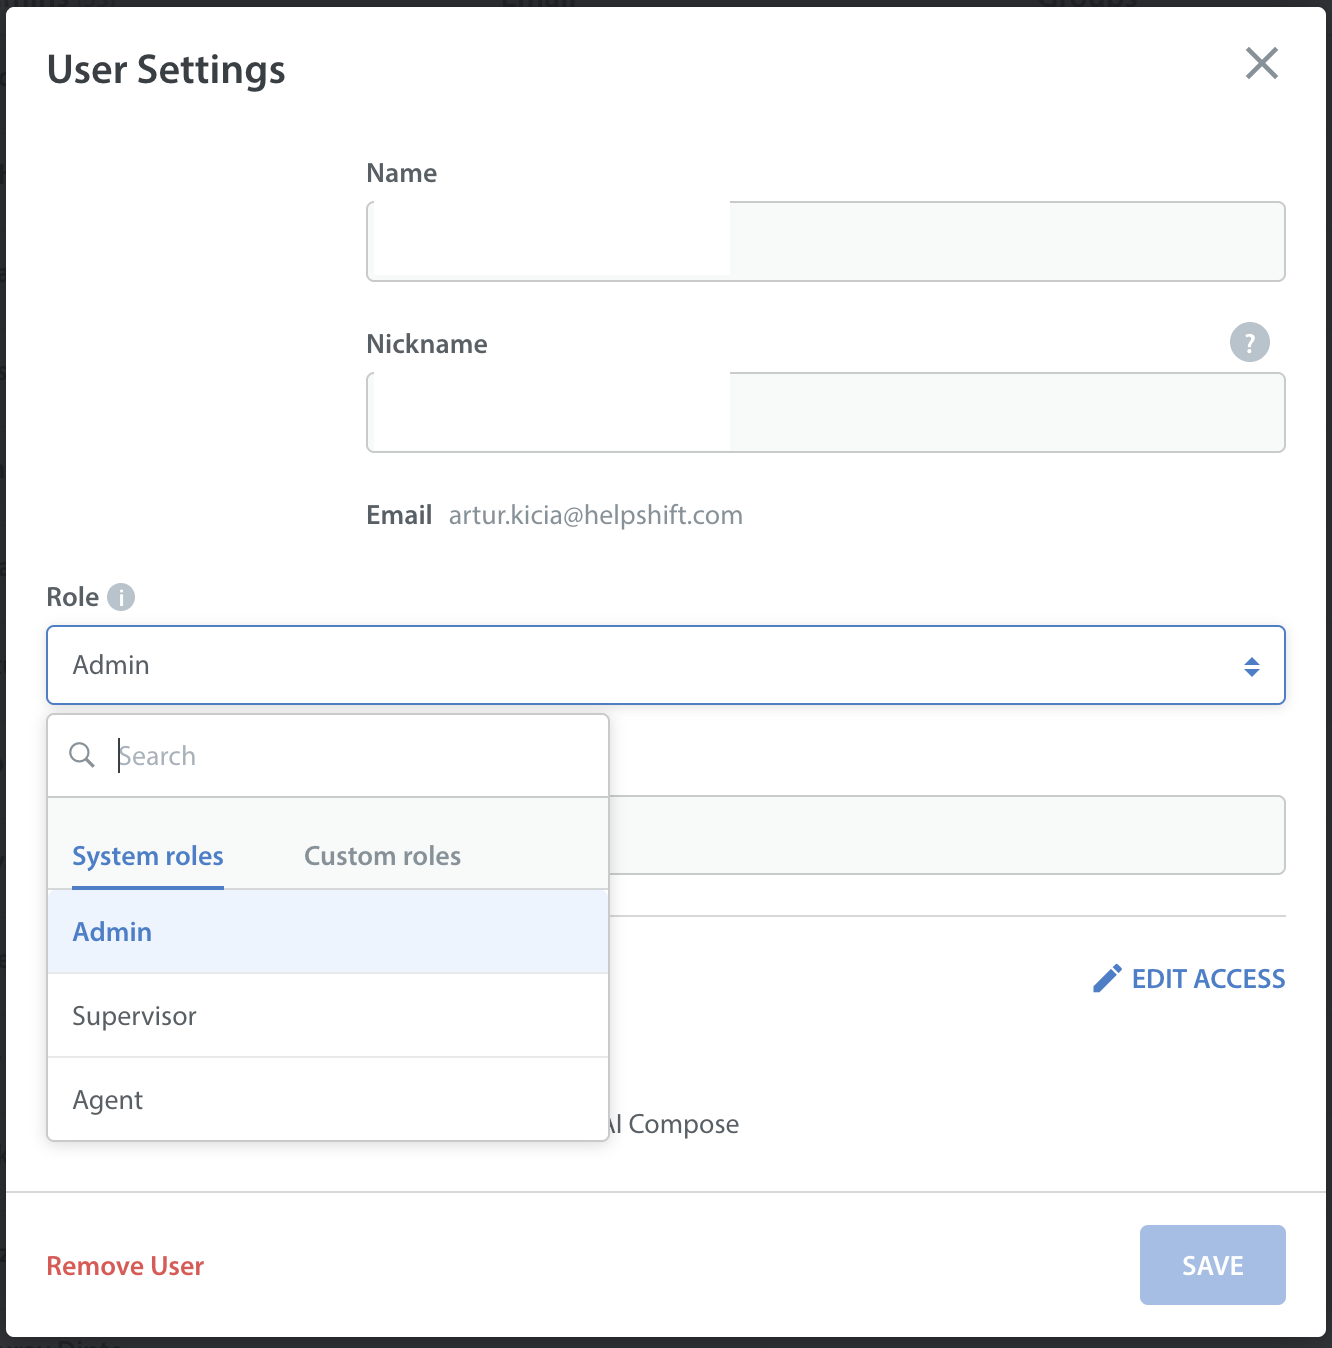
When administrators invite their colleagues to become registered users of a Helpshift instance, the system-default behavior is to assign all invitees the agent user role. However, administrators can change the assigned user role to supervisor or admin for any invitee.
This procedure explains how an administrator invites colleagues and how to change their user role assignments as needed.
NOTE: Check your Helpshift subscription contract or your most recent billing statement to learn if Helpshift will charge you for adding user accounts. Alternatively, ask your Helpshift customer success manager.
- On the Helpshift toolbar, click Settings.
- In the navigation pane, scroll to the ORGANIZATION area, and then click Team.
The Team page opens. - Near the top of the Teams page, click INVITE PEOPLE.
The Invite More People dialog box opens. - In the Invite More People dialog box, enter the email addresses for colleagues who should receive invitations to join your Helpshift instance as agents.
When there are multiple email addresses, make sure to use commas between them. - Click INVITE.
The Invite More People dialog box closes and you see the Team page once again.
Soon, each invitee receives an email message that prompts them to finish registering their user account. After they finish doing so, they gain access to Agent Dashboard and to any additional features that their assigned user role is authorized to see and use. - (Optional) On the Team page, to change the assigned user role for any user, do the following.

