The Language AI for Text Template streamlines the process of translating text templates into multiple languages. This article will guide you through creating and translating text templates using Language AI.
Creating Text Template using Language AI
To begin, ensure that the Language AI for text template feature is enabled for your account. Learn more about how to enable the feature.
Follow the steps below to create and translate a text template.
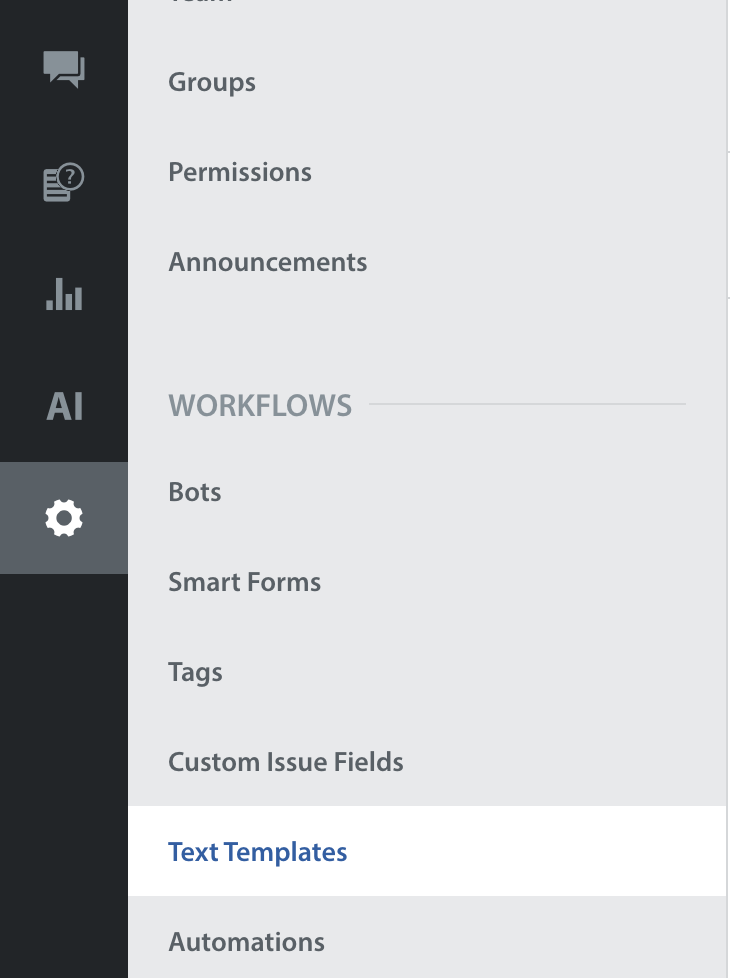
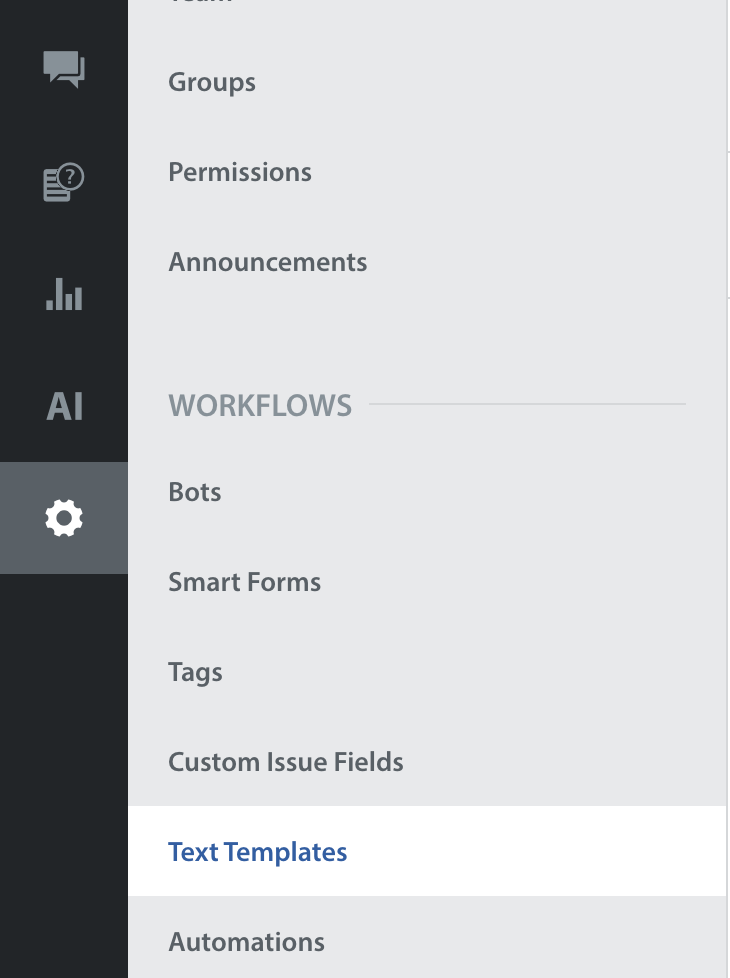
- Navigate to Settings on your Helpshift toolbar.
- Click Text Templates in the WORKFLOWS area.
The Text Templates page opens. It lists your brand’s defined folders and text templates.

- Select a folder and click NEW TEXT TEMPLATE.
The New Text Template dialog box opens.
The Enable Language AI Translation toggle will be enabled by default, and English will be chosen as the default language. - Add a Title for the NEW TEXT TEMPLATE.
- Add default content in the English language and click DONE.

The text template will be automatically saved as a draft.
Any changes you make will be auto-saved. - Navigate to All Translations and click ADD MACHINE TRANSLATIONS.
A popup will appear, allowing you to select the languages you want to translate.
Note: All the supported languages across apps (domain supported) will be shown under Add Machine Translations. Language AI-supported languages are available for selection for text template translations. - Select the checkbox next to your preferred languages and click TRANSLATE.
 Clicking on Translate will process the translation requests asynchronously and show the progress. The admin can choose to close the page and continue with other work.
Upon completion, the admin will be notified of the translation status via notification, and the Text Template content will be automatically saved as a draft. Once the translations are completed, the translated languages will be indicated with an MT tag (Machine Translations) to distinguish between Machine and Manual translations. - After reviewing the translations, you can SAVE the text template to use it across the supported features.
The text template will be saved successfully.

Note: When the text template translation is in progress, you cannot edit/modify anything in the text template.
Creating Multiple Language Translations for Text Templates
If you want to translate the text template in all the languages available under the Add Machine Translations pop-up, follow these steps:
- Click Select all to choose all the available languages for Machine Translation.

- Click the TRANSLATE button to start the translation process. You can close the page at this point. The translation will continue in the background, and the progress will be shown.
Once the translations are complete, the text template will be automatically saved as a draft. You will be notified when the translations are complete and successful.
- After reviewing the translations, you can SAVE the text template to use the saved version for other features.
Upon translation, you can EDIT the text template when needed.

Once all Language AI-supported languages are translated, Add Machine Translations CTA will be disabled (as there are no more languages to add), and Add a Langauge CTA will become the primary CTA if there are any Language AI non-supported languages yet to be added.

If no more languages are available to be added, Re-translate CTA will become the primary CTA.
Note:
Admins can continue to use bulk upload to create or update text templates via CSV without any interruptions.
The MT tag denoting Machine Translations will be removed for text templates updated via CSV. Therefore, it is recommended that only the required text templates be updated via CSV.
Fetching Individual Language Translations
When the Language AI feature is enabled, you can fetch translations for each supported language individually.
Follow the steps below to fetch translations for a specific language.
- Navigate to Settings on your Helpshift toolbar.
- Go to Text Templates in the WORKFLOWS area.

- Select a folder and click NEW TEXT TEMPLATE.
The New Text Template dialog box opens.
The Enable Language AI Translation toggle will be enabled by default, and English will be chosen as the default language. - Add a Title for the NEW TEXT TEMPLATE.
- Add default content in the English language and click DONE.
- Click on Add a Language manually in the All Translations section and select a Language AI-supported language.
- Within the selected language, you’ll see the Fetch Translation icon. Click Fetch Translation (
 ) to get the translation for that single language. This is an alternate way of using Language AI for supported languages.
- The system will generate the translation using the English content as the source, replacing any manual changes with the Machine translated content. All changes will be auto-saved as a draft.
The translated content will have the MT tag indicating that the content is translated using Language AI.
Note: Whenever there is a variable added to the text template content (e.g. {{$1, Gamer}}, the Variable name (e.g. $1) will be retained across languages and fallback value (e.g. Gamer) will be translated along with text template content.
