
If you are not updating any Custom Issue Fields used to branch your Bot, you can duplicate the active Bot that needs to be updated, make the changes to the new Bot, and publish it. After that, you can update the Automation to assign to the new Bot. The active conversations will finish with the old Bot and then you can disable it.
Before you begin, you’ll need to plan how incoming Issues will be handled while the Bot is disabled, as well as what you want to do with the active Bot conversations. You can take them over and have them re-assigned to Agents, or allow them to finish on their own. In most cases, letting the Bot finish it’s conversations and manually taking over any Issues that haven’t finished in a given time period is the best approach.
The first step of updating an active Custom Bot is to temporarily disable all Automations which are set up to assign Issues to the Custom Bot. Make sure you have a plan for routing the issues that would normally be assigned to this bot.
You can disable an Automation as follows:
- Navigate to Settings > Automations.
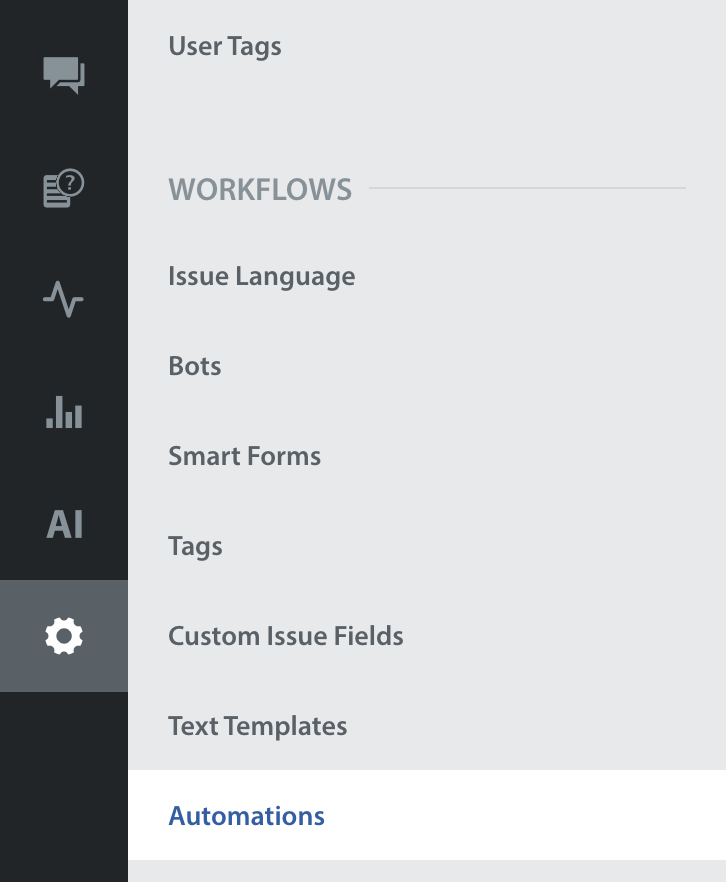
- Turn off the toggle next to the name of the automation.

After this, you’ll have a few options:- Allow all currently active conversations to finish, and the Custom Bot will execute it’s final steps with no new Issues assigned. You can re-assign all of the remaining conversations that haven’t finished in a reasonable time frame.
- You can also manually take over all active conversations and re-assign them to Agents. You can run an Advanced Search to identify the open Issues currently being managed by a Custom Bot using the following statement. This allows you to make the update to the field quickly and may be best if you expect a lot of incoming traffic while bot is disabled.
assignee_name: contains: Support AND status: is_none_of: resolved , rejected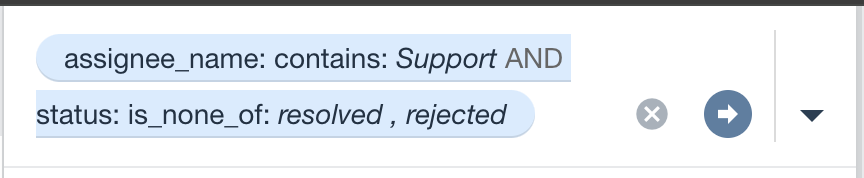
Once you’ve identified these Issues, you can bulk assign them to an Agent, Group, Queue or different Bot to have your team pick up these Issues. - Once you’ve updated the flow and all active Issues have been reassigned, you’ll need to:
- Duplicate the Bot, but do not publish it yet.
- Delete the original published Custom Bot
This will allow you to remove the step in the duplicated Bot that uses an intent, tag, language, or custom issue field for branching. You can then update the Intent, Language, Tag, or Custom Issue Field for branching and re-add the step into the newly duplicated Bot.
To update the Custom Issue Field, follow these steps:
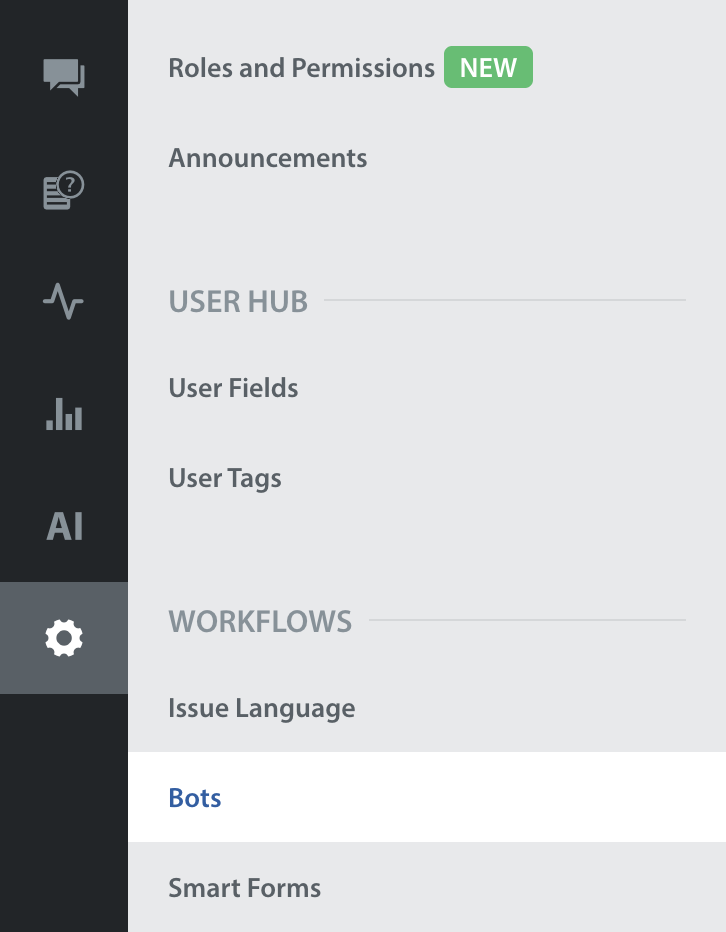
- Navigate to the Settings > Bots page.
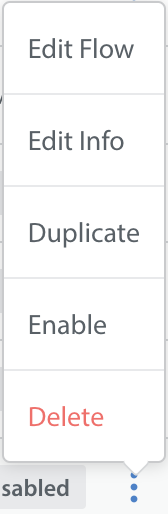
- Click the three dots next to the Custom Bot you want to edit, then click the Duplicate option.
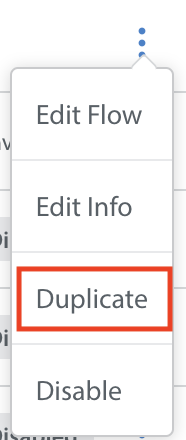
- Once the Custom Bot has been duplicated, return to where that Custom Bot is listed on the page, then click the three dots icon and select ‘Delete’.
- Next, navigate to the new, duplicated Bot. Update the flow as needed by clicking ‘Edit’ next to the step you want to edit. This will bring up the ‘Edit Step’ page, where you can remove or update the step using an intent, language, tag, or custom issue field for branching.
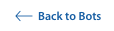
- Once you’ve updated the Custom Bot, click ‘Done’ to confirm your changes, then click ‘Back to Bots’ to return to the Bots page. Do not publish the Bot yet.
You can now edit the intent, language, tag, or custom issue field used in branching. - Once you’ve done this, navigate back to the newly duplicated Custom Bot and re-add the step that uses the intent, language, tag, or custom issue field for branching.
- Publish your new Bot and update any Automations to ensure appropriate New Issues are routed to the correct Custom Bot.