Helpshift Webhooks allow you to set up an integration with a third party service based on Helpshift events. You can use the integration to enable notifications via text, email, or a communication app whenever a Helpshift event occurs. Within the Helpshift Dashboard, you can define the conditions required to receive a notification.
From the Helpshift Dashboard, you can define your own HTTP callback to trigger an action or notification through a Helpshift event. For each Webhook, you will need to configure corresponding listeners and subscribe it to events. The Webhook listener will look out for your defined URL for incoming HTTPS POST notification messages.
Examples of popular services that can connect to Helpshift using Webhooks are:
- Slack
- Analytics engines like PowerBI
- Bot engines, such as Facebook Messenger
With Webhooks, you can accomplish the following:
- Notifications for all new Issues created in the Helpshift Dashboard
- Notifications for specific new Issues (For example, Android users that are tagged as ‘VIP’)
- Notifications for changes to all existing Issues
- Notifications for changes to specific Issues (For example, notifications when someone modifies iOS Issues with the Spanish language tag)
You can use Zapier, a tool for integrating web applications, to connect Helpshift with third-party web applications via Webhooks. Use the following guides to easily set up the following integrations using Zapier:
The steps below can be used to set up a custom Webhook for integrating a third party service without using Zapier.
Webhooks can only be created by the Admin(s) of your team. If you are an Agent, please refer your Admin to review this article.
To create your first Webhook, proceed as follows:
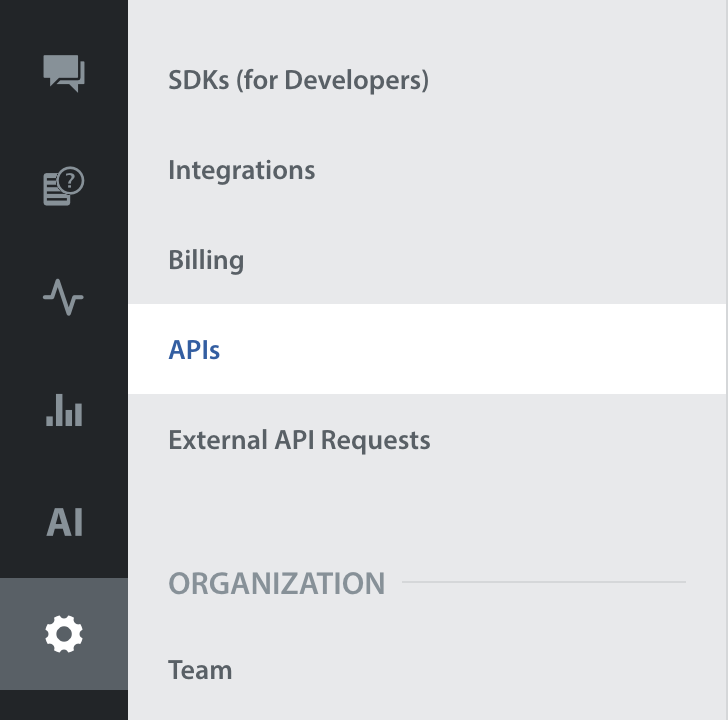
- Navigate to Settings > APIs.

- Scroll down to the Webhooks section, then click the ‘Add Webhook’ button.

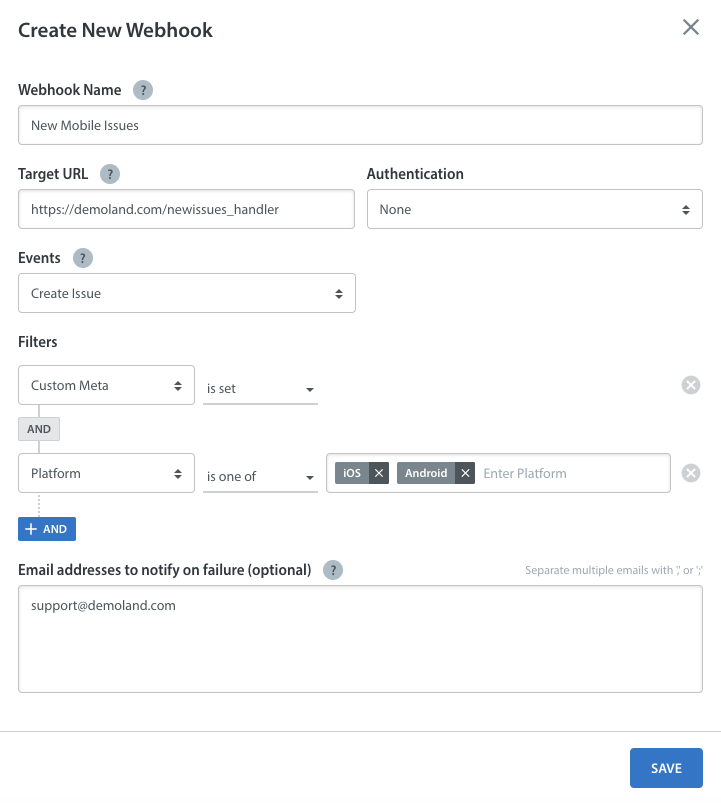
- Complete the following info in the pop-up that appears:
- Webhook name: The name of the Webhook, which will be unique to your domain.
- Target URL: The required HTTPS URL – we only allow HTTPS listener URLs to ensure data encryption to prevent unauthorized access.
- Authentication mechanism: Helpshift offers the following options to allow you to add an extra layer of security.
- Basic auth: Username and password based
- Custom auth: Secret key based
- No auth: If chosen, no authentication is applied – this gives you flexibility while testing
- App: Select one or many apps with Helpshift integrated.
- Events: This is where you can define what events cause the Webhook to run, such as an update to an Issue or a follow-up email being sent (Web Chat Issues only).
- Filters: Specify the trigger for the Webhook to run. In the example below, we’ve set up notifications for iOS and Android Issues that are missing custom Metadata.
- Notification delivery failure email: An optional field for you to get notified via email when a notification delivery fails.

- Once you click Save, the Webhook will appear on your list of Webhooks and start working immediately.

To modify or delete a Webhook, click on the gear icon to the right of the Webhook name. A pop-up will appear where you can update all of the relevant info for this Webhook.
Note: In case of failure (HTTP error code of 429 or 5xx), the delivery of the webhook is retried immediately up to five times.
