
Integrating Slack with Helpshift via Webhooks allows you to set up custom Slack notifications for new Issues, and review Helpshift Issue details without having to leave the Slack console.
This guide will go over how to notify a Slack channel about a New Issue when it is created in a Helpshift Dashboard.
You can also receive Slack notifications for updates to Helpshift Issues. Connecting these apps will help you improve time to first response on high-priority Issues.
To complete this process, we use Zapier, a tool for integrating web applications. Zapier allows you to configure Webhooks, a service for updating and transmitting data between two applications, such as Slack and Helpshift.
To learn more about how Webhooks interact with Helpshift, please see What are Helpshift Webhooks, and how do I set them up?
Using Zapier does not require developer assistance and can be completed by a support Admin from your team. Please note that to complete the process in this guide, you must first create a Zapier account.
1. Create Zap & Webhook in Zapier
2. Configure Webhook in Helpshift
3. Set up an Action to Integrate Slack
1. Create Zap & Webhook in Zapier
- Sign up for Zapier,
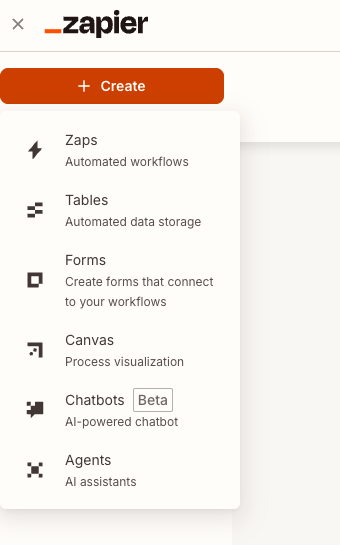
- Click the + Create → choose Zaps at the top of the page.
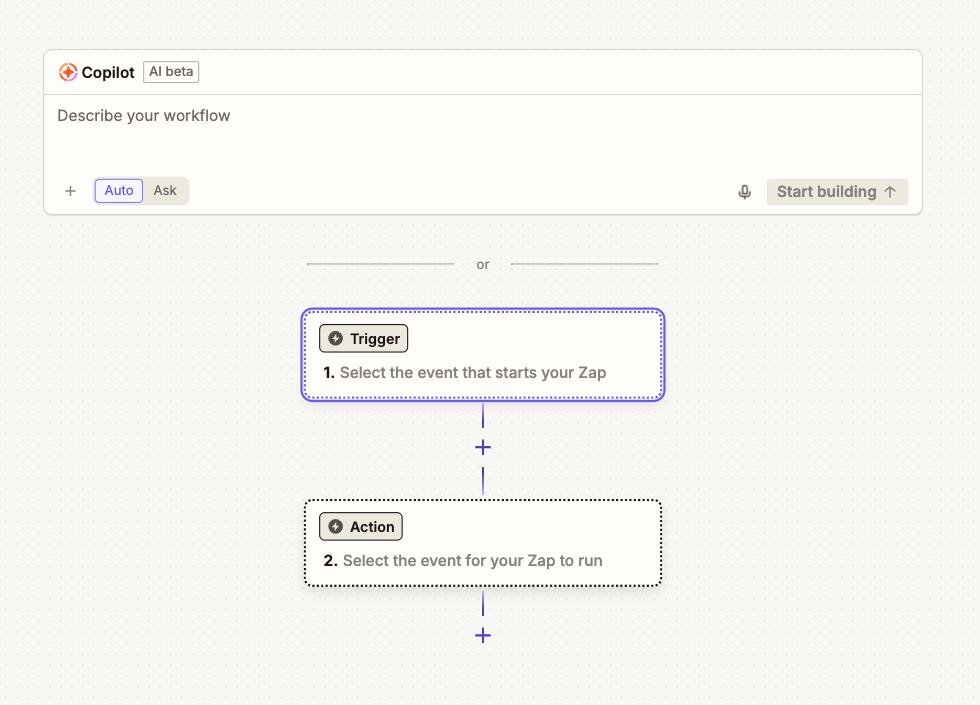
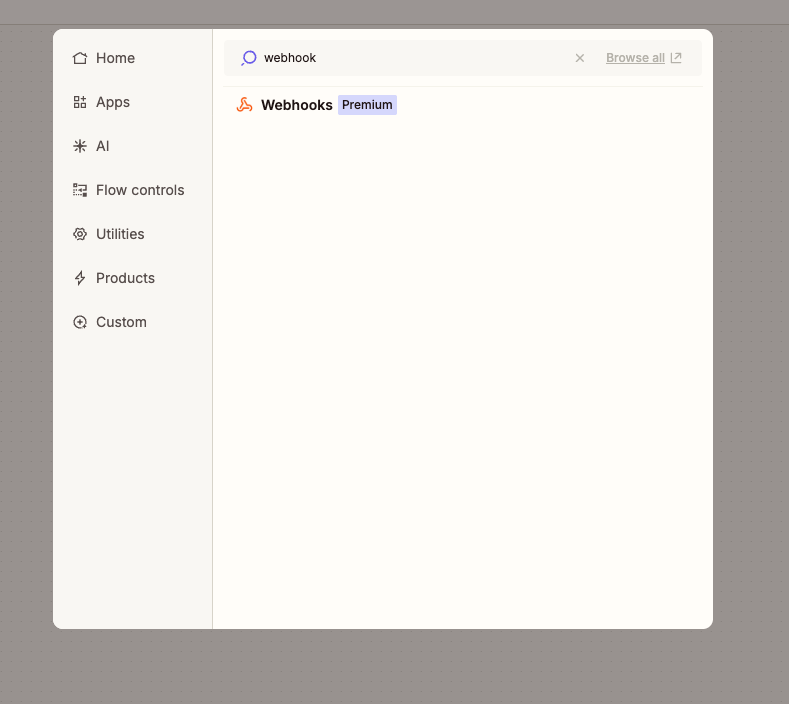
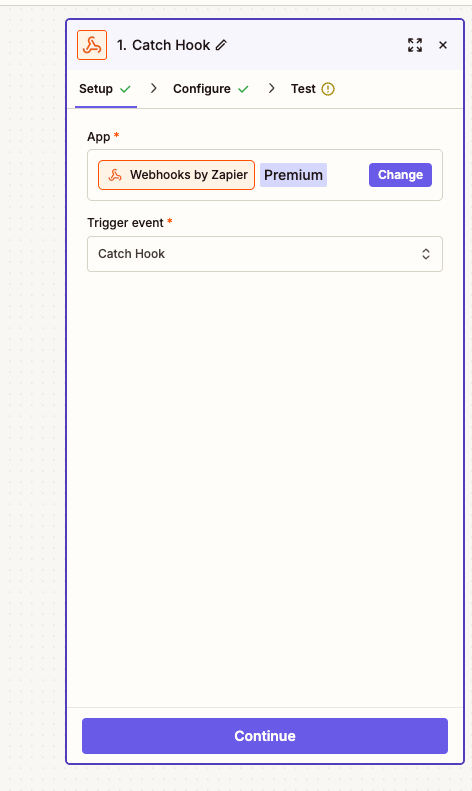
- To create your first Webhook, click Trigger and search for Webhook. Choose Webhook.
- When creating the trigger, select the Catch Hook option, then click Continue to proceed past the Select Fields page.
- On the Test page that appears, copy the custom Webhook URL (shown in the image below) by clicking the Copy button. This will be necessary for use in step 2.
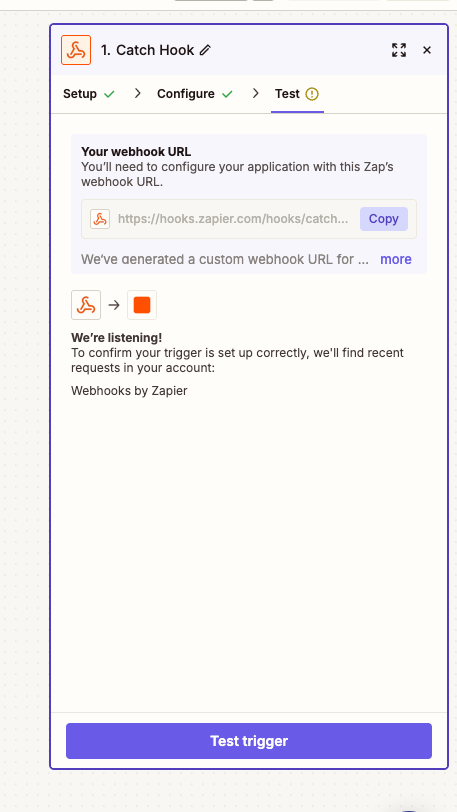
- Click on Test Trigger.
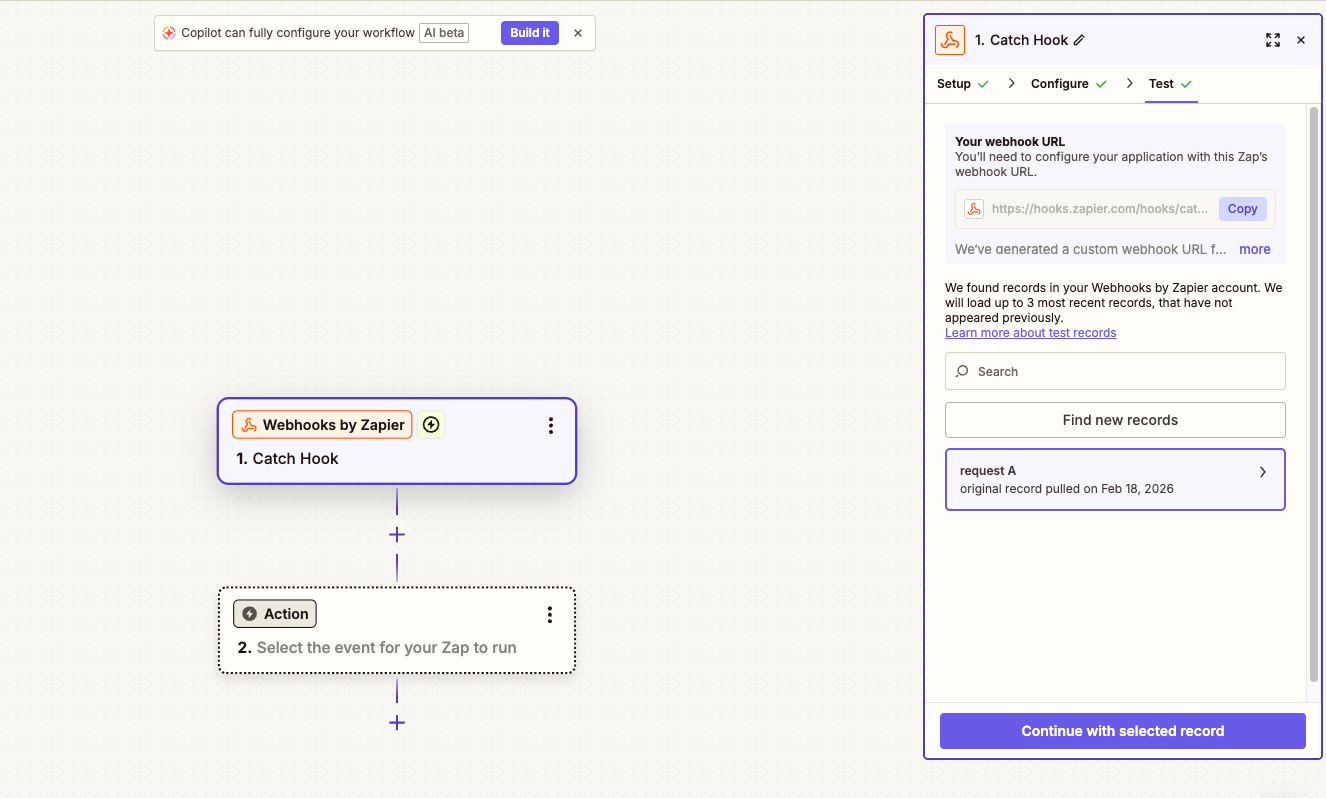
Once your test is completed, you will see the record as shown below.
2. Configure Webhook in Helpshift
To configure the Webhook:
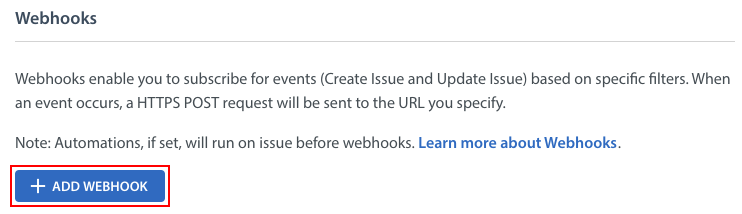
- Navigate to Settings > APIs in your Helpshift Dashboard, scroll down to the Webhooks area, then click the +ADD WEBHOOK button.
The Create New Webhook pop-up will appear. - Complete it as follows:
- Webhook Name: Give your webhook a descriptive and intuitive name
- Target URL: Paste the URL from Zapier that you copied in step 1
- Authentication: Select the authentication type required by your server: None, Basic Auth, or Custom Auth (your developer may need to provide this info) Please note that you may need to provide server credentials based on which type is selected
- Events: Define the Webhook to run on new Issues when they are created (Create Issue), or anytime there are updates to Issues (Update Issue)
- Filters: Allows you to apply additional filters for the Webhook to only trigger based off of any of the following:
- App: the app you want this Webhook to apply to as listed in your Helpshift Dashboard
- Status: the status of a Helpshift Issue
- Platform: the platform that your app offers support through, e.g. iOS, Windows, Web Chat, Email, and more
- Issue ID: the Issue ID # associated with the Issue
- Tags: Any tags applied to this Issue
- Language: The language that the Issue is written in
- Custom Meta: Any custom metadata that you would like to filter Issues based on
- Custom Fields: Any Custom Issue Fields that you have added to your Helpshift Dashboard you would like to filter Issues based on
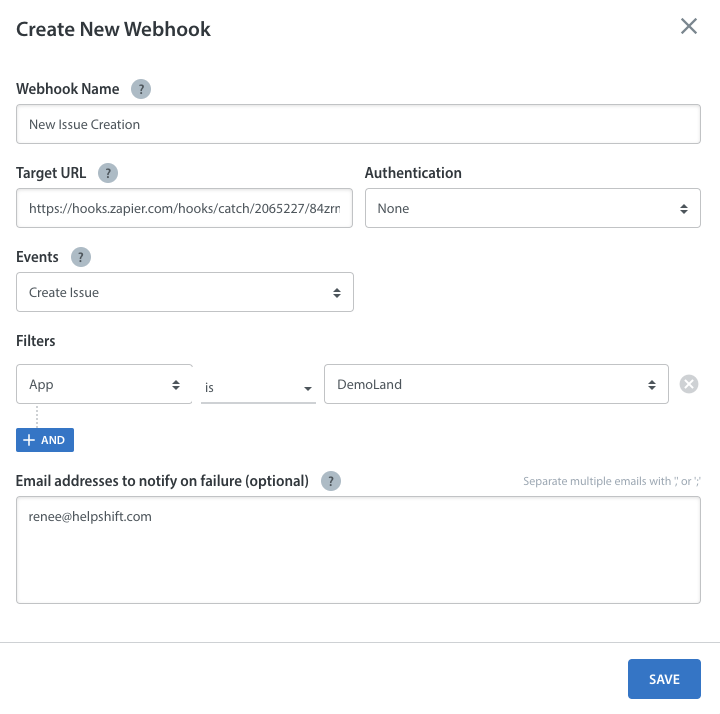
3. Once you click SAVE, a toast will appear confirming that the new Webhook was created, and the Webhook will appear listed on your Webhooks page as active.
3. Sync Helpshift Webhook to Zapier
- On the Zap configuration main page, click Action.

- Then select Slack.
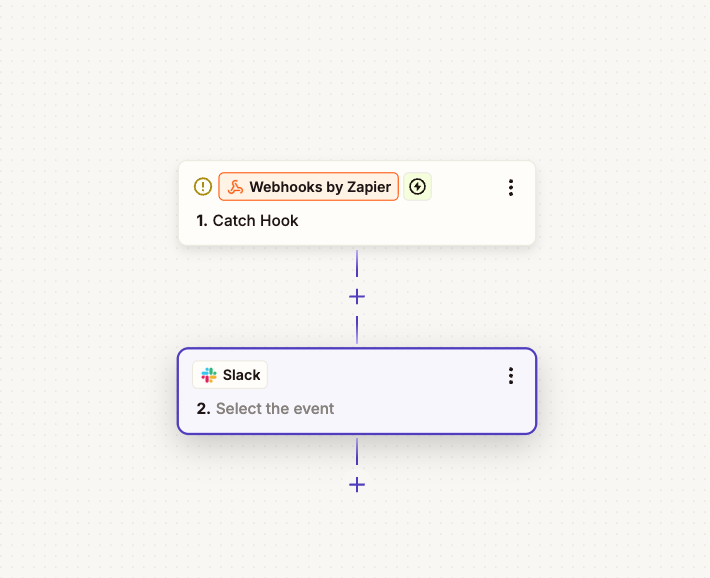
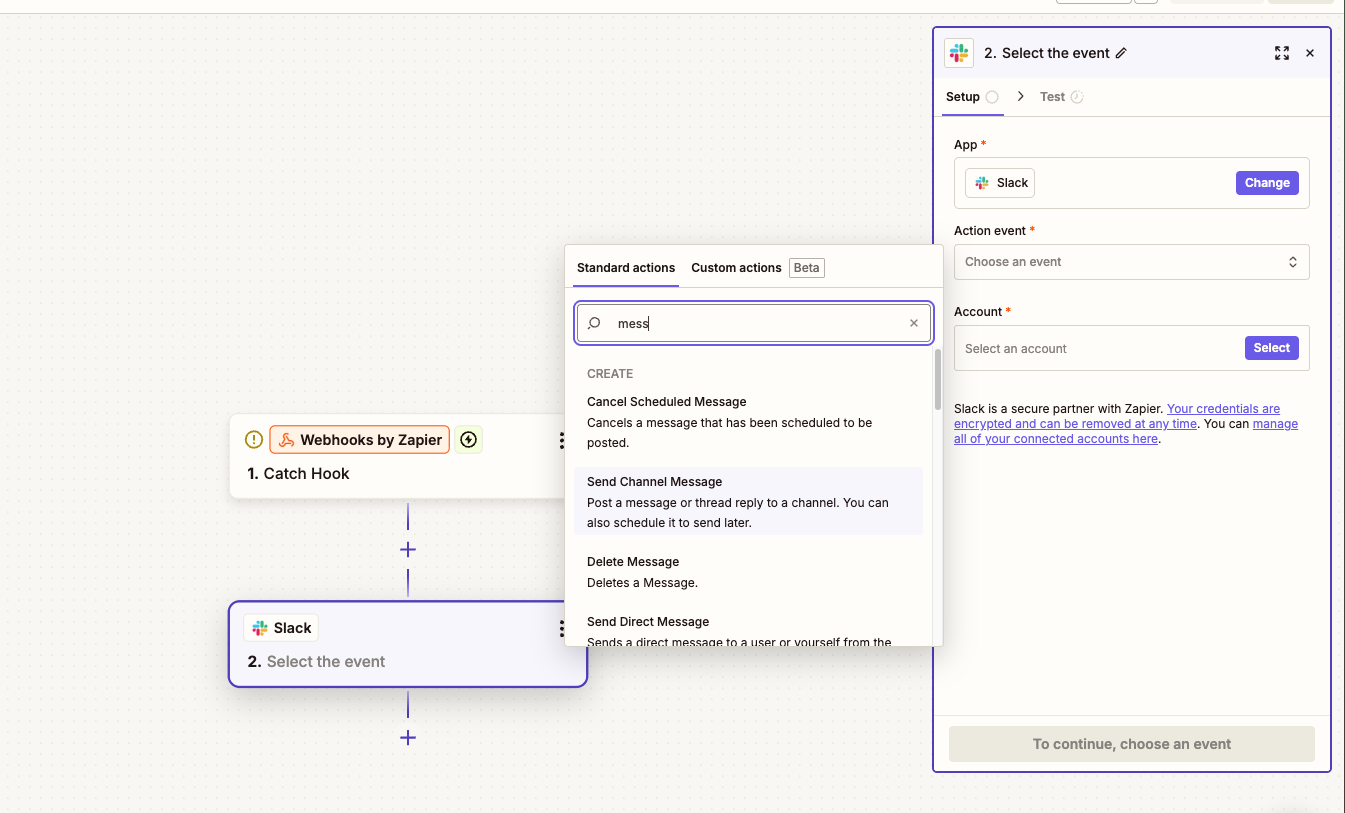
- On this page, you can choose the action that occurs in Slack when a new Helpshift Issue is created. We recommend creating a Slack channel specifically for these webhook callbacks, such as #issuefeed, and selecting the Send Channel Message option.
You’ll be prompted to connect to a Slack account. - Click +Connect a new account, then Authorize on the pop-up that appears. Once you’ve done so, the page will update to show your connected account.
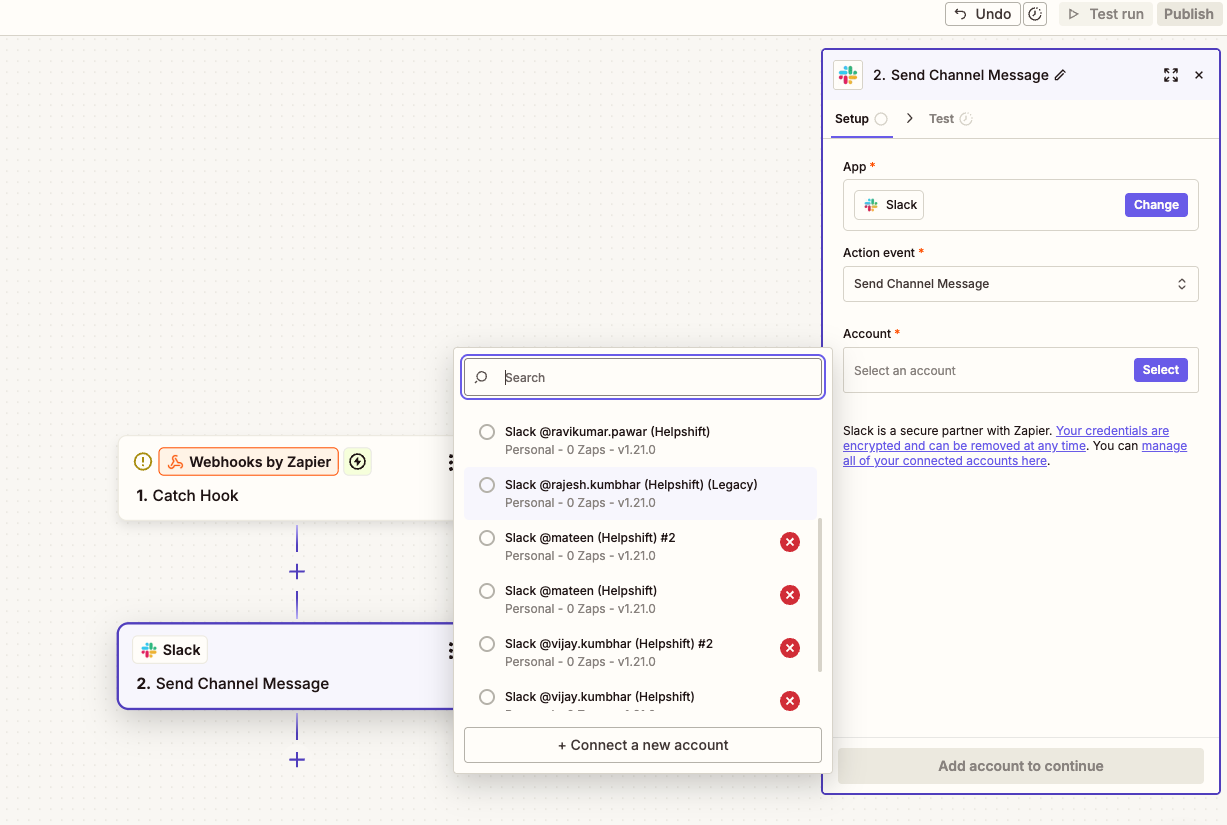
- Once you select the account, click Add account to continue.
- On the next page, you’ll be prompted to select a Slack channel to post these messages to. You can also select what will trigger the bot messages.
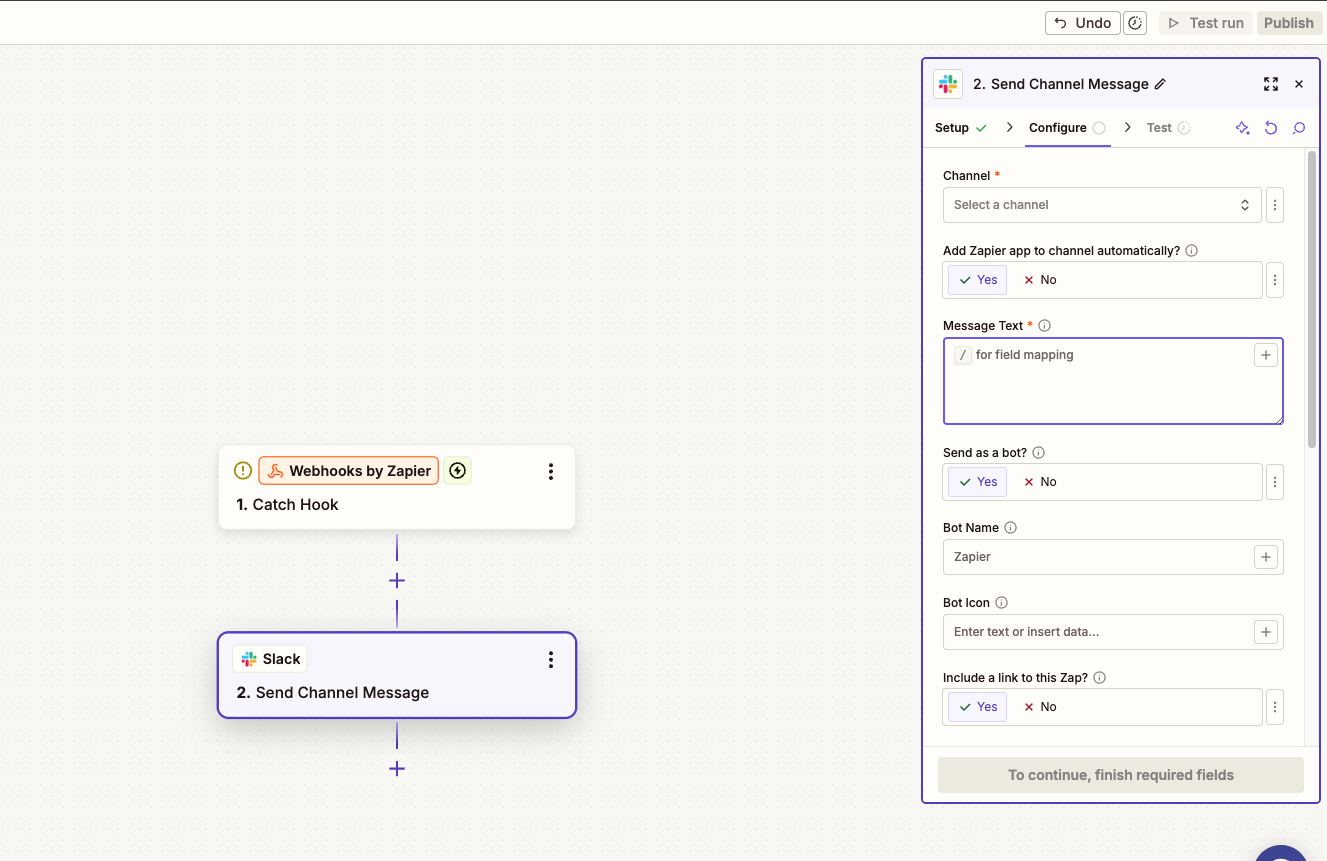
- Once you are done with a configuration, click Continue to proceed.
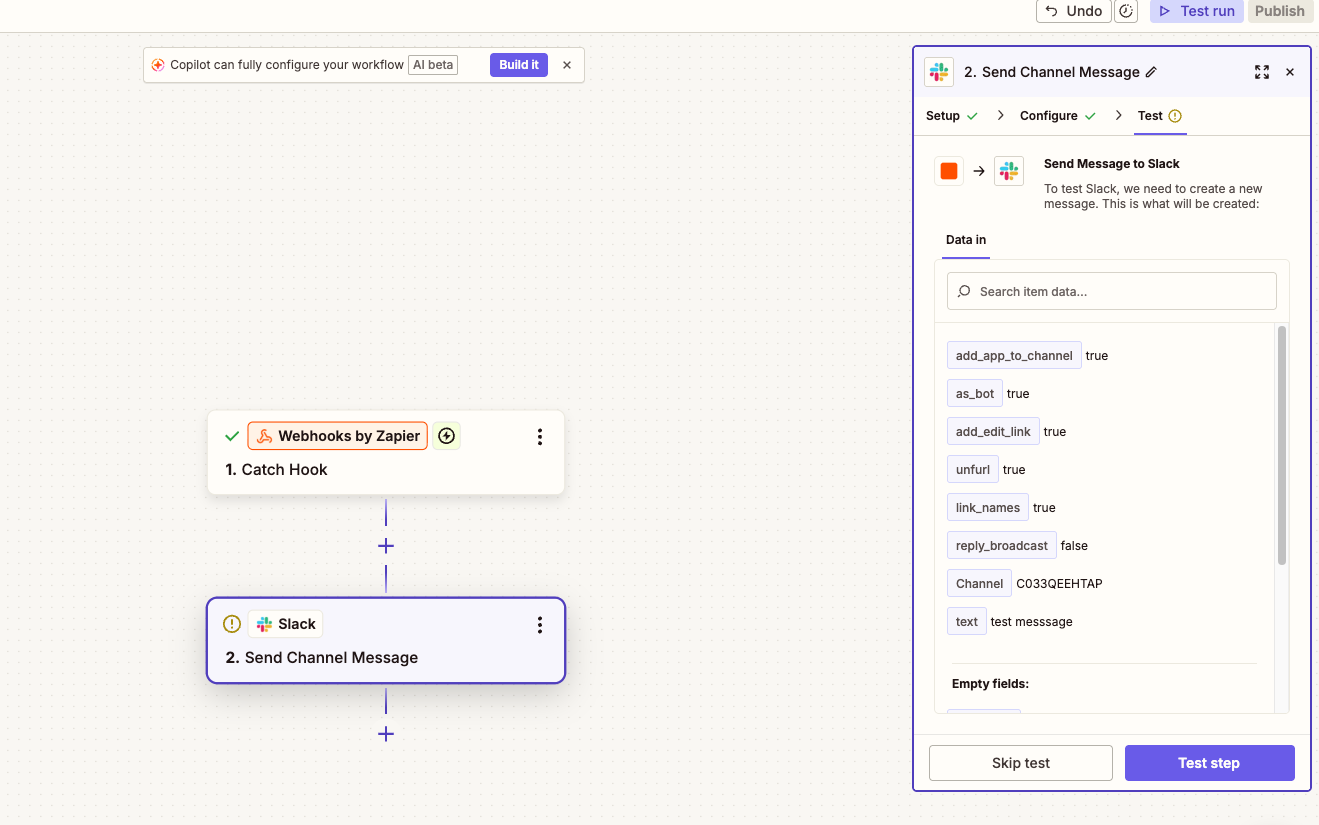
- Next, you’ll be prompted to either Skip Test or Test Step. We recommend clicking Test Step to test the set up.
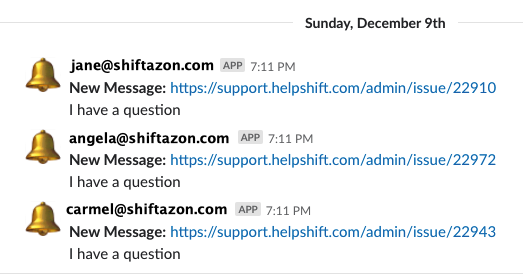
This test should send the message to your configured Slack channel. - To complete this part of the process and Publish the created Zap.
Last but not least, provide an intuitive name for your Zap, then enable the toggle to get it up and running.
To set up additional features and learn more about Helpshift best practices, please review our Knowledge Base.